Of all the elements required to get that "perfect shot", I personally believe food styling is the most important one. You might have the world's tastiest dish in front of you, use the best camera and have great lighting but all that won't mean anything unless you organise those elements in a manner ready for the camera. I'm not going to lie. I still find food (and prop) styling a tad frustrating. I often have to think a lot more about this part.
Not everyone will feel this way though. Some people are naturals and quite adept at putting food on a plate, adding a few props and voila! they have their perfect scene!
A few years ago I was asked to work on a cook book shoot as an assistant on set to the food stylist. The food stylist in this case was not only in charge of making the food look good for the camera, she also had to organise the props. There were over 500 of them! Plates, cutlery, fabrics, backdrops. You name it she had it.
It was here I picked up a lot of ideas regarding props and more importantly how she styled the food. Being a novice at this I wasn't sure what to expect. I sort of expected to see motor oil and glue on the set but there was none to be found! Once the chef had prepared his signature dish and plated it on the chosen plate she "arranged" it beautifully. A few ingredients were moved here and there and, some garnishes were casually arranged and that was it. Between takes she used a pastry brush to brush some of the natural cooking juices on the food and once the photographer was happy we all sat down and ate the subject with lots of joy! I was totally in awe. It was all so natural and no faking whatsoever.
Over the last few years I've learnt a lot online especially through reading other blogs and being particularly active on Flickr. I've made a few friends through this passion and it was great to receive feedback about what was and wasn't working. I like to think I developed my style mostly by "accident". And this is what I encourage you to do. Work on your own style and practice as much as you can. I'm not particularly fond of following a set formula on food and prop styling. I don't like to be "shoeboxed" into a particular approach. There a lot of "evangelists" out there who say that you "need to do this…" etc… My approach is different. I say break all the rules and have some fun in the process.
However, having said all that, I'm going to present a few "casual guidelines" that I like to follow. These have been developed after experimenting for a few years. And these are no way set in stone. Expand on these and if you learn something new in the process…pass it on! Every little bit helps.
Once you have the chosen dish in mind, I think it's important to firstly determine what scene/mood you are after. Ask yourself a series of questions.
- Vintage
- Modern
- Combination of both?
- Rustic
- Just plain simple (no props-just a cooked dish)
Step back and again ask yourself.
- Does the dish fit in with those guidelines?
- Do the colours work well or is there a clash?
- Is there any or not enough texture?
- How will my lighting set up affect the final shot?
Again-run through a mini checklist as you plan the dish and determine how each of these factors will contribute to that all important picture on your blog.
FOOD STYLING
In this part of my post I'll cover the different types of scenarios you may encounter when prepping a dish and want to take it to the next level.
If you haven't already noticed we actually have some “props” at our disposal. I'm talking about “natural props” i.e. food. These can include:
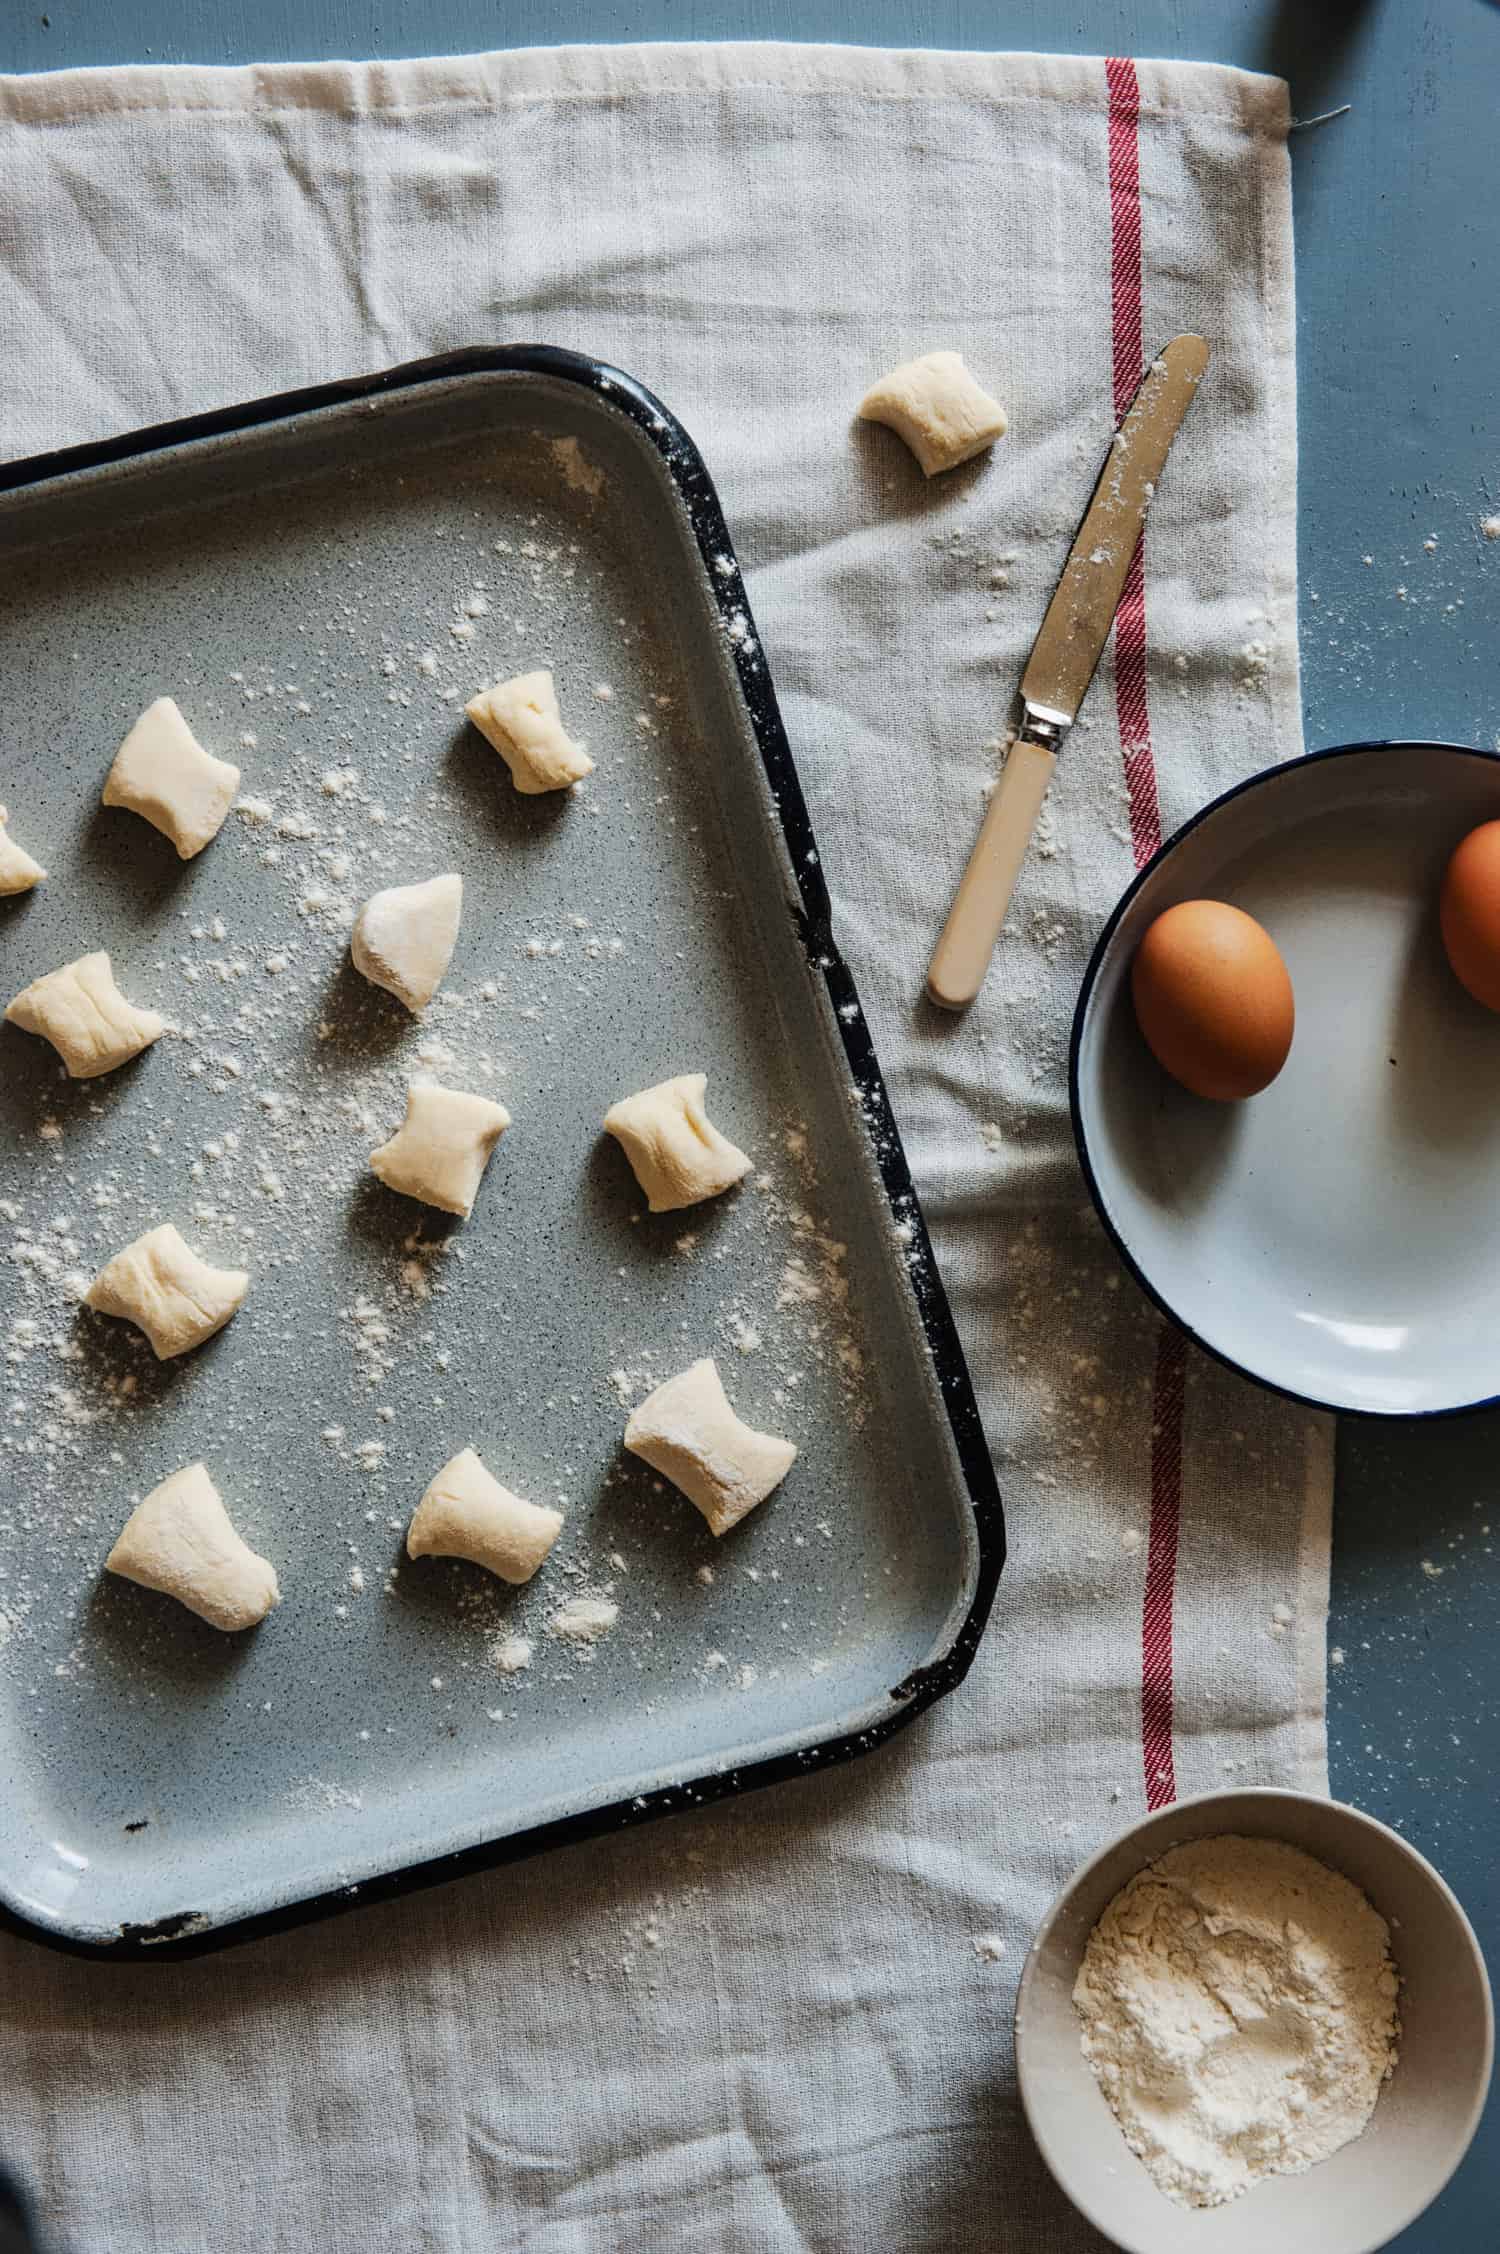
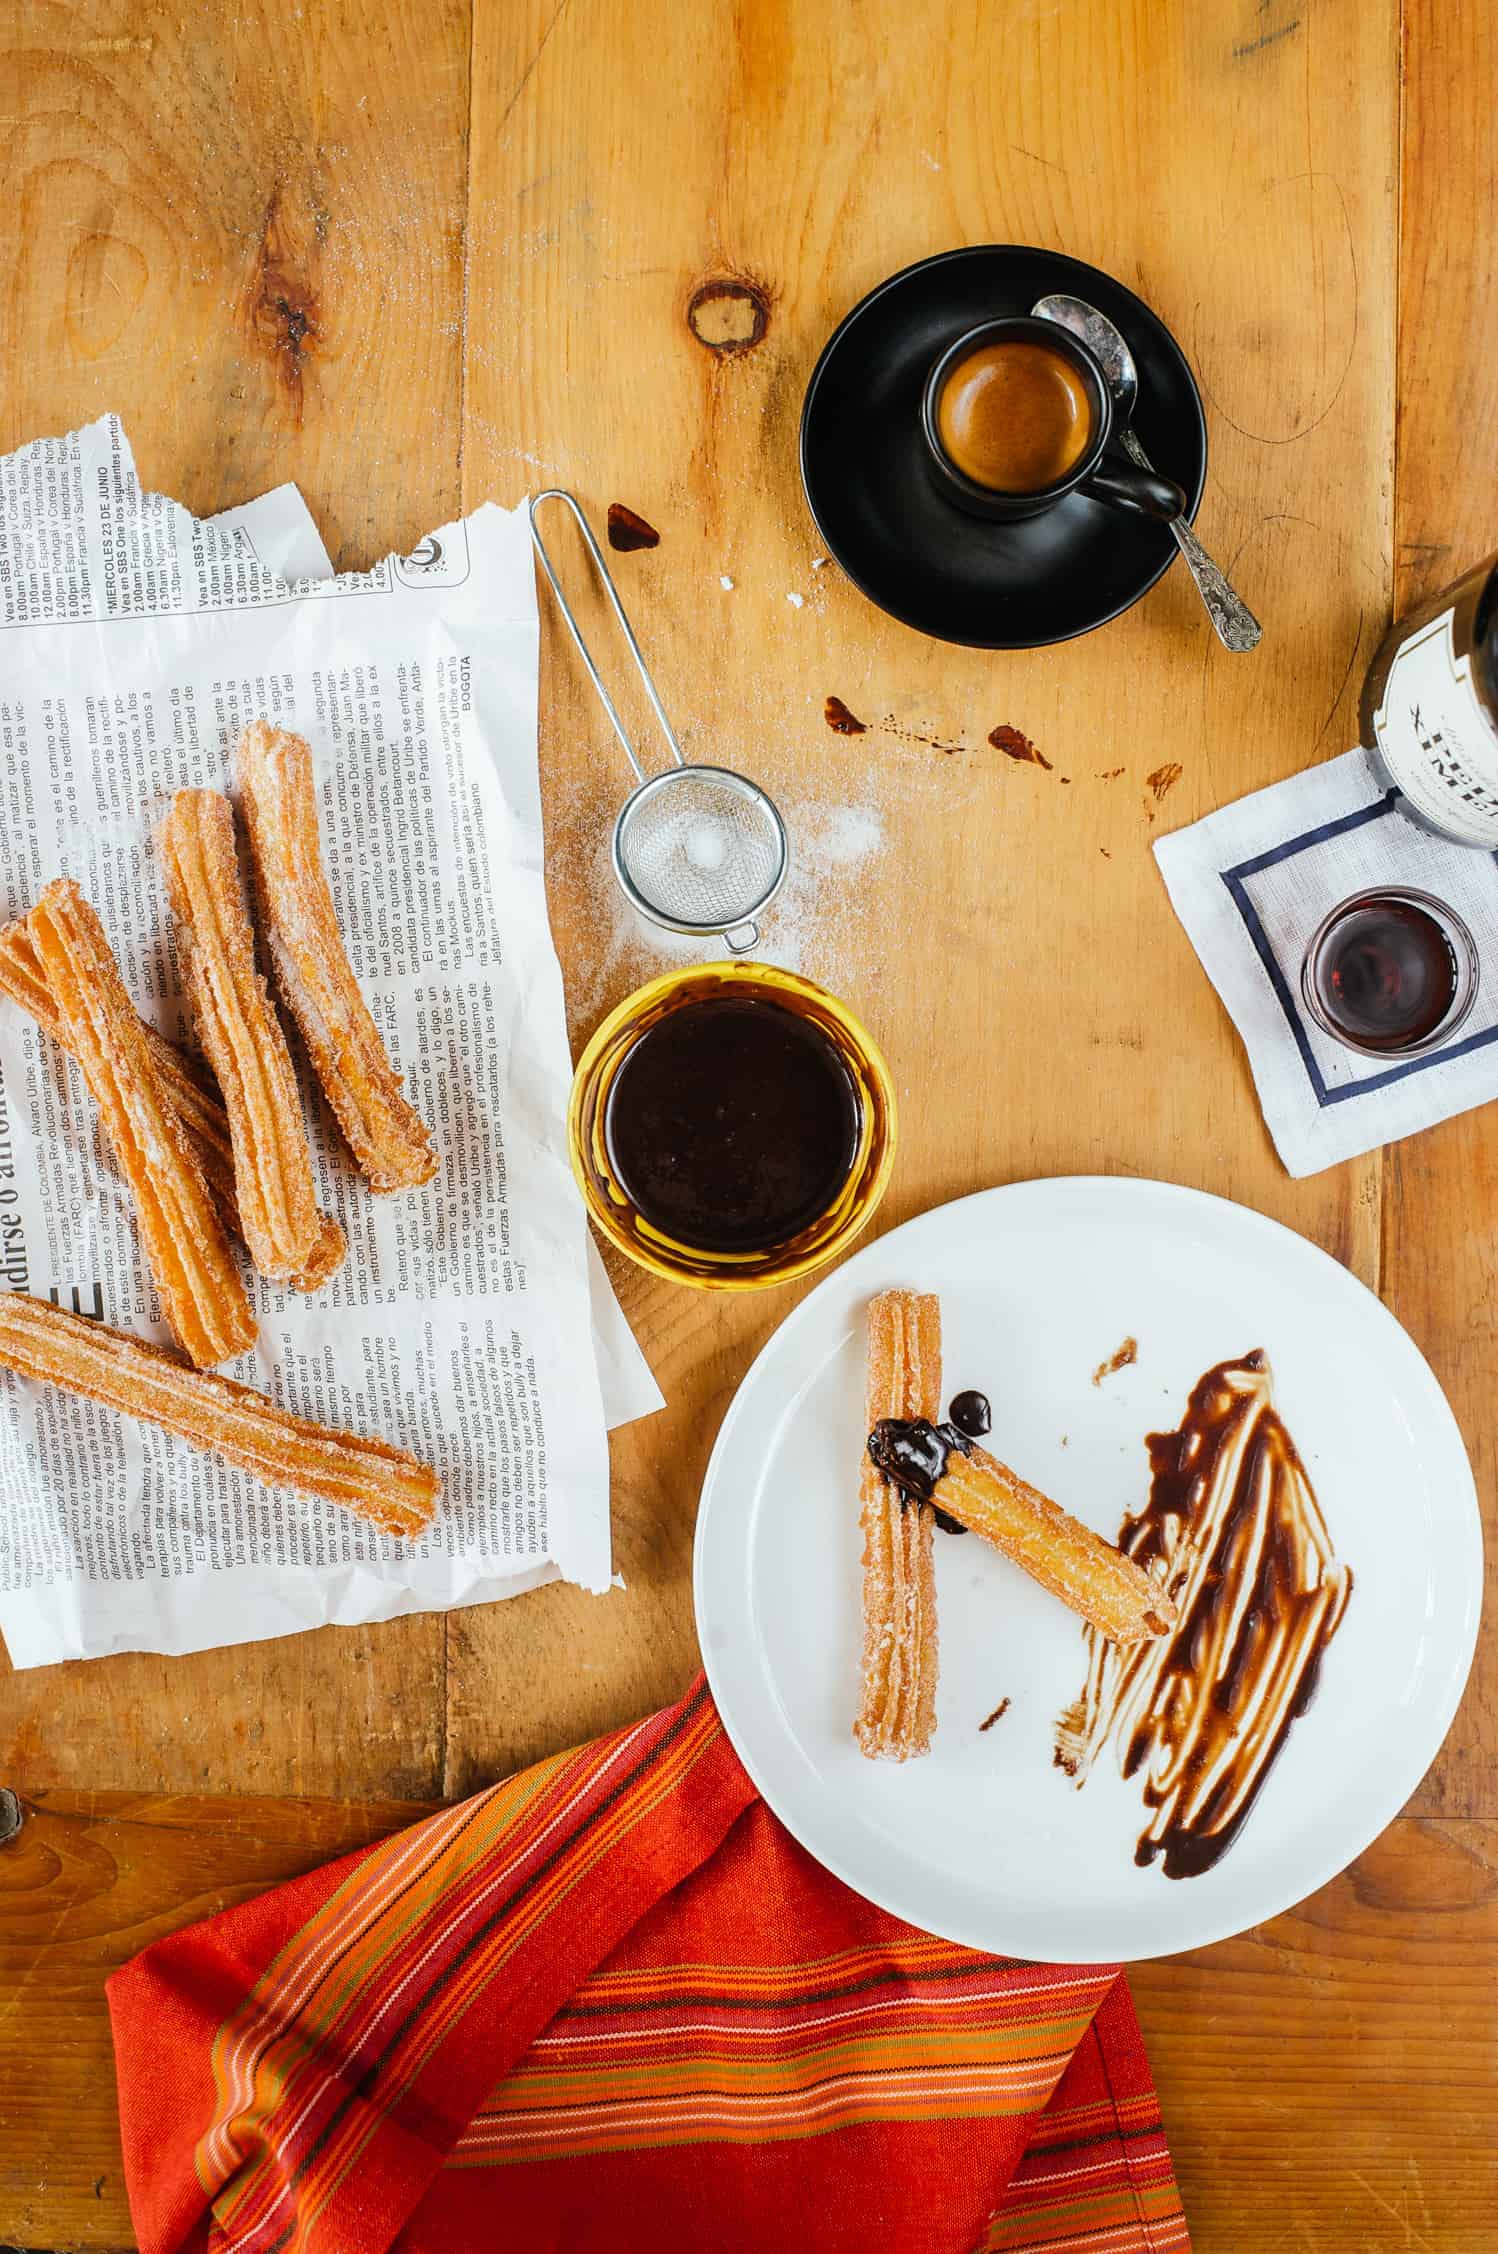
In this scene, I've used sprinkles of flour to add to the messiness
- Herbs and spices
- Fruits (sliced or whole)
- Crumbs from baked goods, sliced bread etc...
- Flours, sugars etc...
- I sometimes like to use natural enhancers to give the food a little shine. (this is particularly applicable if I've “strayed” a little!). I use those little pump bottles they sell at pharmacies for travel and fill them with a natural sugar syrup (that I've made myself) or olive oil. A little spray here and there can add just that right amount of “star quality” to a dish. Just don't over do it and saturate the food! If you think that's cheating, well all I can advise you is don't use it and work faster! LOL!
The scene on the right shows a lot going on. quite busy...but I like it. The one on the left didn't work for me with all the cutlery. Again, a personal choice
Another busy "set up" scene
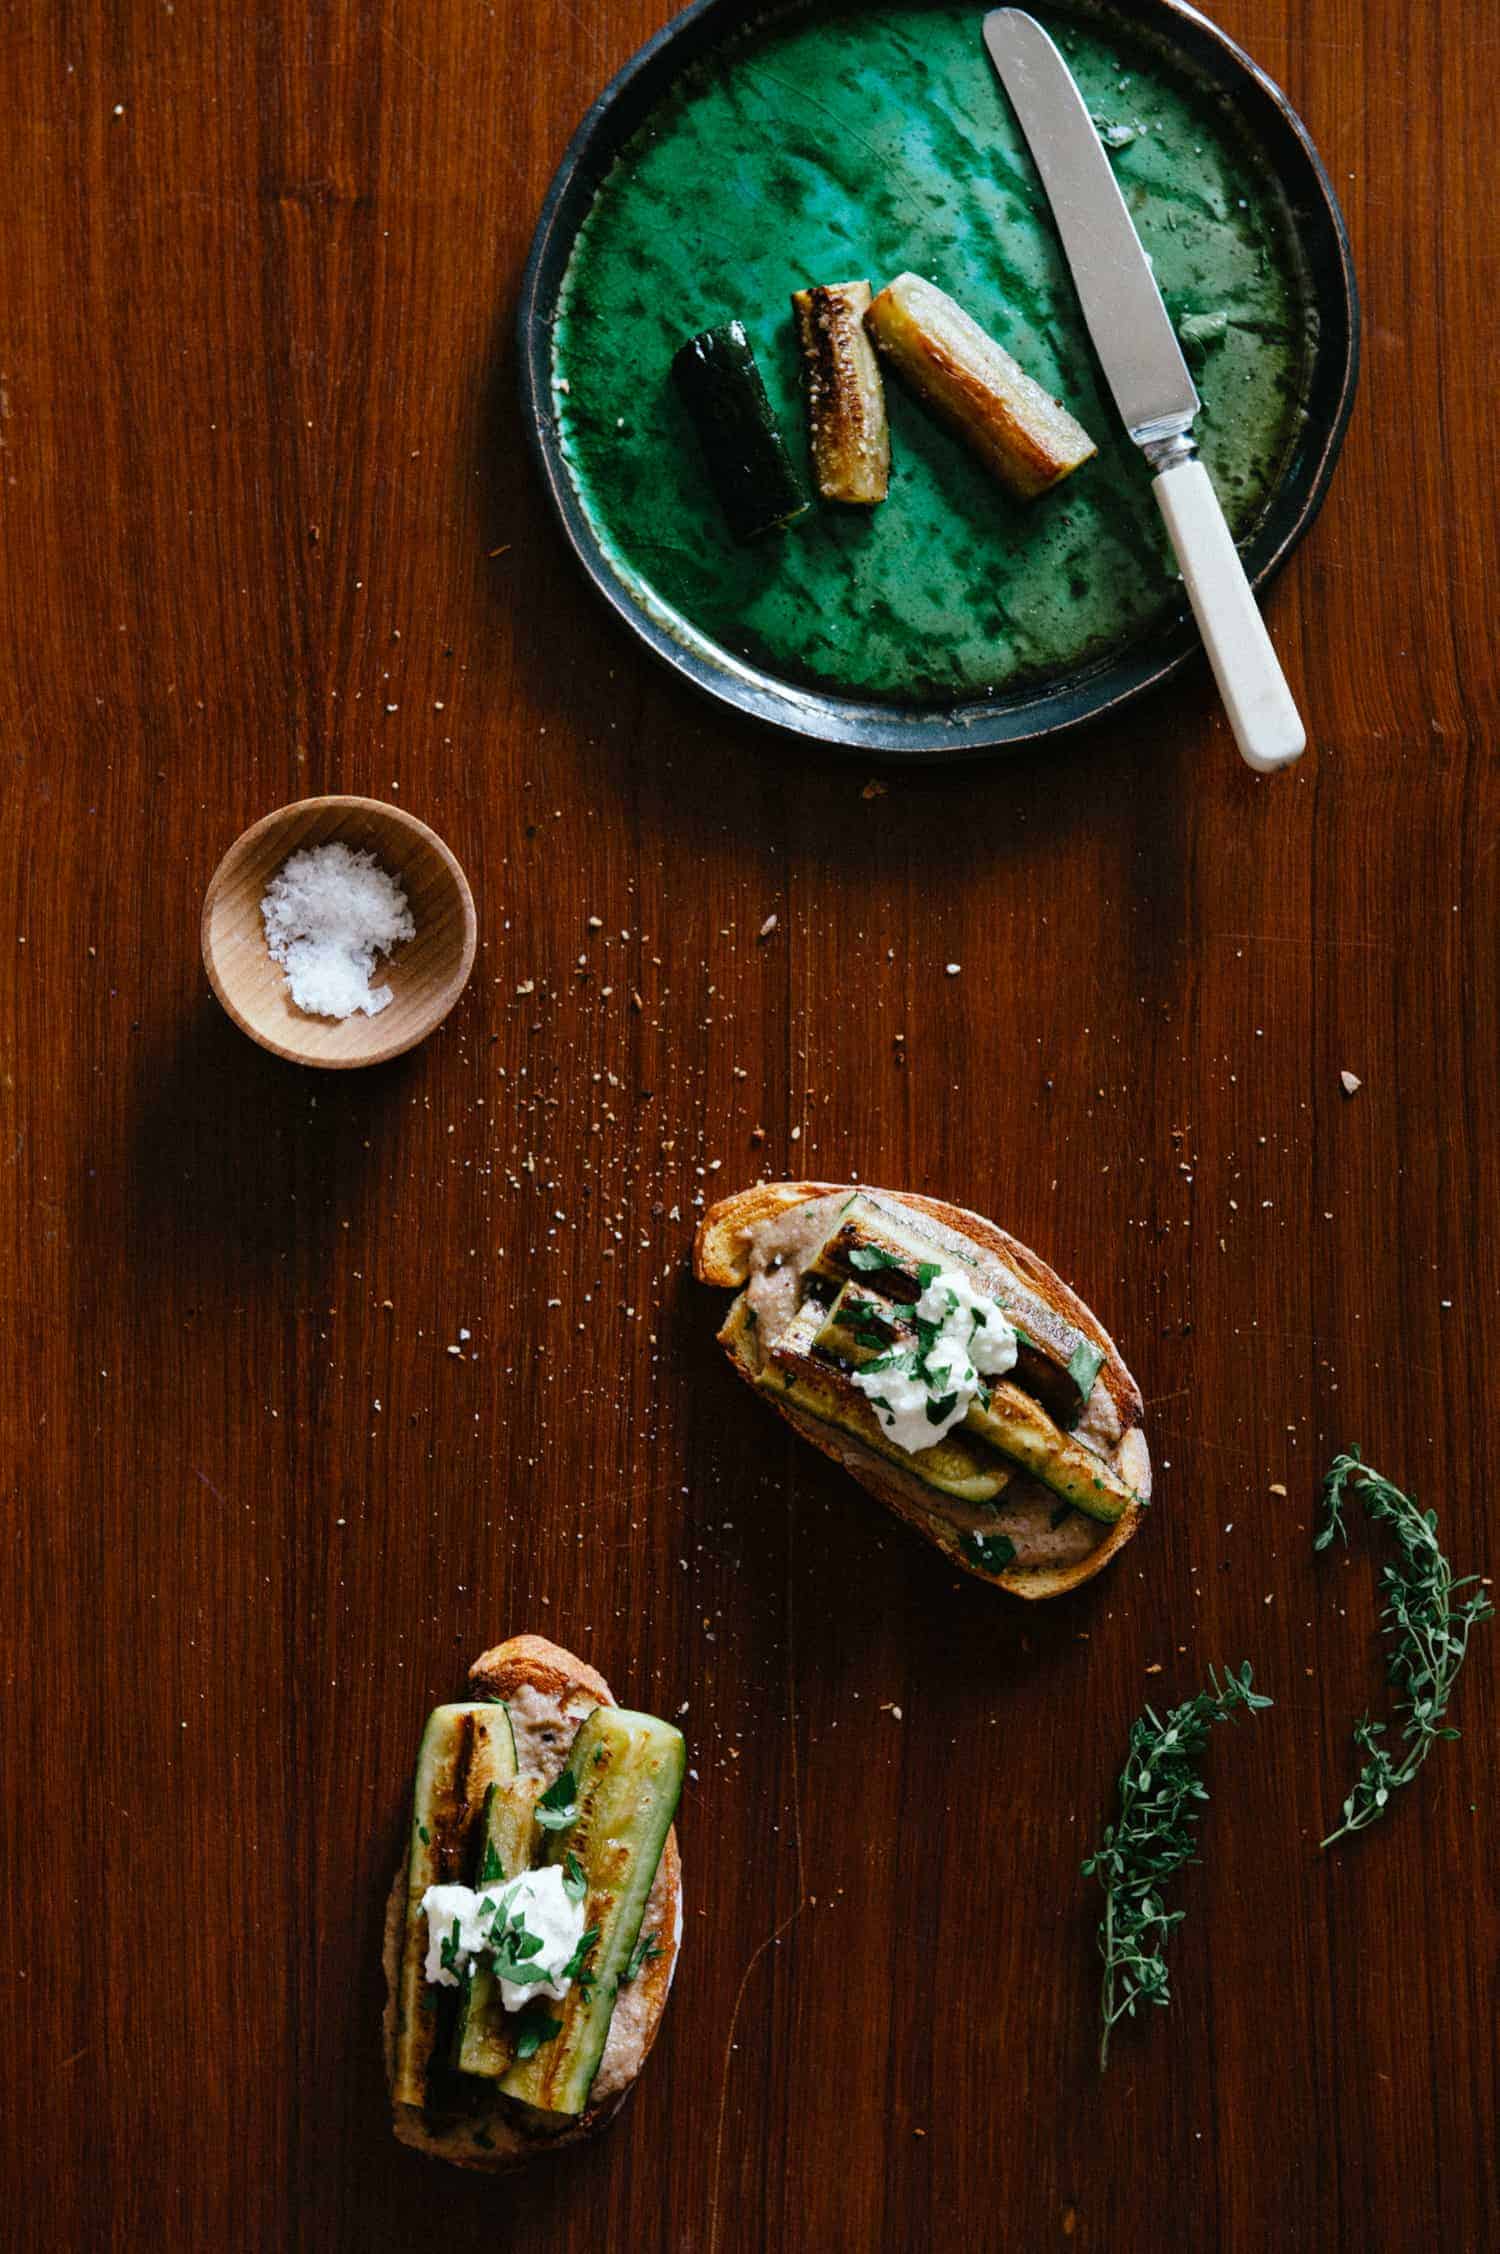
- Enhance a dish by creating a detailed scene. Whilst I am a big believer of “less is more” I often find myself adding other bits and pieces to a picture to tell a story. For eg if you're baking a cake perhaps you can add to the story by showing some cream and a cup of coffee just before it's being served. You could also add a second plate with a cut piece of cake. I like to call this “adding and subtracting”. (high tech isn't it?). I’ll add a whole heap of elements to a scene and then play around with what works and doesn't work. Nine times out of ten (and due to my perfectionist nature) I'll take stuff away. I sit back and ask myself “is this balanced?”. What can I take away from here that won't take away from the scene? It's all a process of elimination and fun too! (just don't harp on it too much. Remember we want to have fun with this...not turn it into a science experiment!).
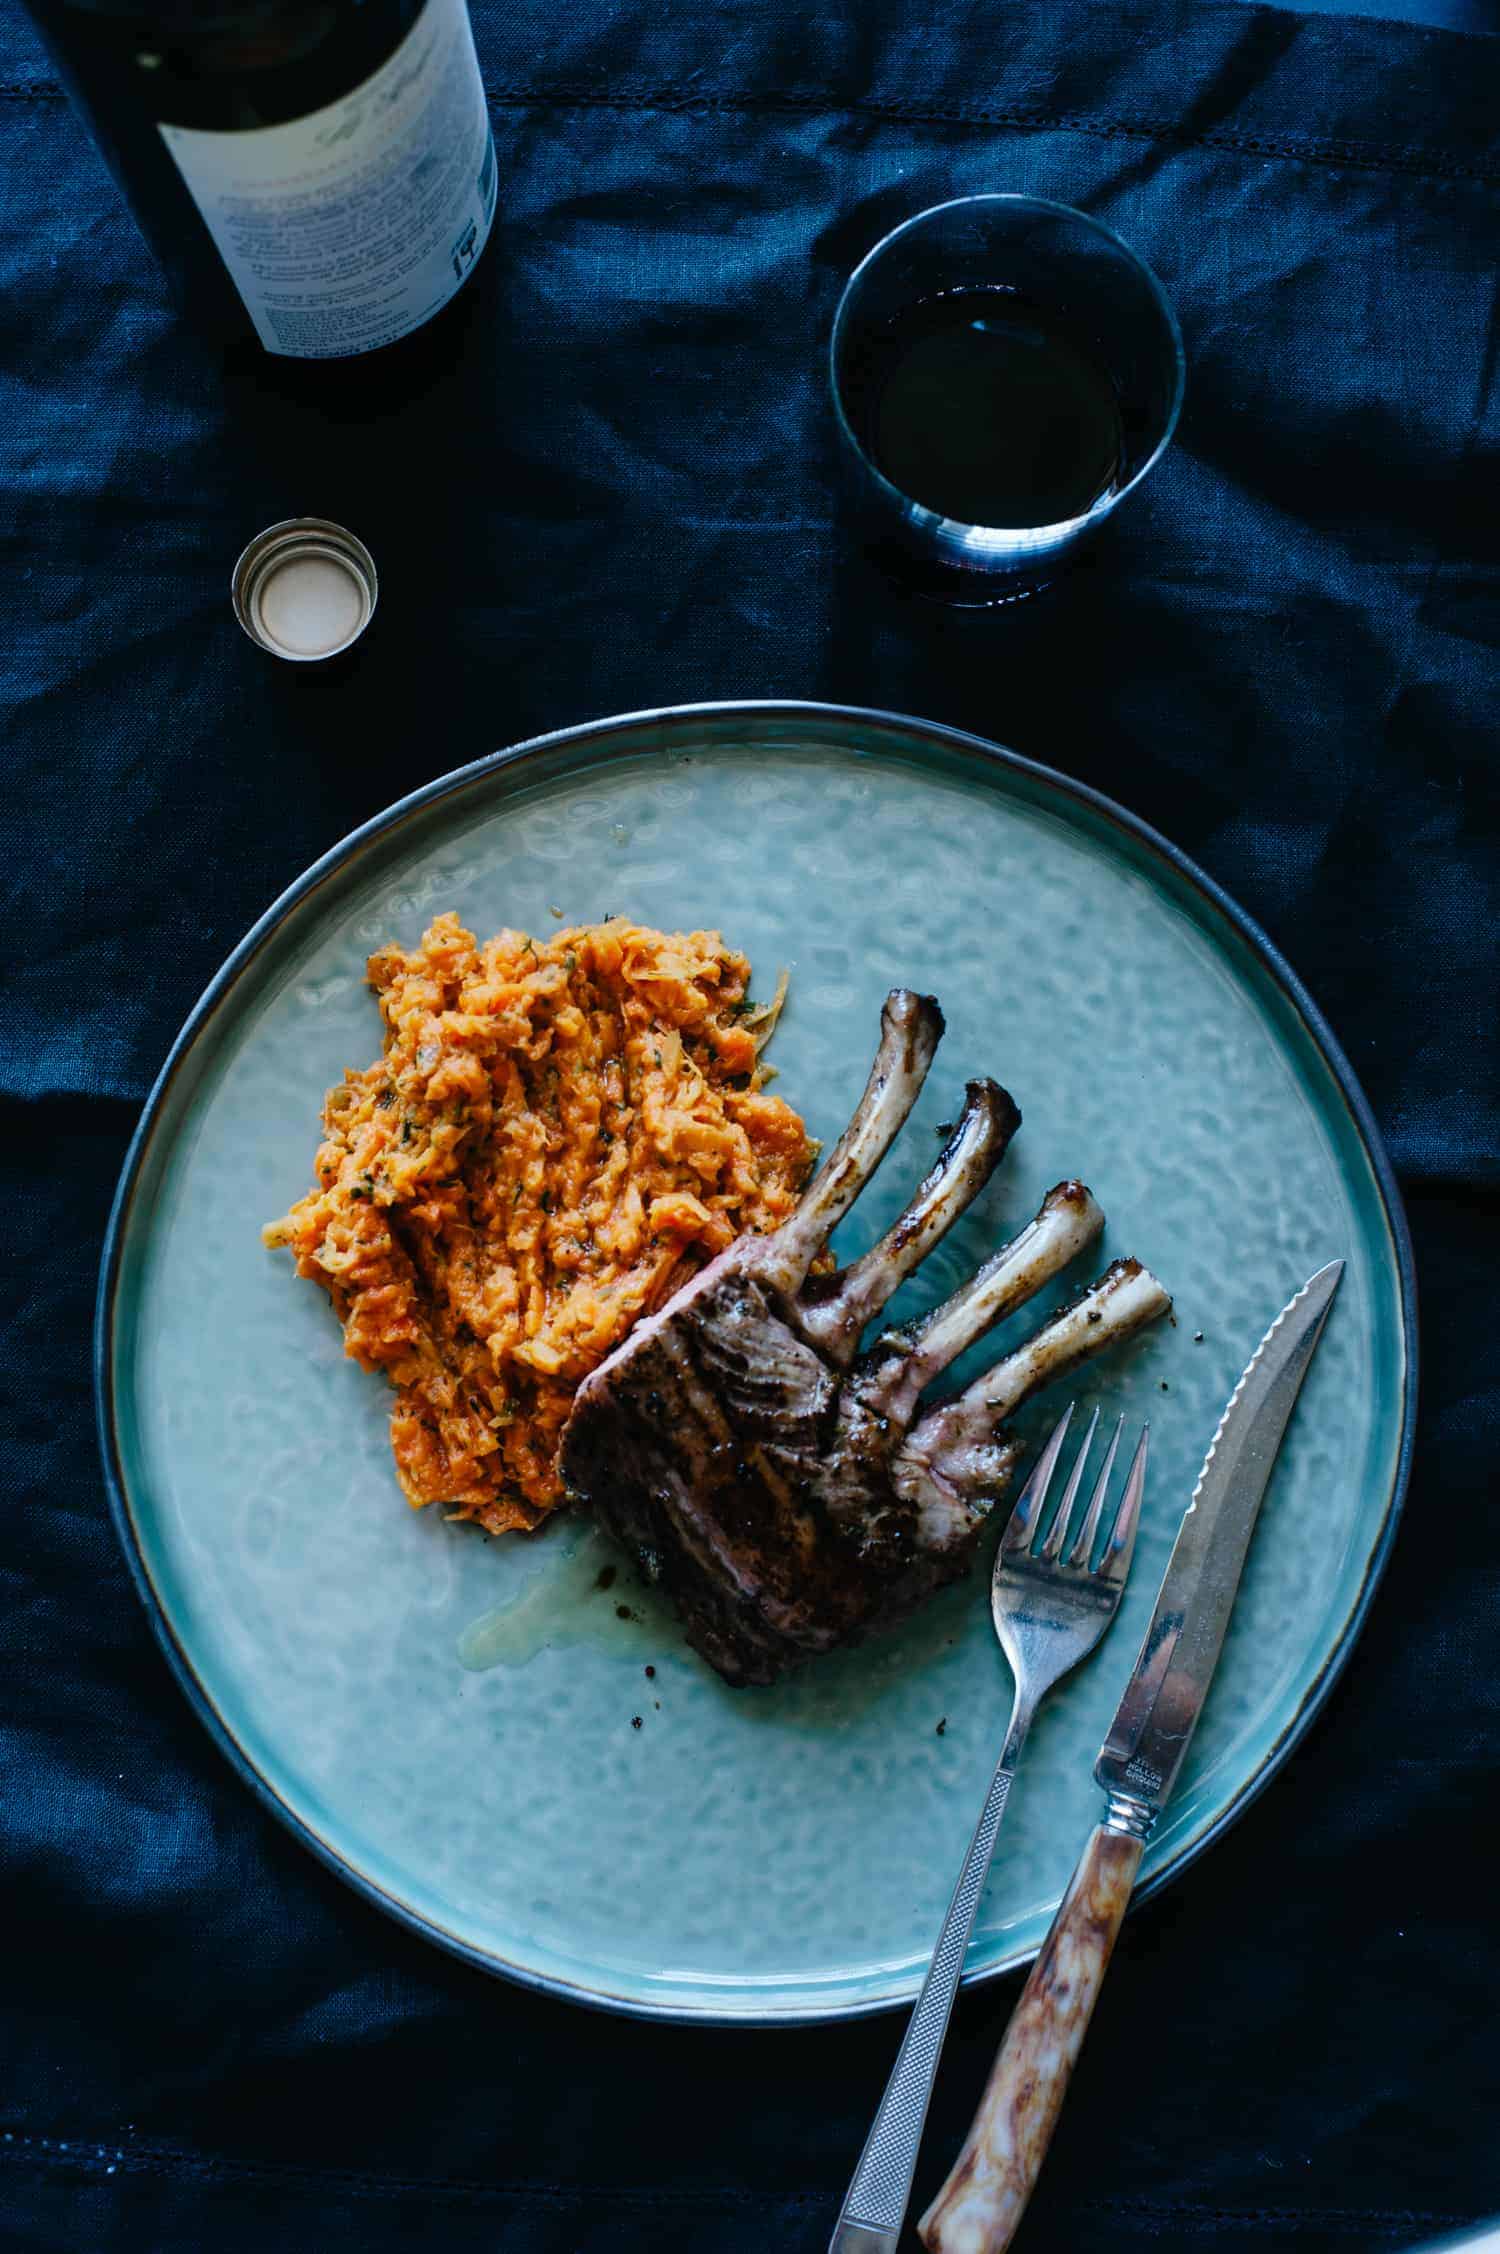
The darker background and the coloured plate combined with the very orange carrot mash allowed the meat to shine.
- Boring, "beige" meat dishes are not fun to style. They often need a little help with nice props and sometimes a pop of colour. I'm lucky I like to cook my meat to a medium/rare temperature...this way I can show that juicy, ruby red, cooked flesh when I shoot it. I always brush some of the cooking juices from the meat onto the meat itself. Again, I'm not relying on any “unusual” additives here. Just the plain ol’ cooking juices. And whilst you have your meat here how about adding some wonderful sides to add to the scene! Veggies, salads and starches help make your protein stand out. In this roast rack of lamb dish, notice the intensity of the orange in the carrot and dill mash. It brings the scene to a whole new level.

A simple shot of a baby barramundi in a fry pan
- Fish/seafood. I like to photograph raw fish. There I said it. Call it freaky but I find whole fish in its raw state quite fascinating as a subject for the camera. If you’re cooking it whole, consider using a griddle pan to get those lovely char grill marks on the flesh. It always adds a nice bit of drama. For fish fillets, well, there isn't much excitement there. Consider adding a few natural props (as we discussed above) to help it along.
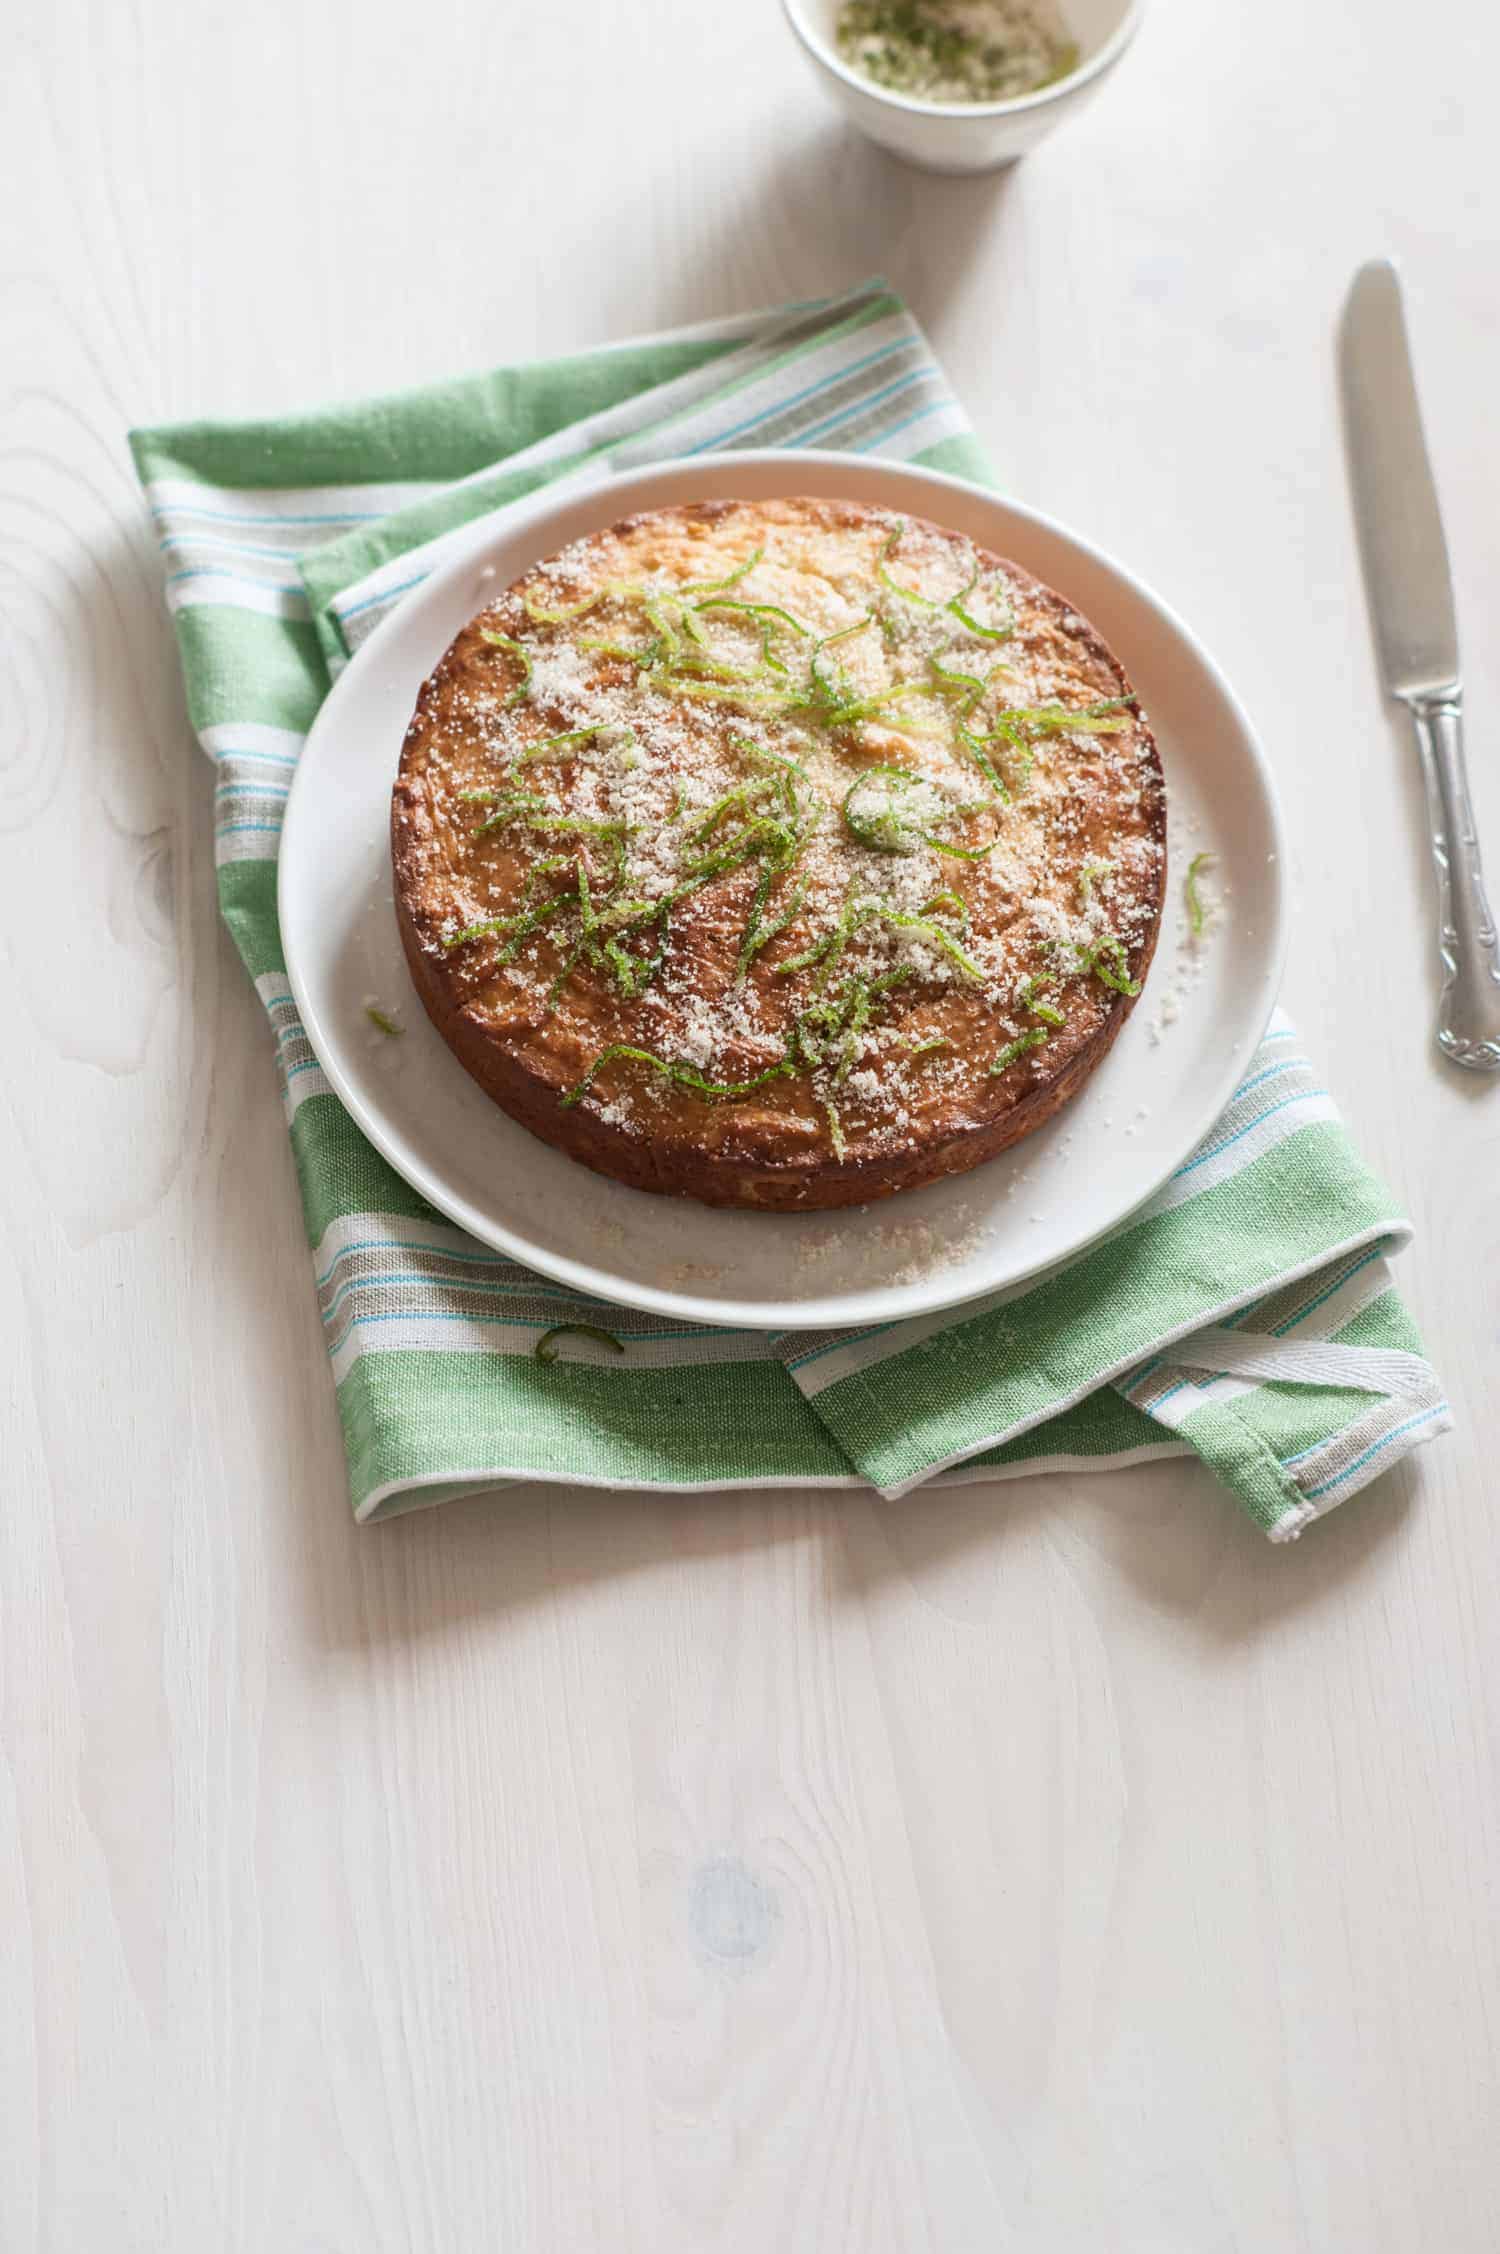
Sprinkle to your heart's content! The zest and sugar give this flat cake a nice lift
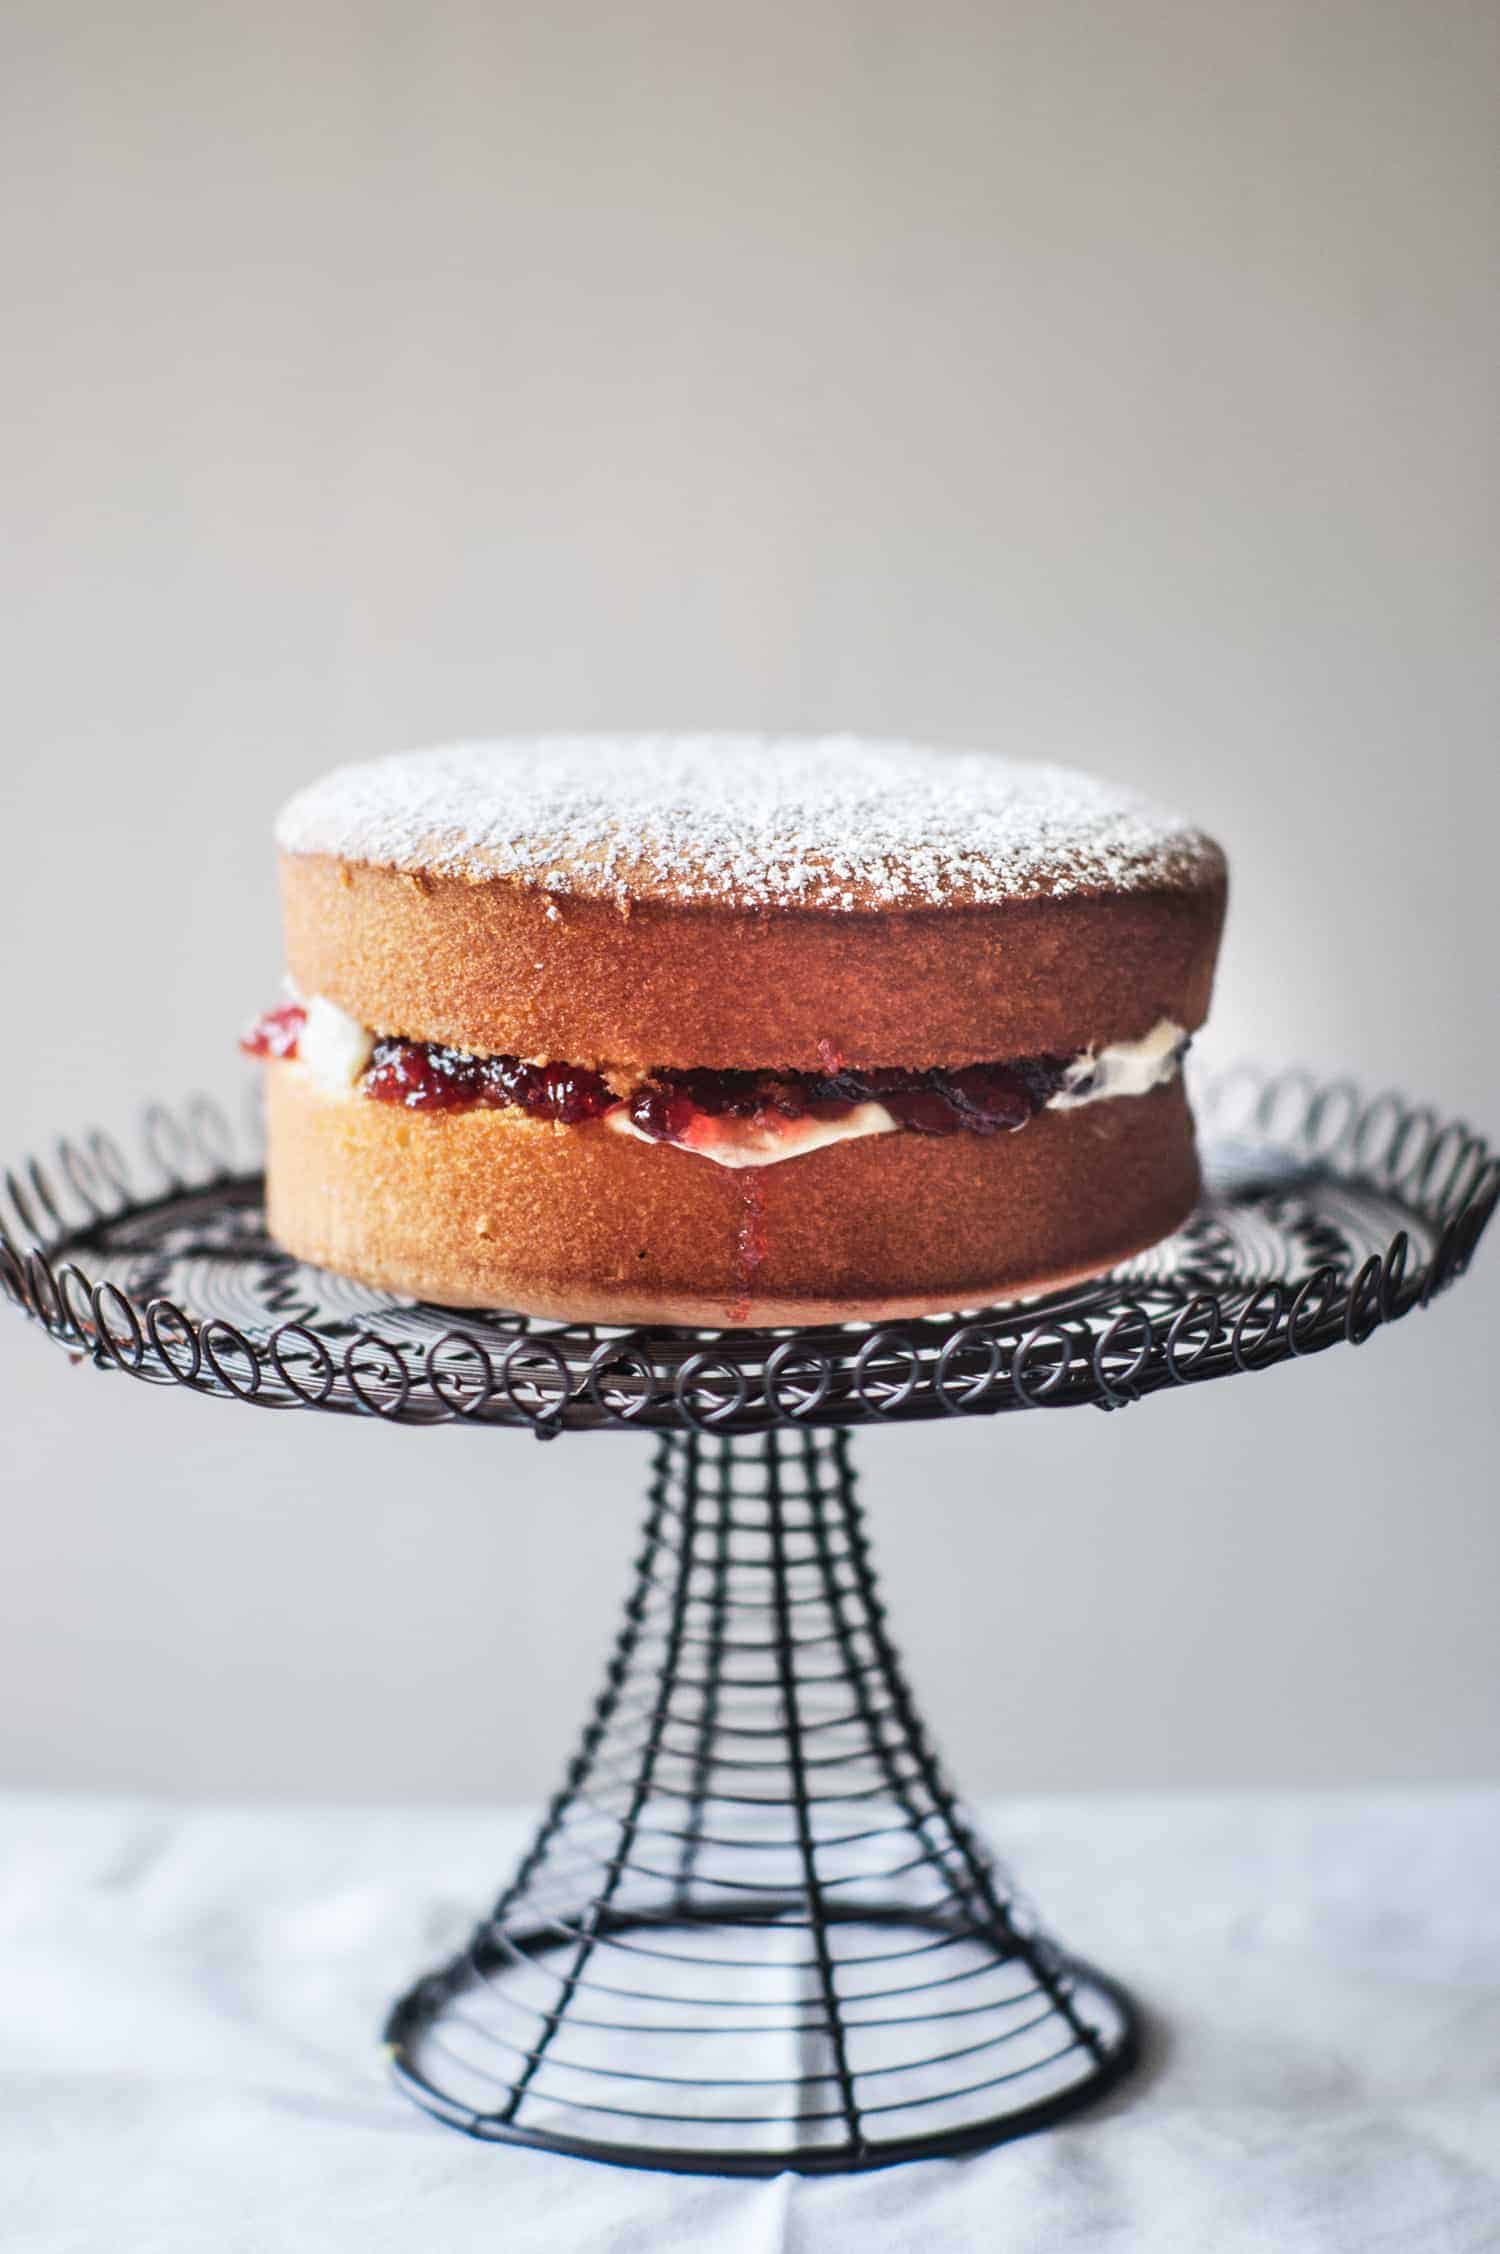
Icing sugar hides a lot of things! The oozing jam was accidental but def helped the scene!
- Baked goods. I'm always dressing up cakes. There is so much to choose from here. You can add ganache, sprinkles, chocolate curls, buttercream, cream, fruits, sugar (in its many forms) and zest. Play around to your hearts content and get super creative. As a general rule I like to cut into cakes and photograph them from an angle. If you bake a batch of your best muffins, take a bite! Nothing says “mmmmmm” like seeing a bitten muffin/biscuit/cupcake. It adds a great sense of drama too.
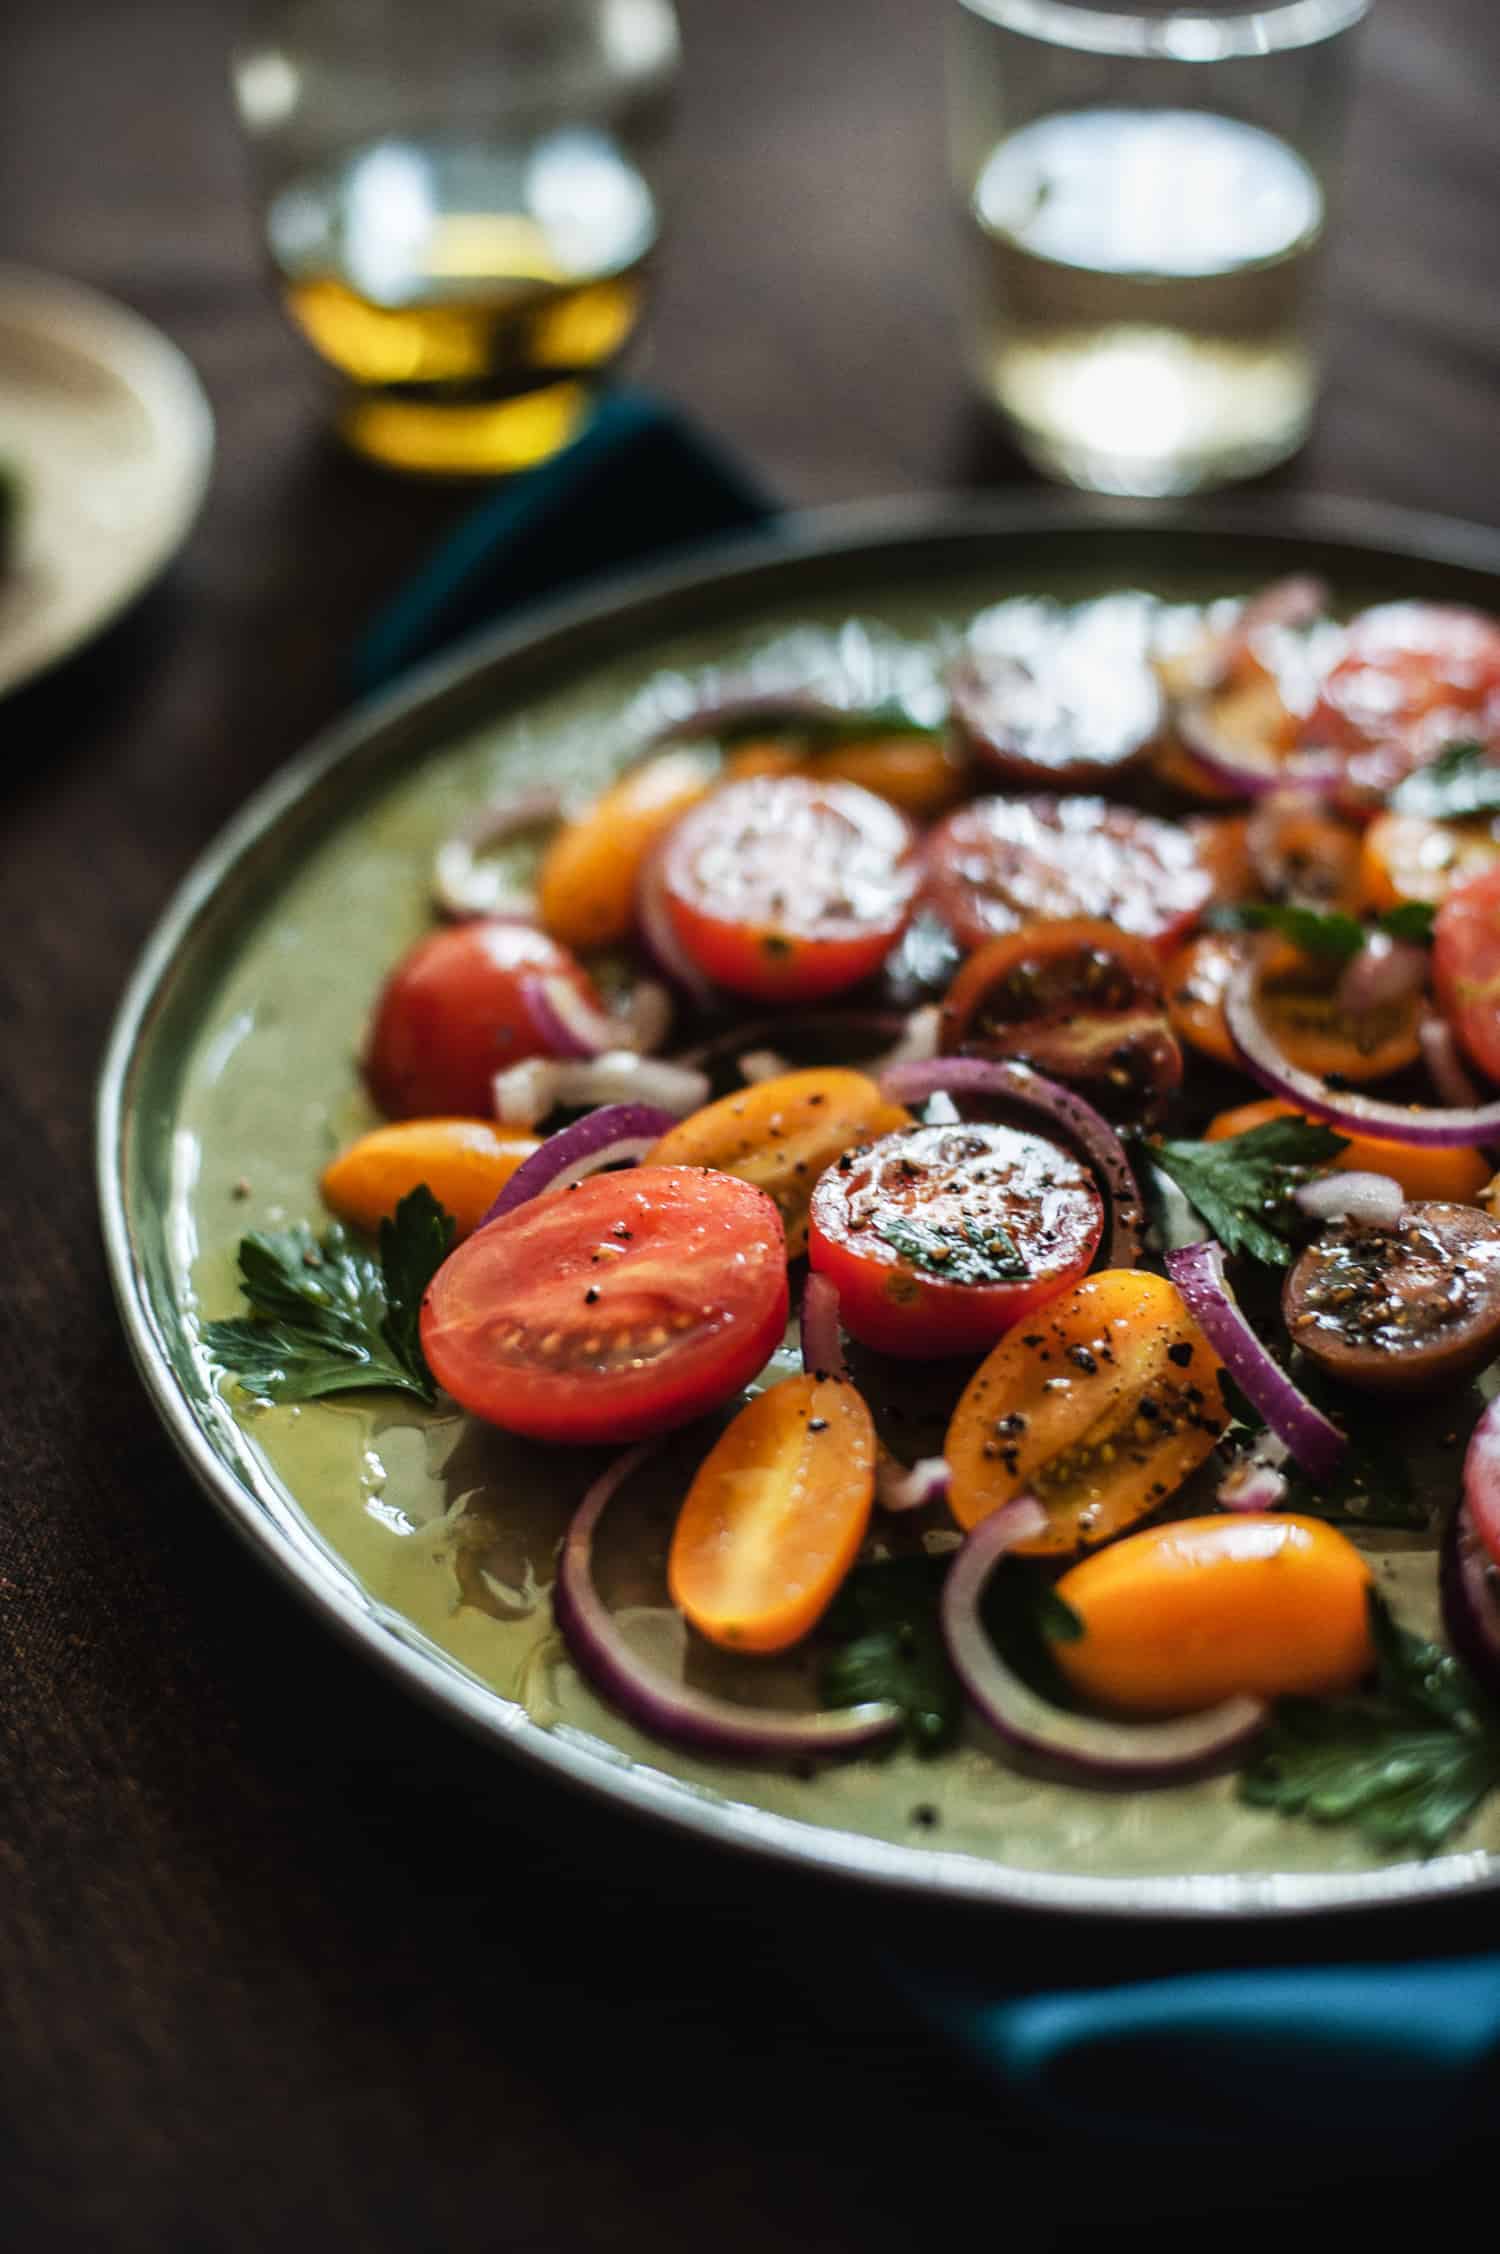
We can see the the tomatoes, parsley, onions and the shine of the olive oil
- Salads. I like to build my salads bit by bit, allowing for each of the ingredients to be shown. It’s ok to “maneuver” the salad ingredients around to get that perfect shot. (I like to use baby tongs for this, not tweezers).
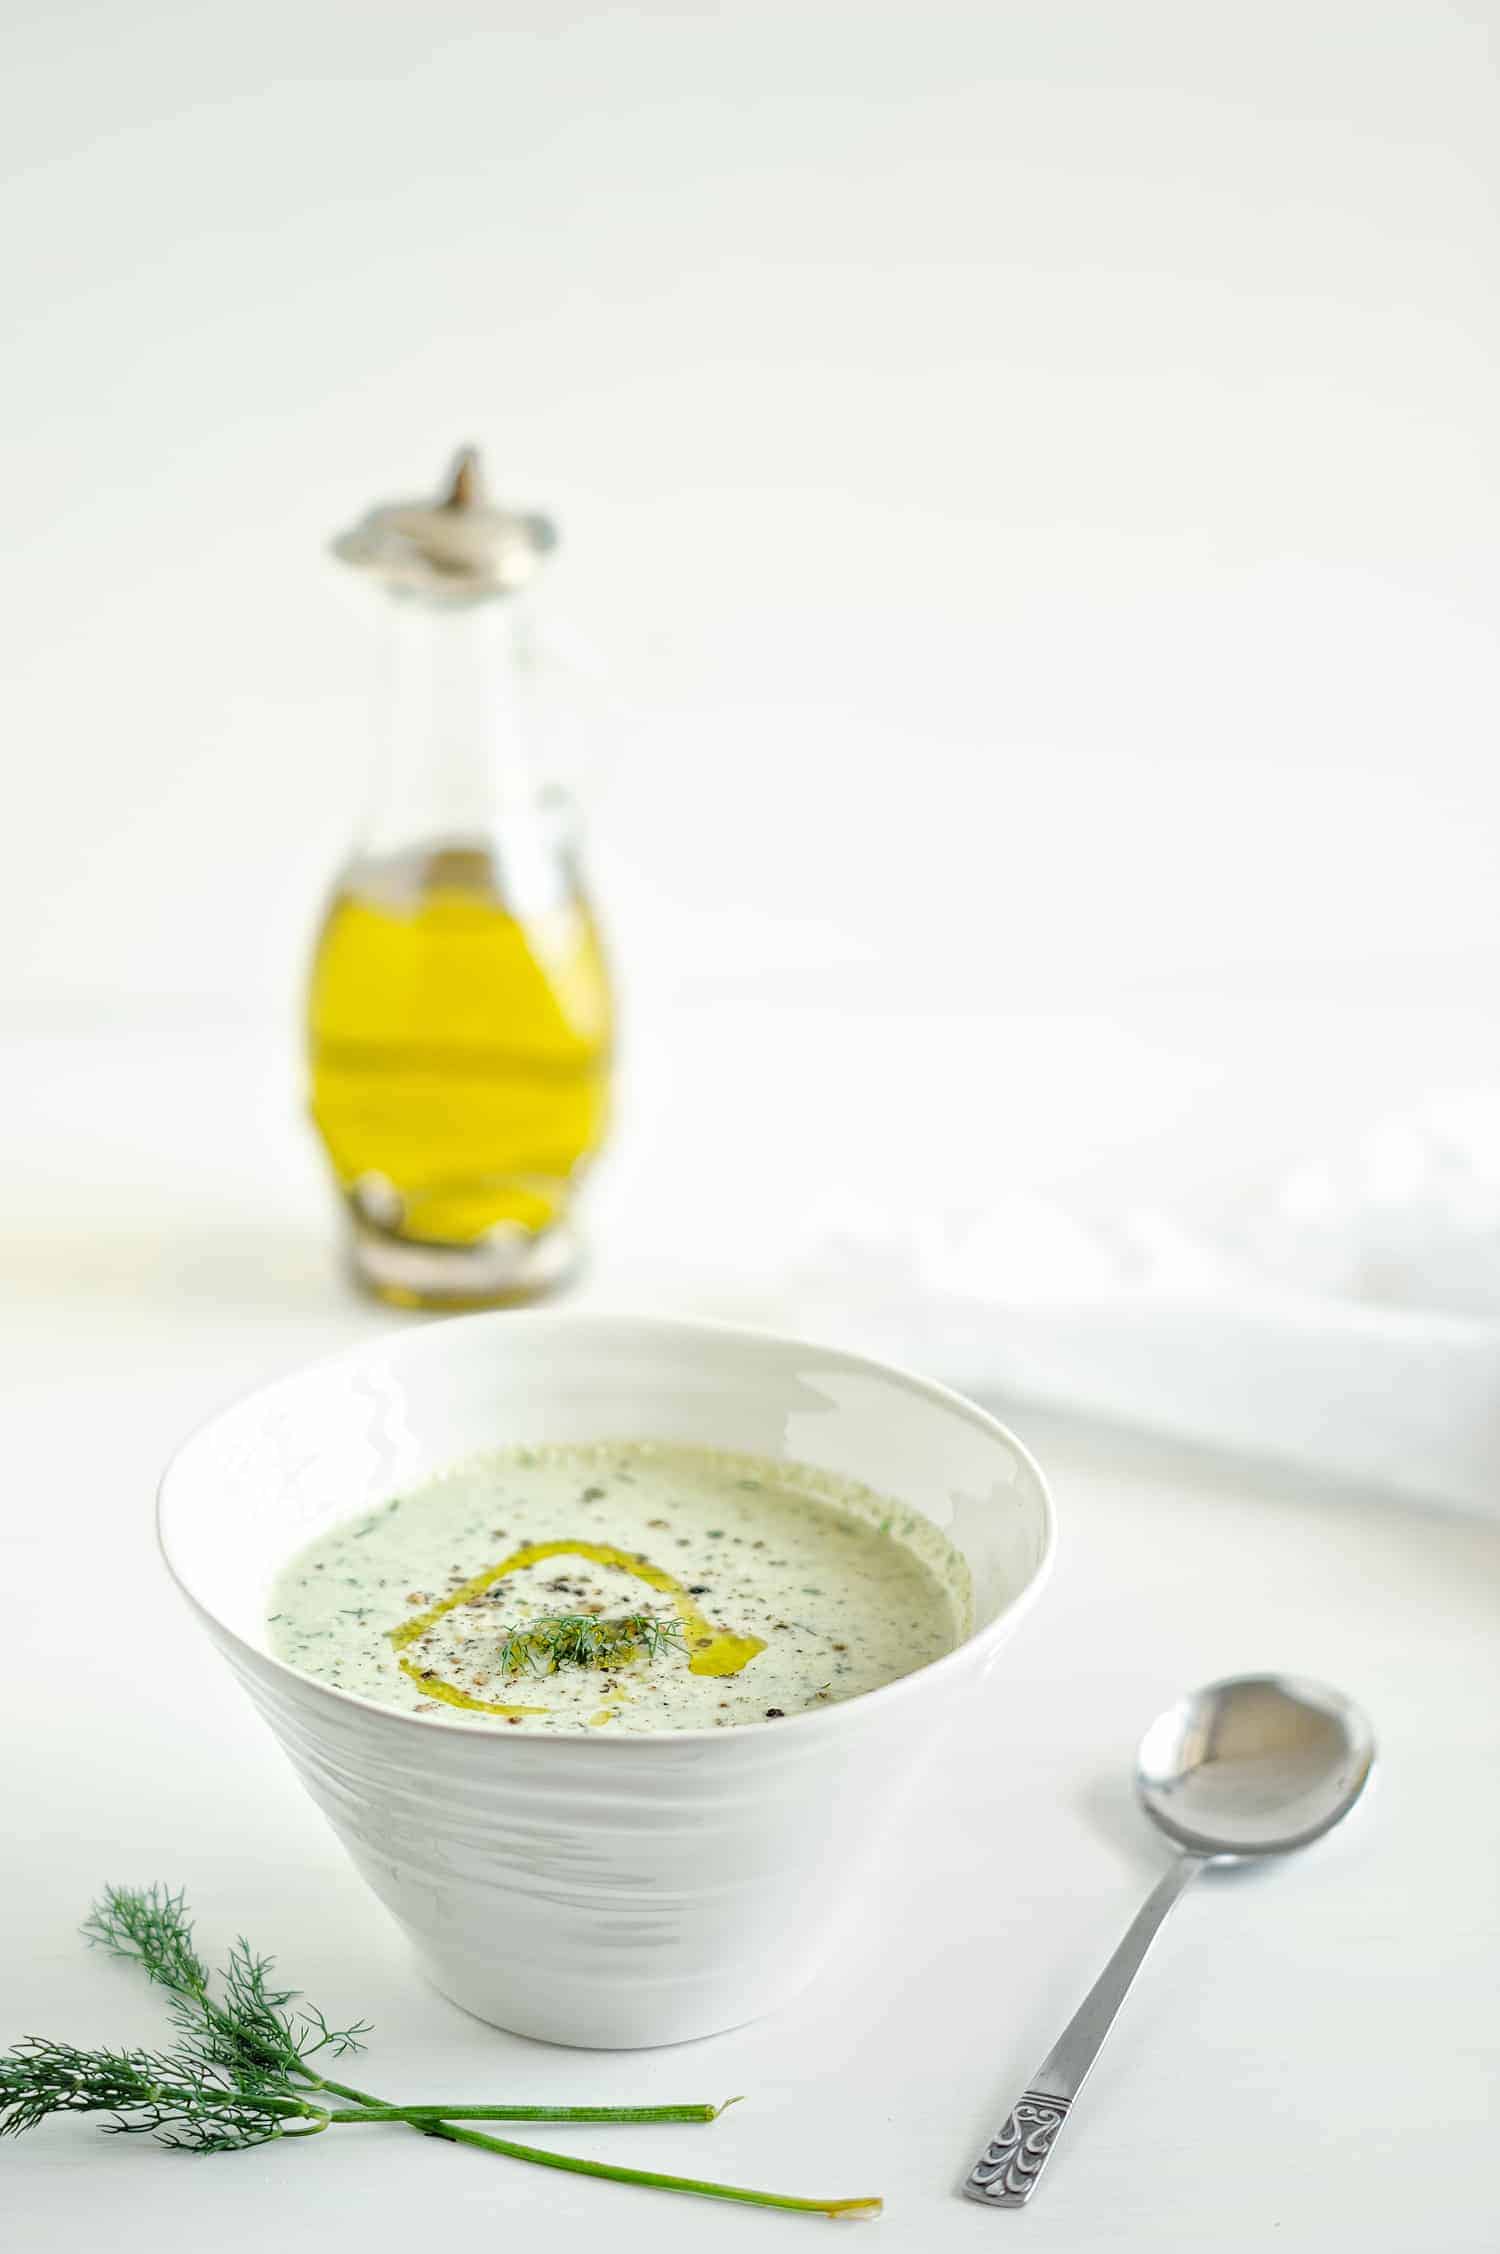
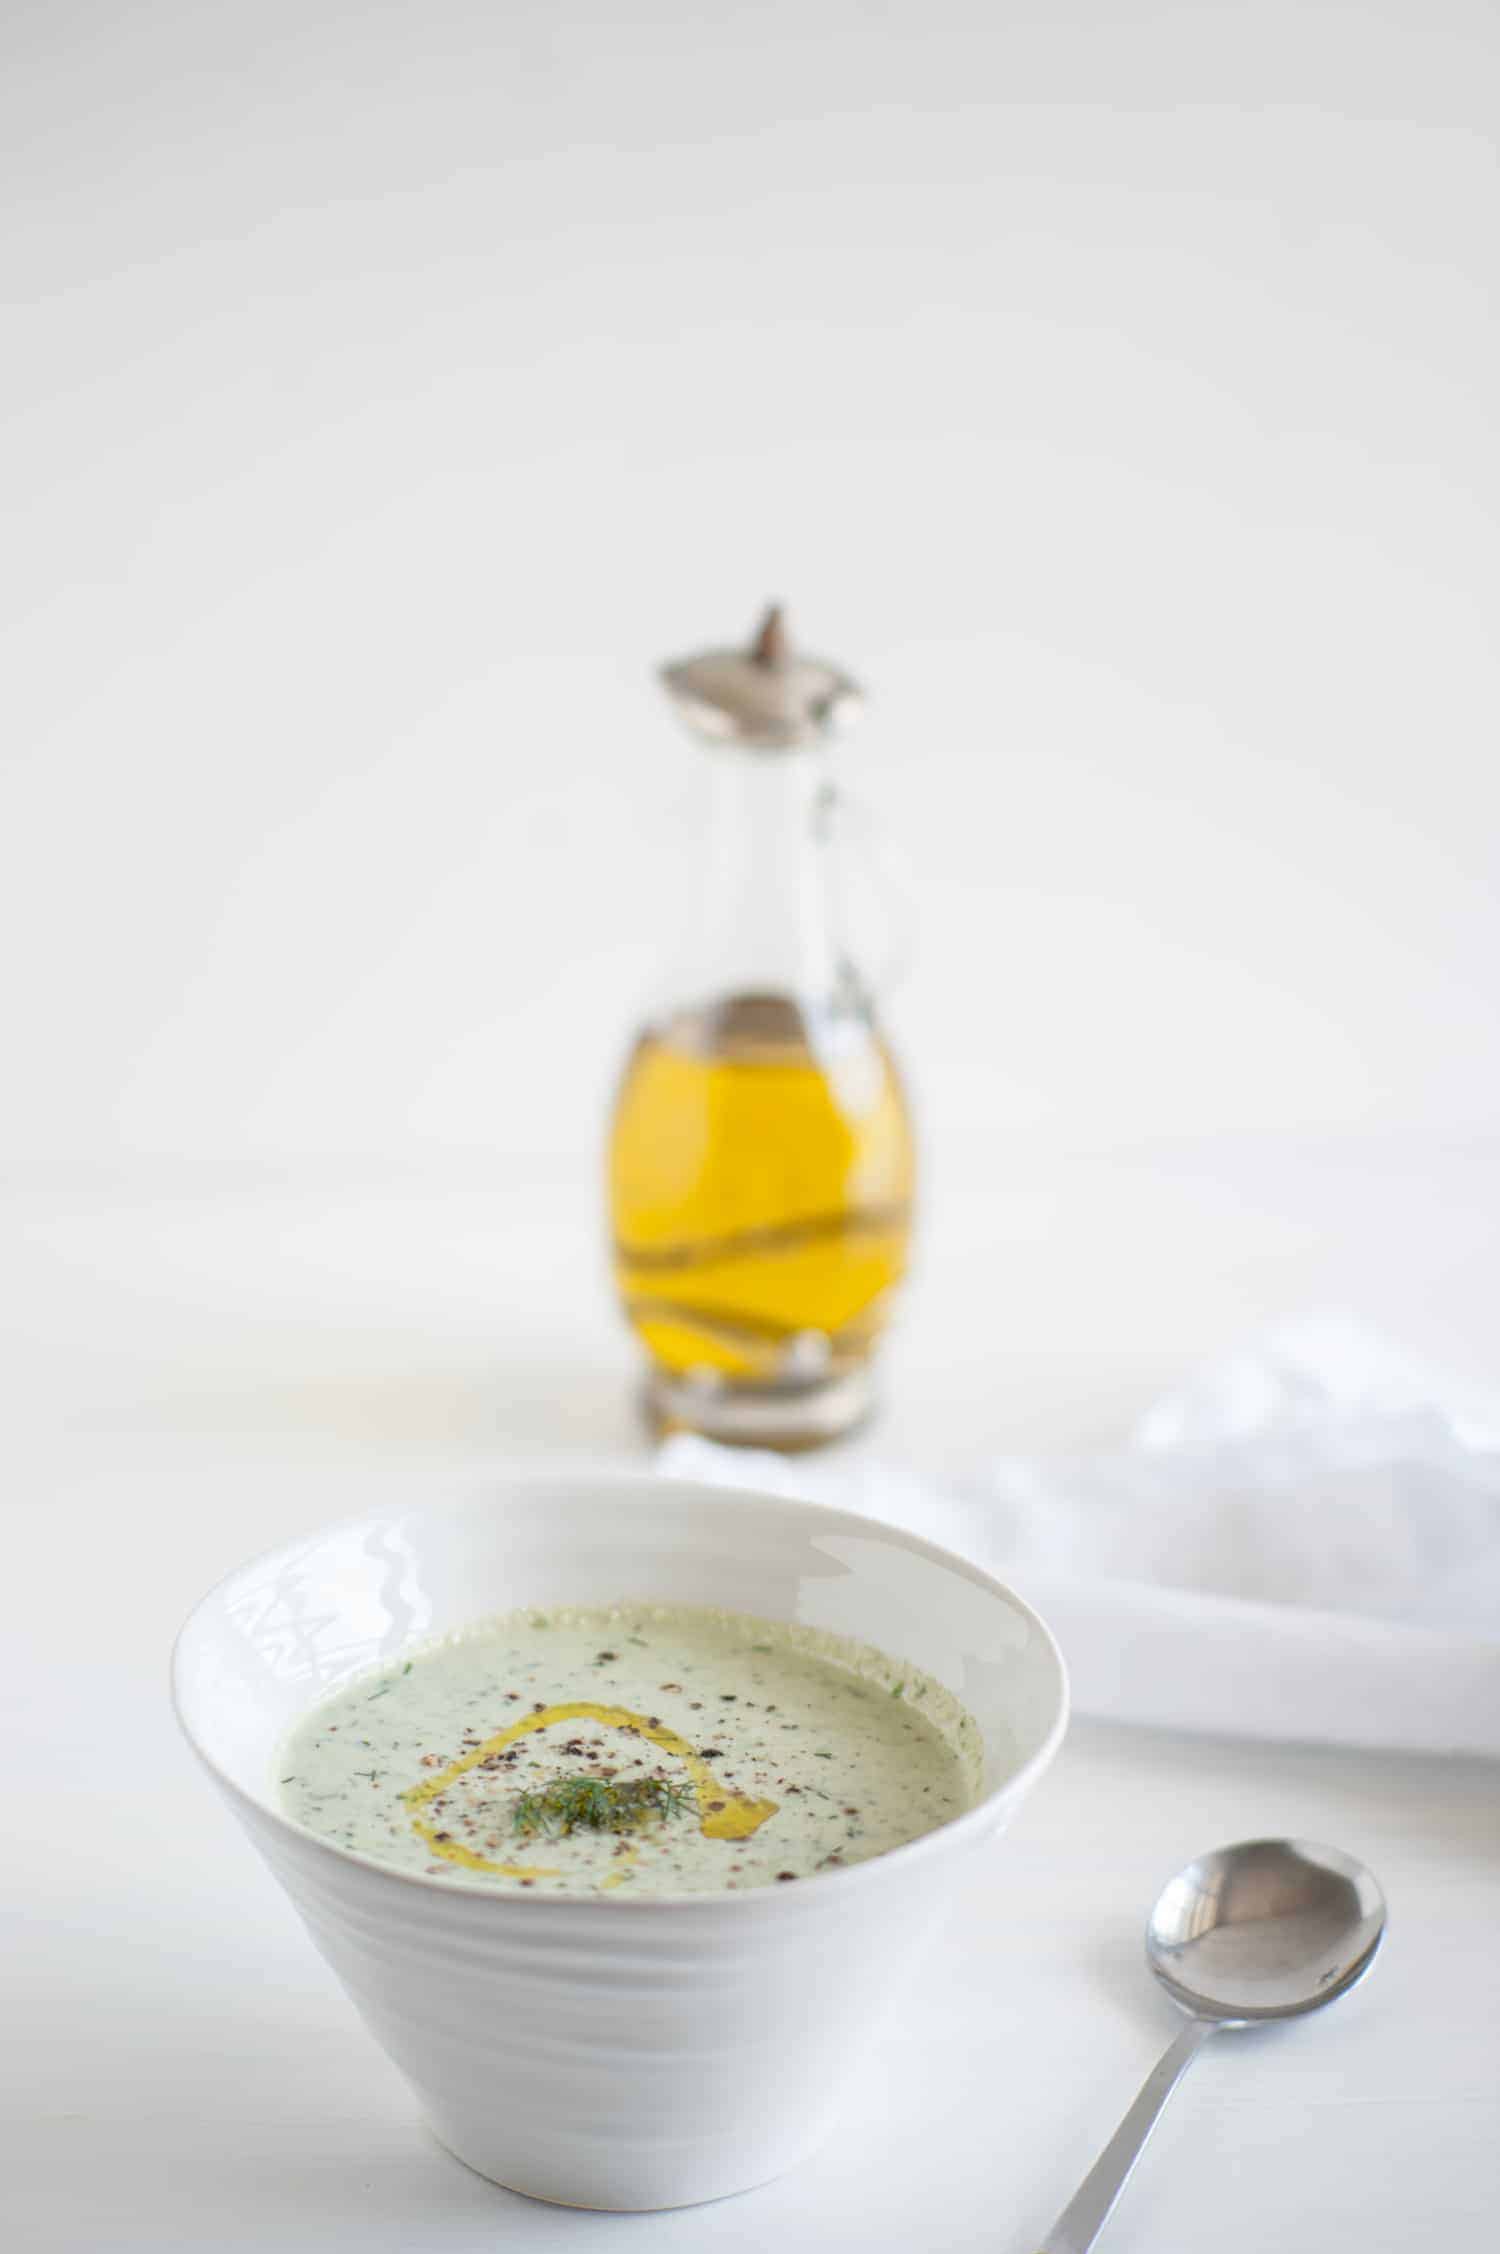
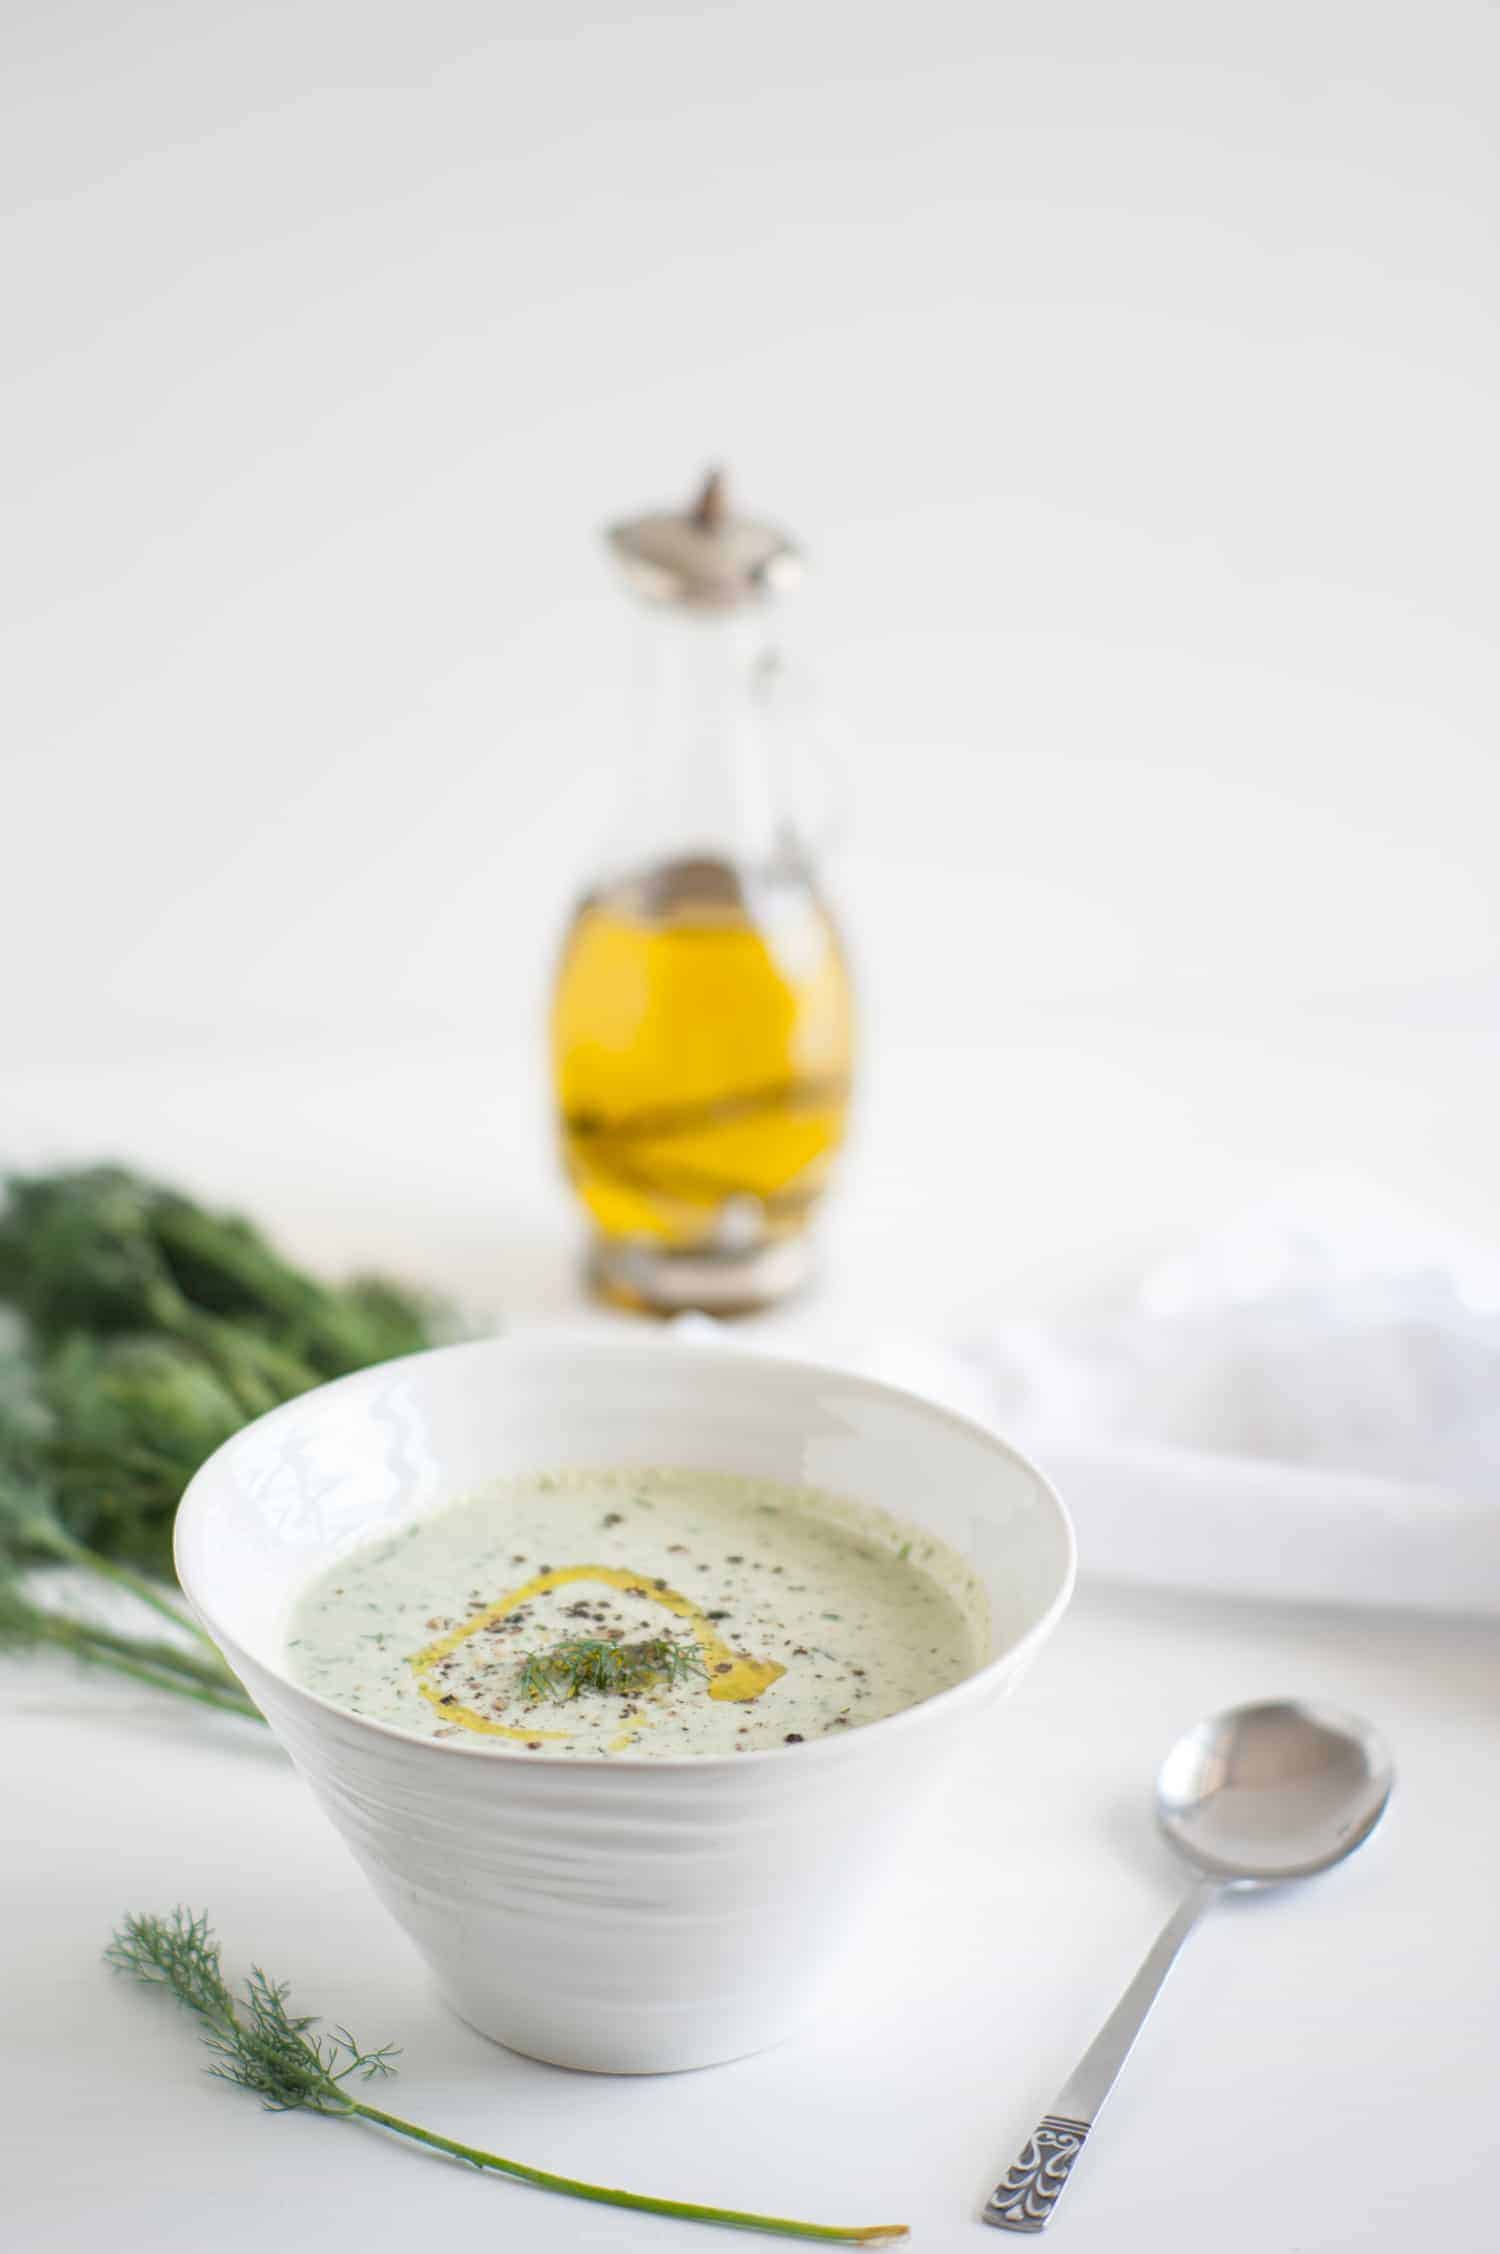
My process for adding to a scene and garnishing the soup. N.B. I never blogged about this. I didn't feel it.
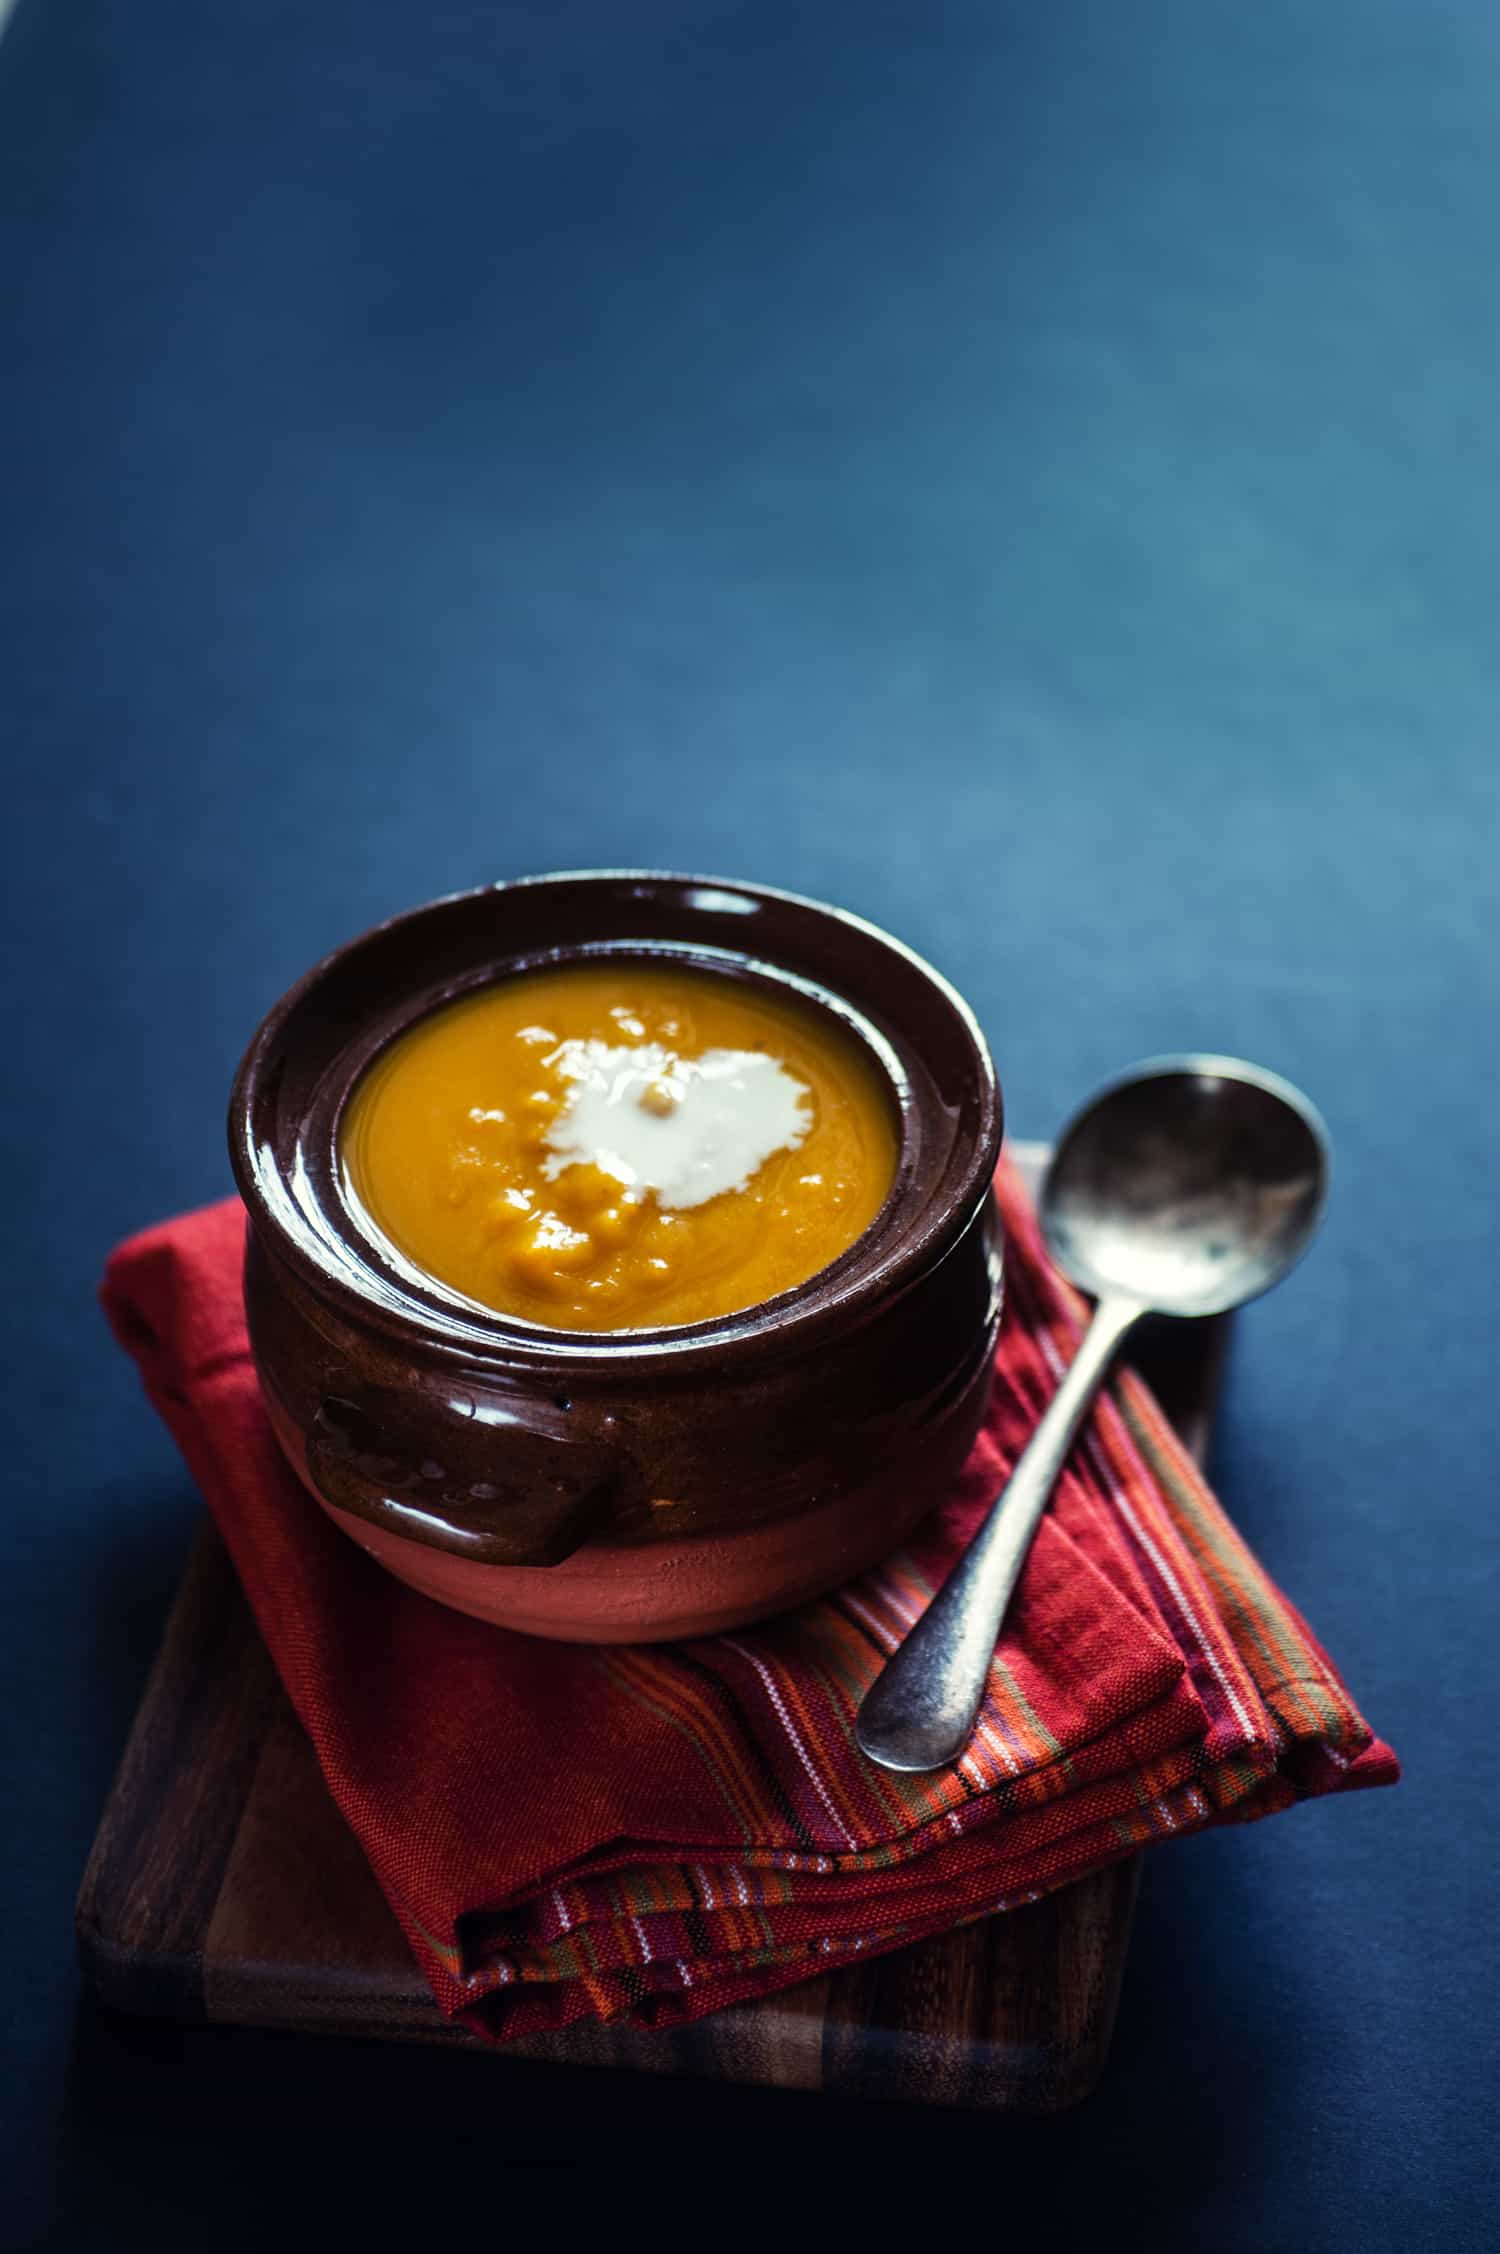
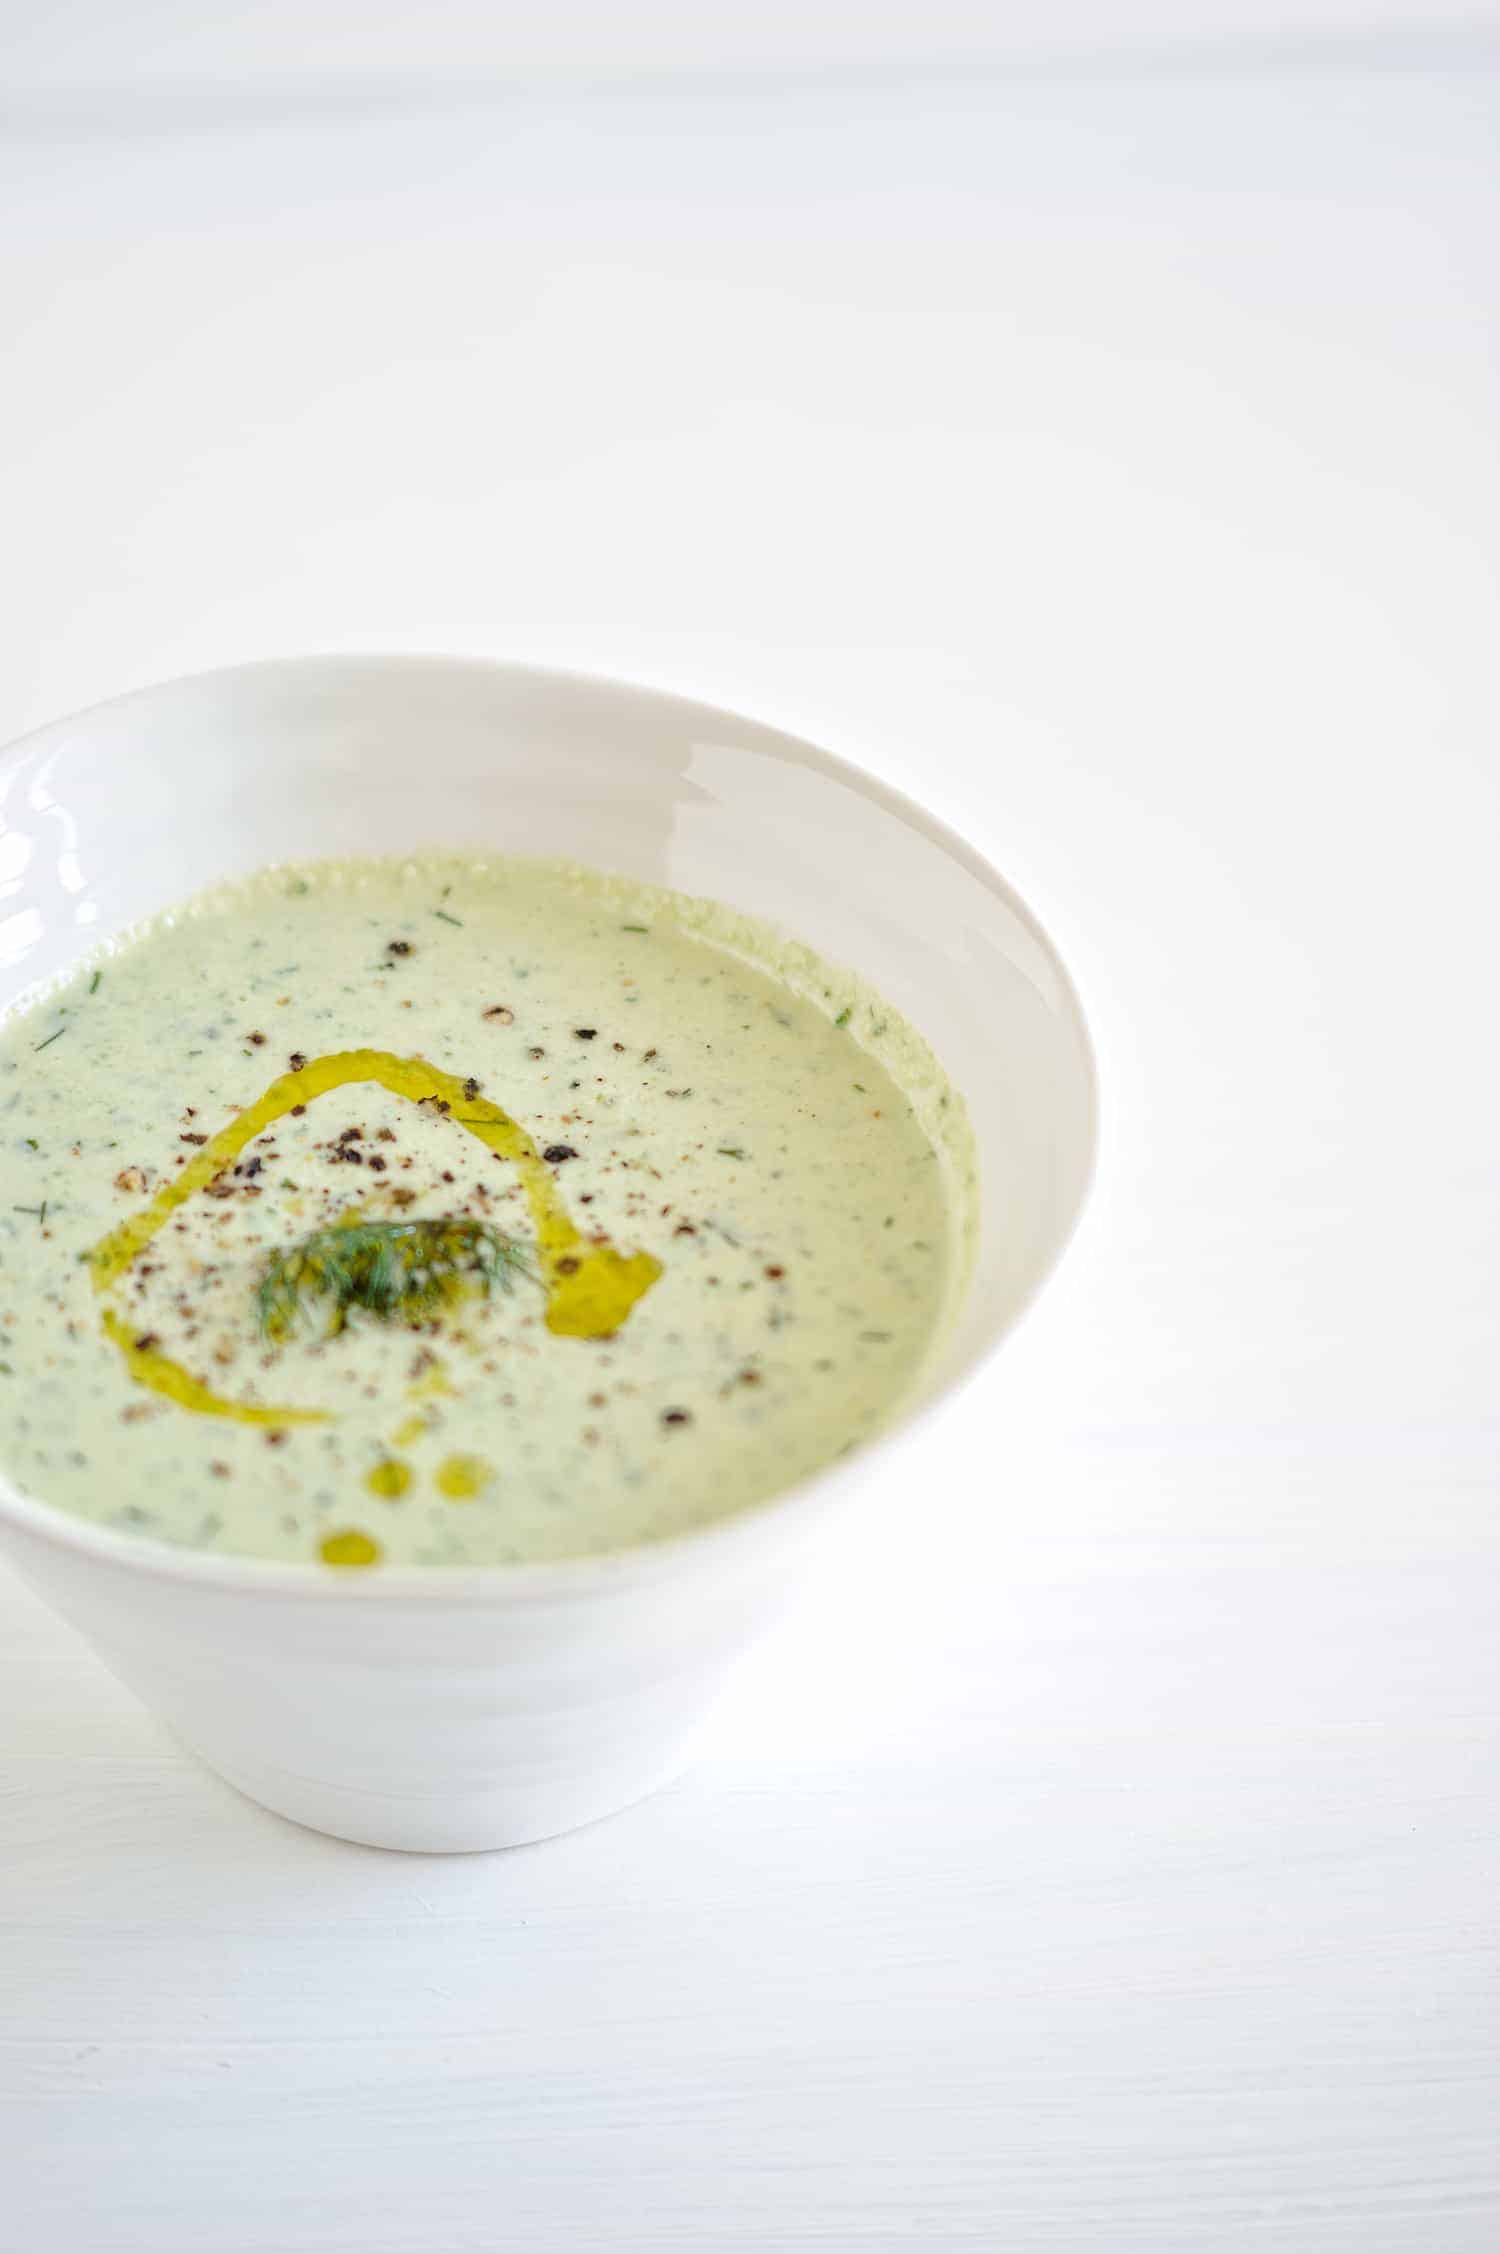
Consider creating a lonely shot. Notice the cream really stands out in all those darker, rich colours
- Soups. These generally have flat surfaces. I like to lift that flat surface by adding a garnish related to the dish. Swirl in some cream, garnish with chopped herbs, drizzle some dark green olive oil or top with little toasts. Maybe you can add a few herbs around the scene. For chunkier soups, I like to first add my chunky ingredients and then ladle in some of the liquid. This way I can create a scene by showing what's actually in the soup.
The shot on the left is quite simple with a simple garnish of basil The one on the right has loads of drama with a busy scene and Parmesan sprinkles
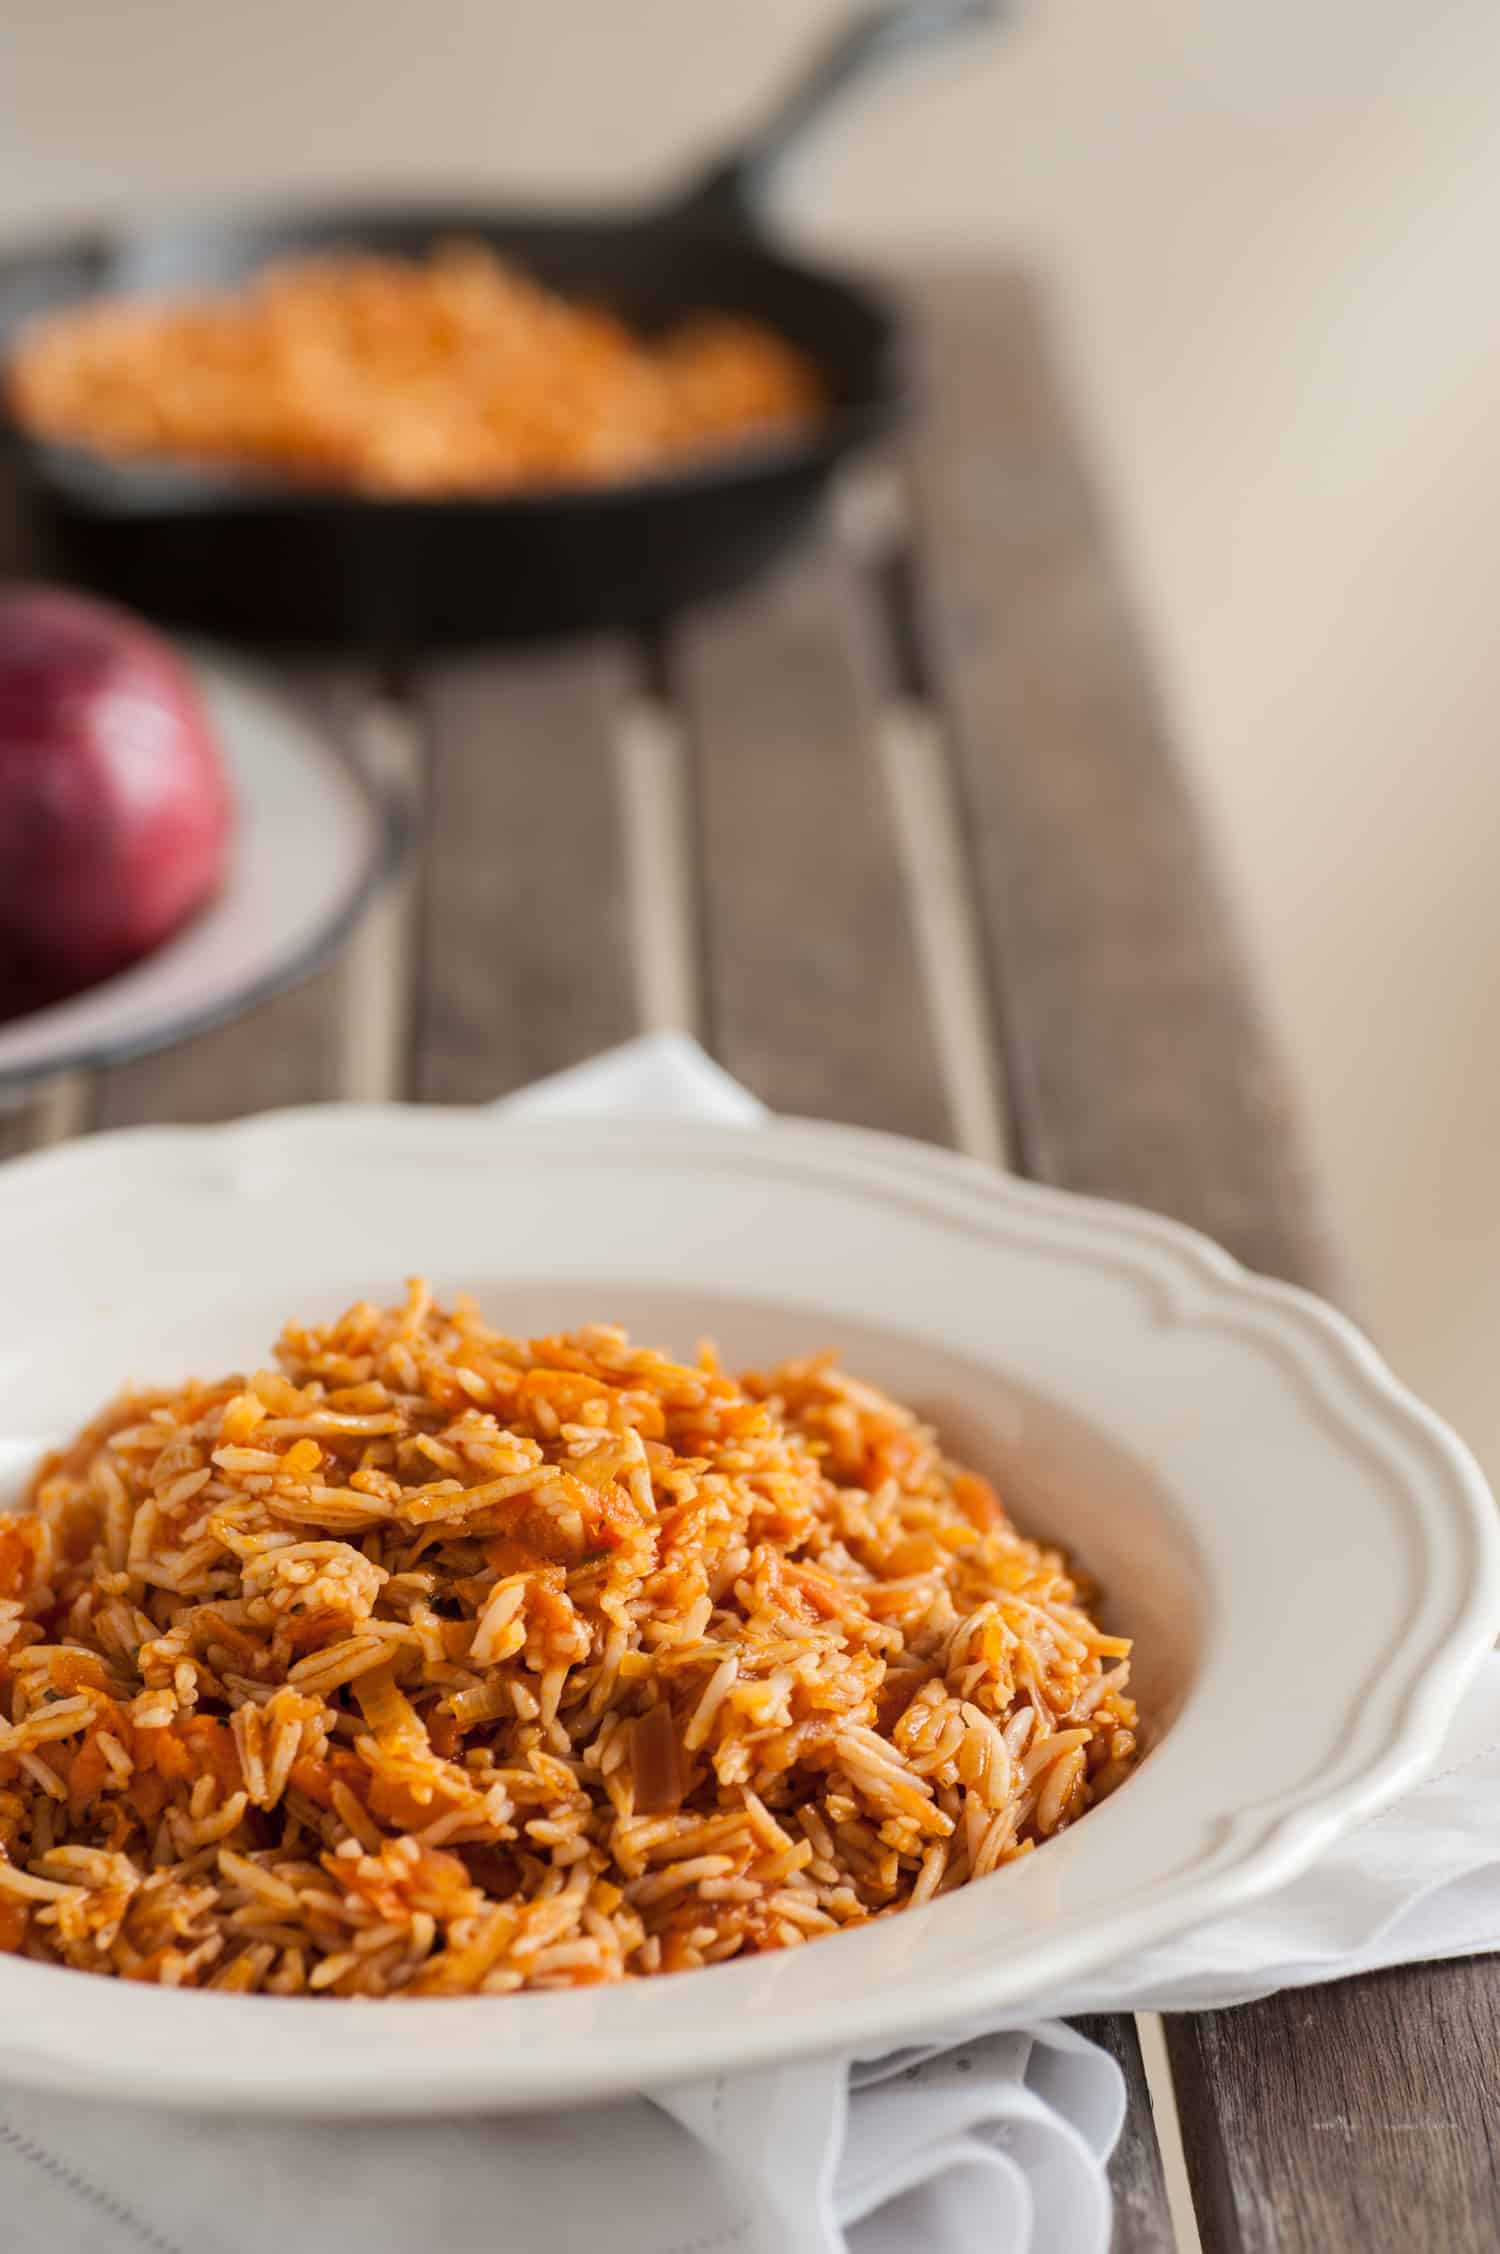
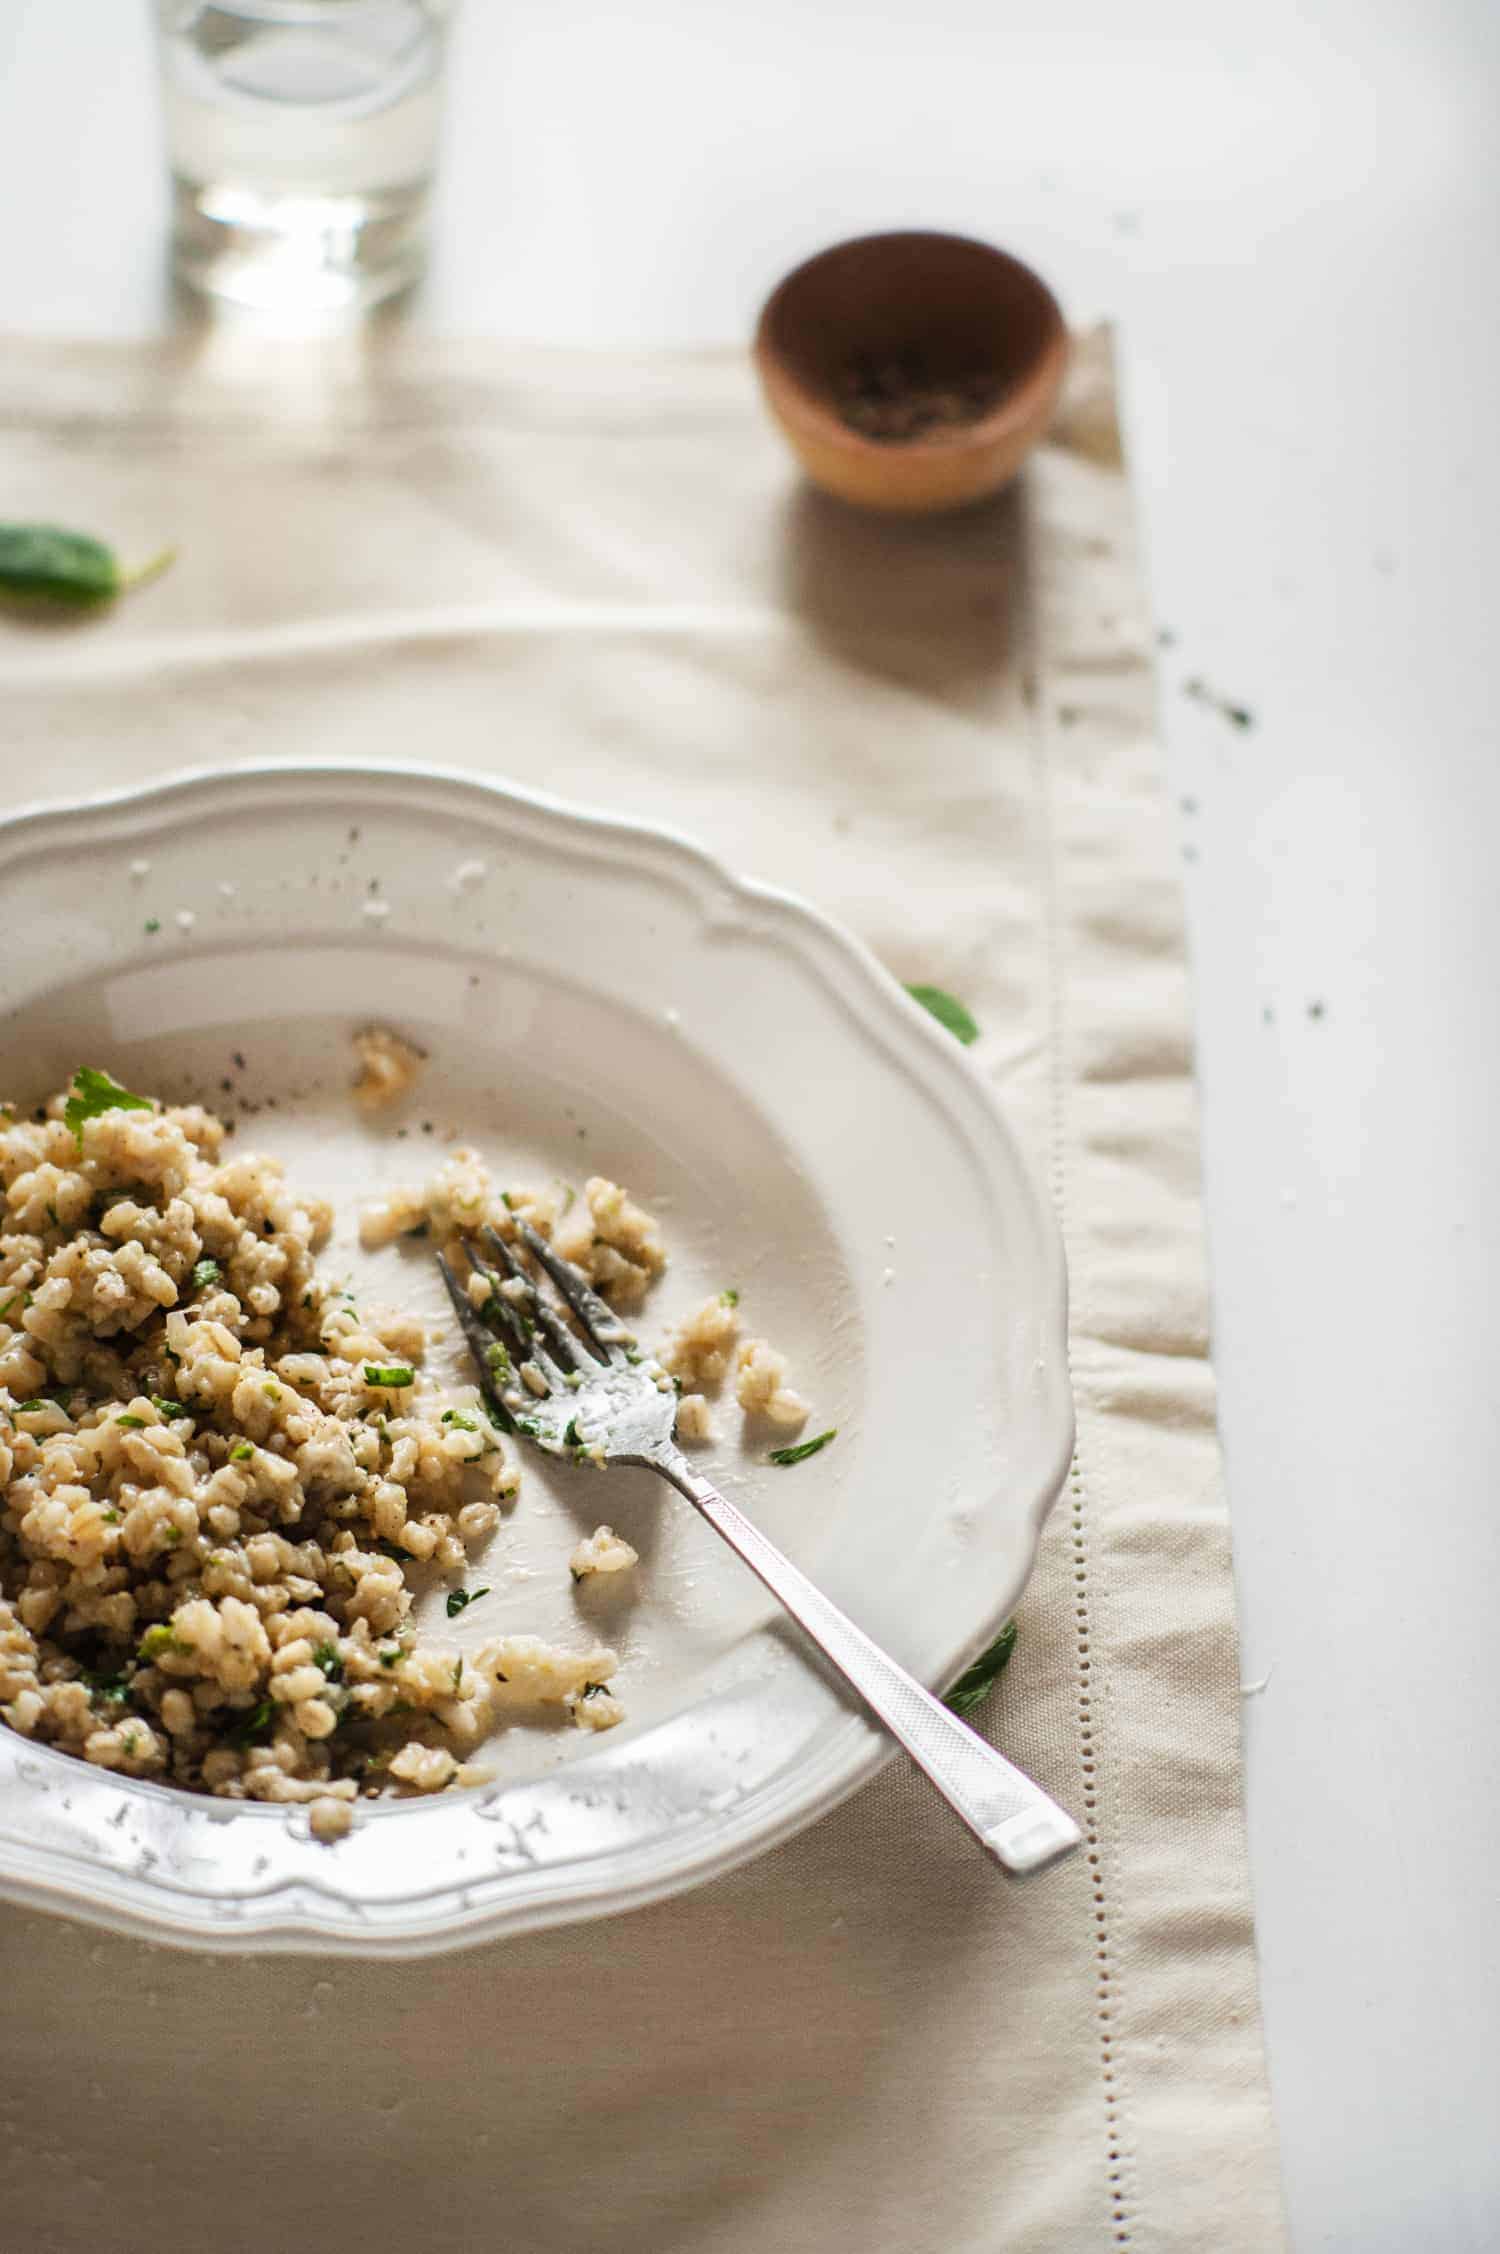
The rice dish on the left is quite simple...notice no garnish etc...! The one on the right is being eaten into and we can see specks of the green garnish
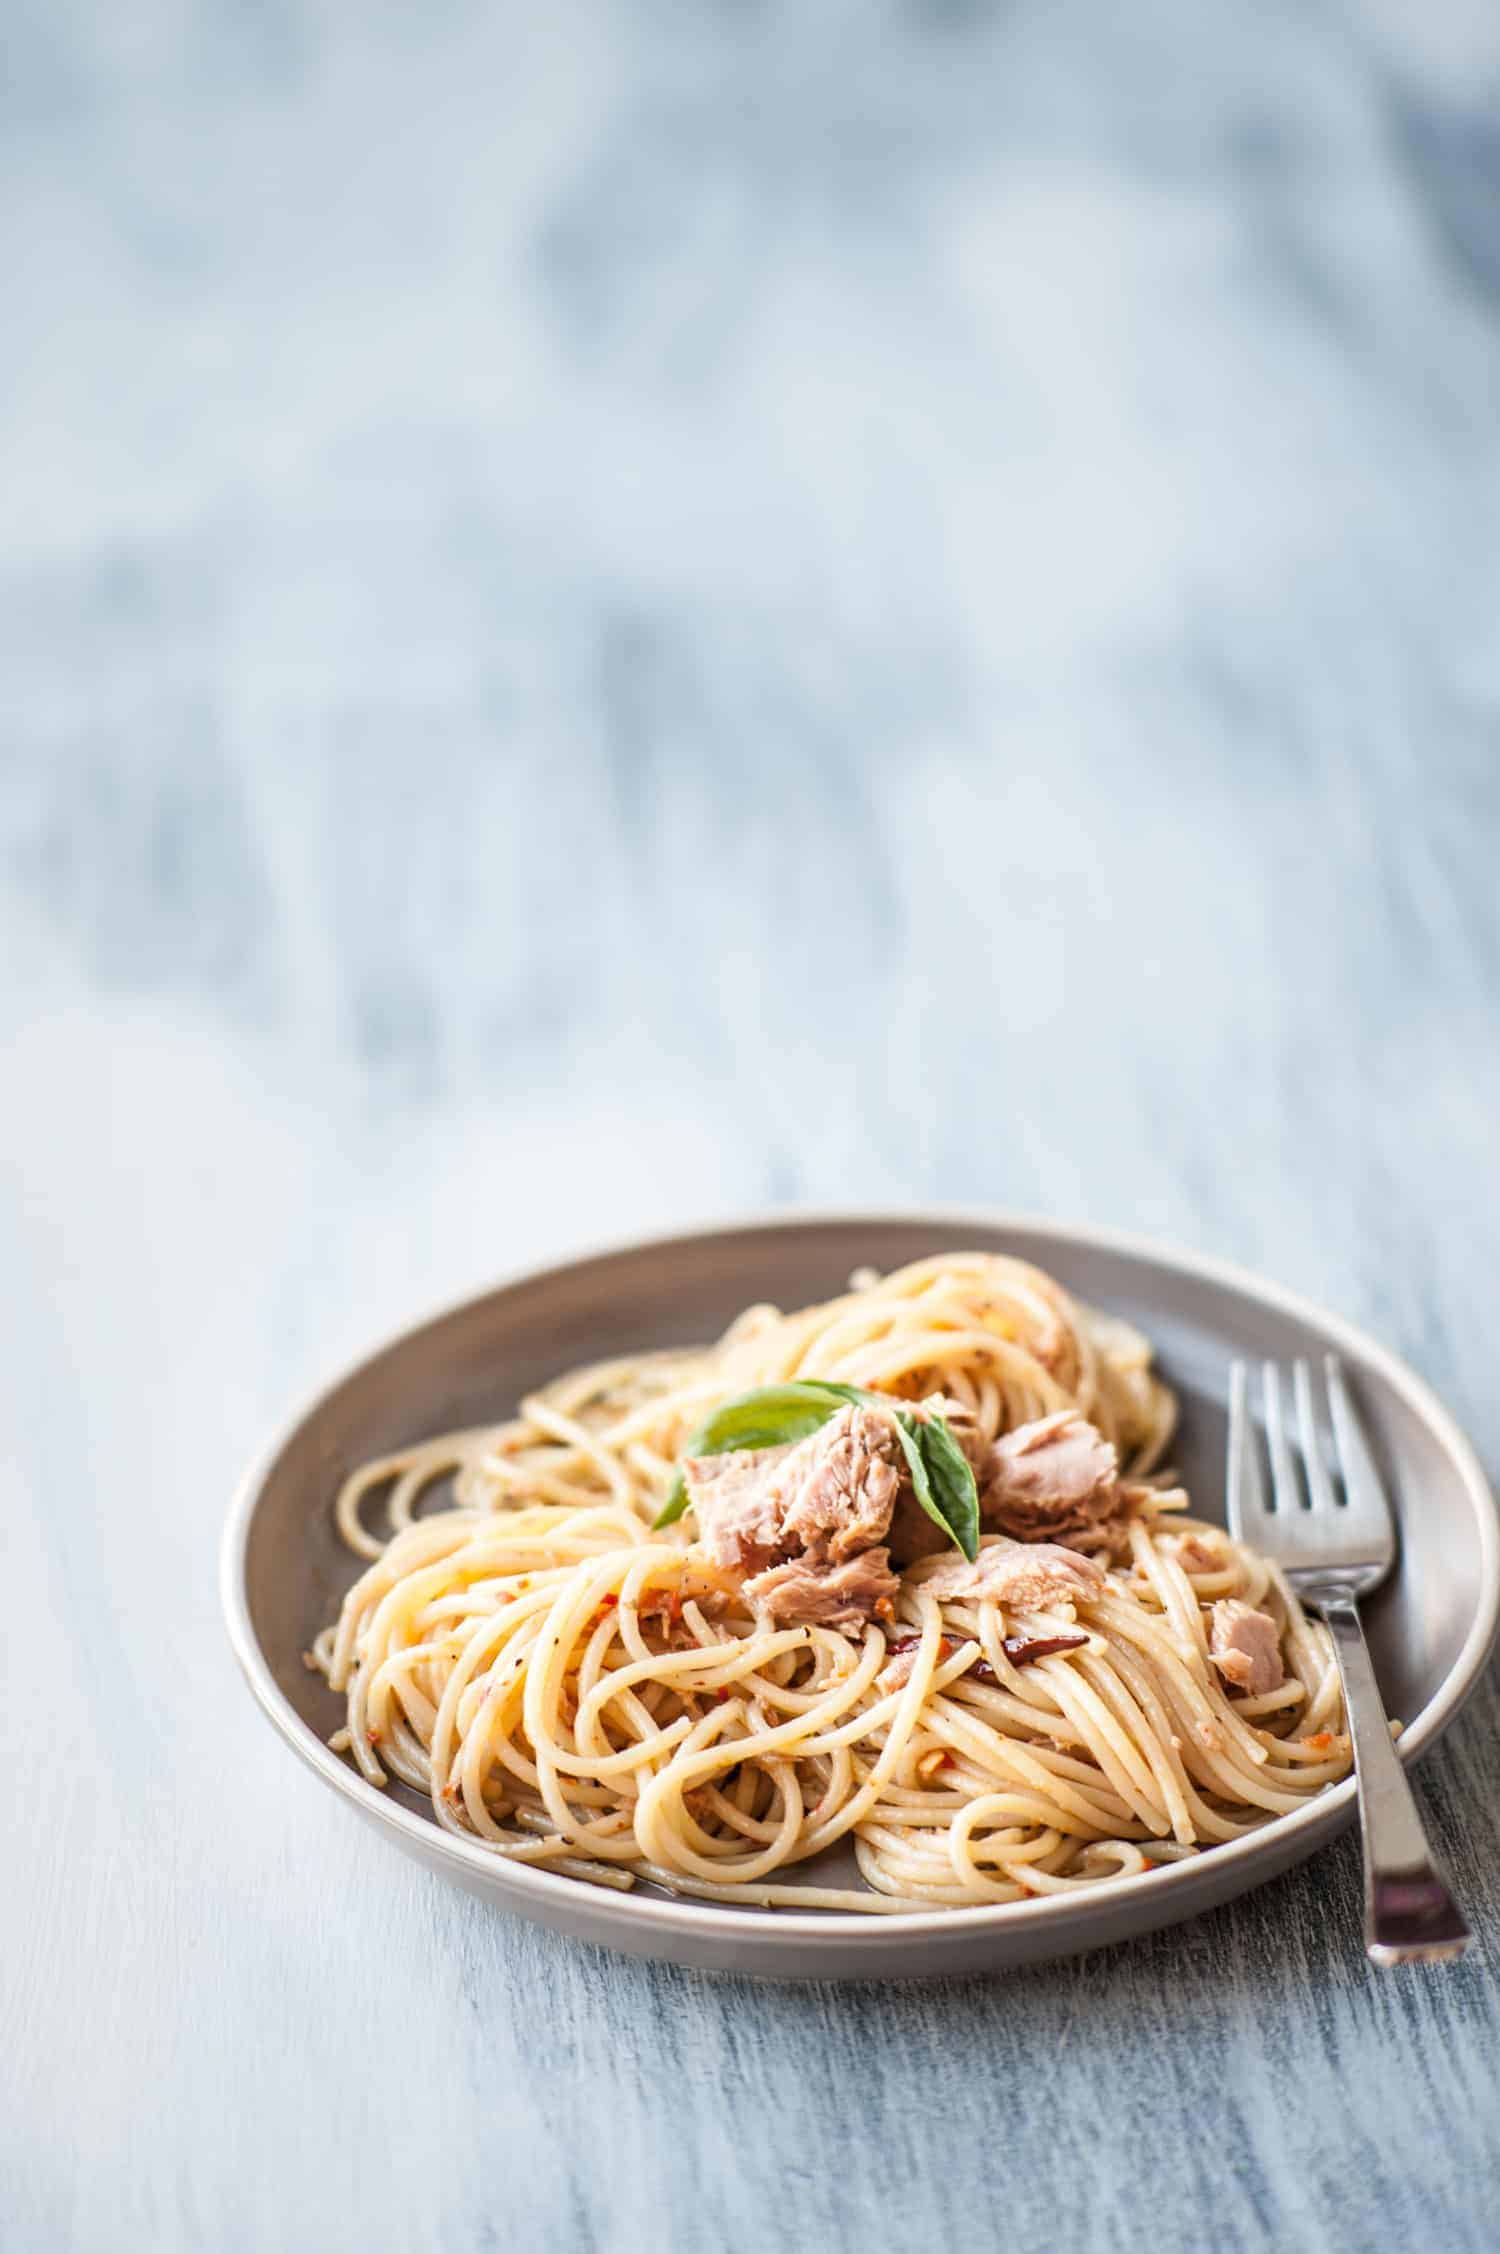
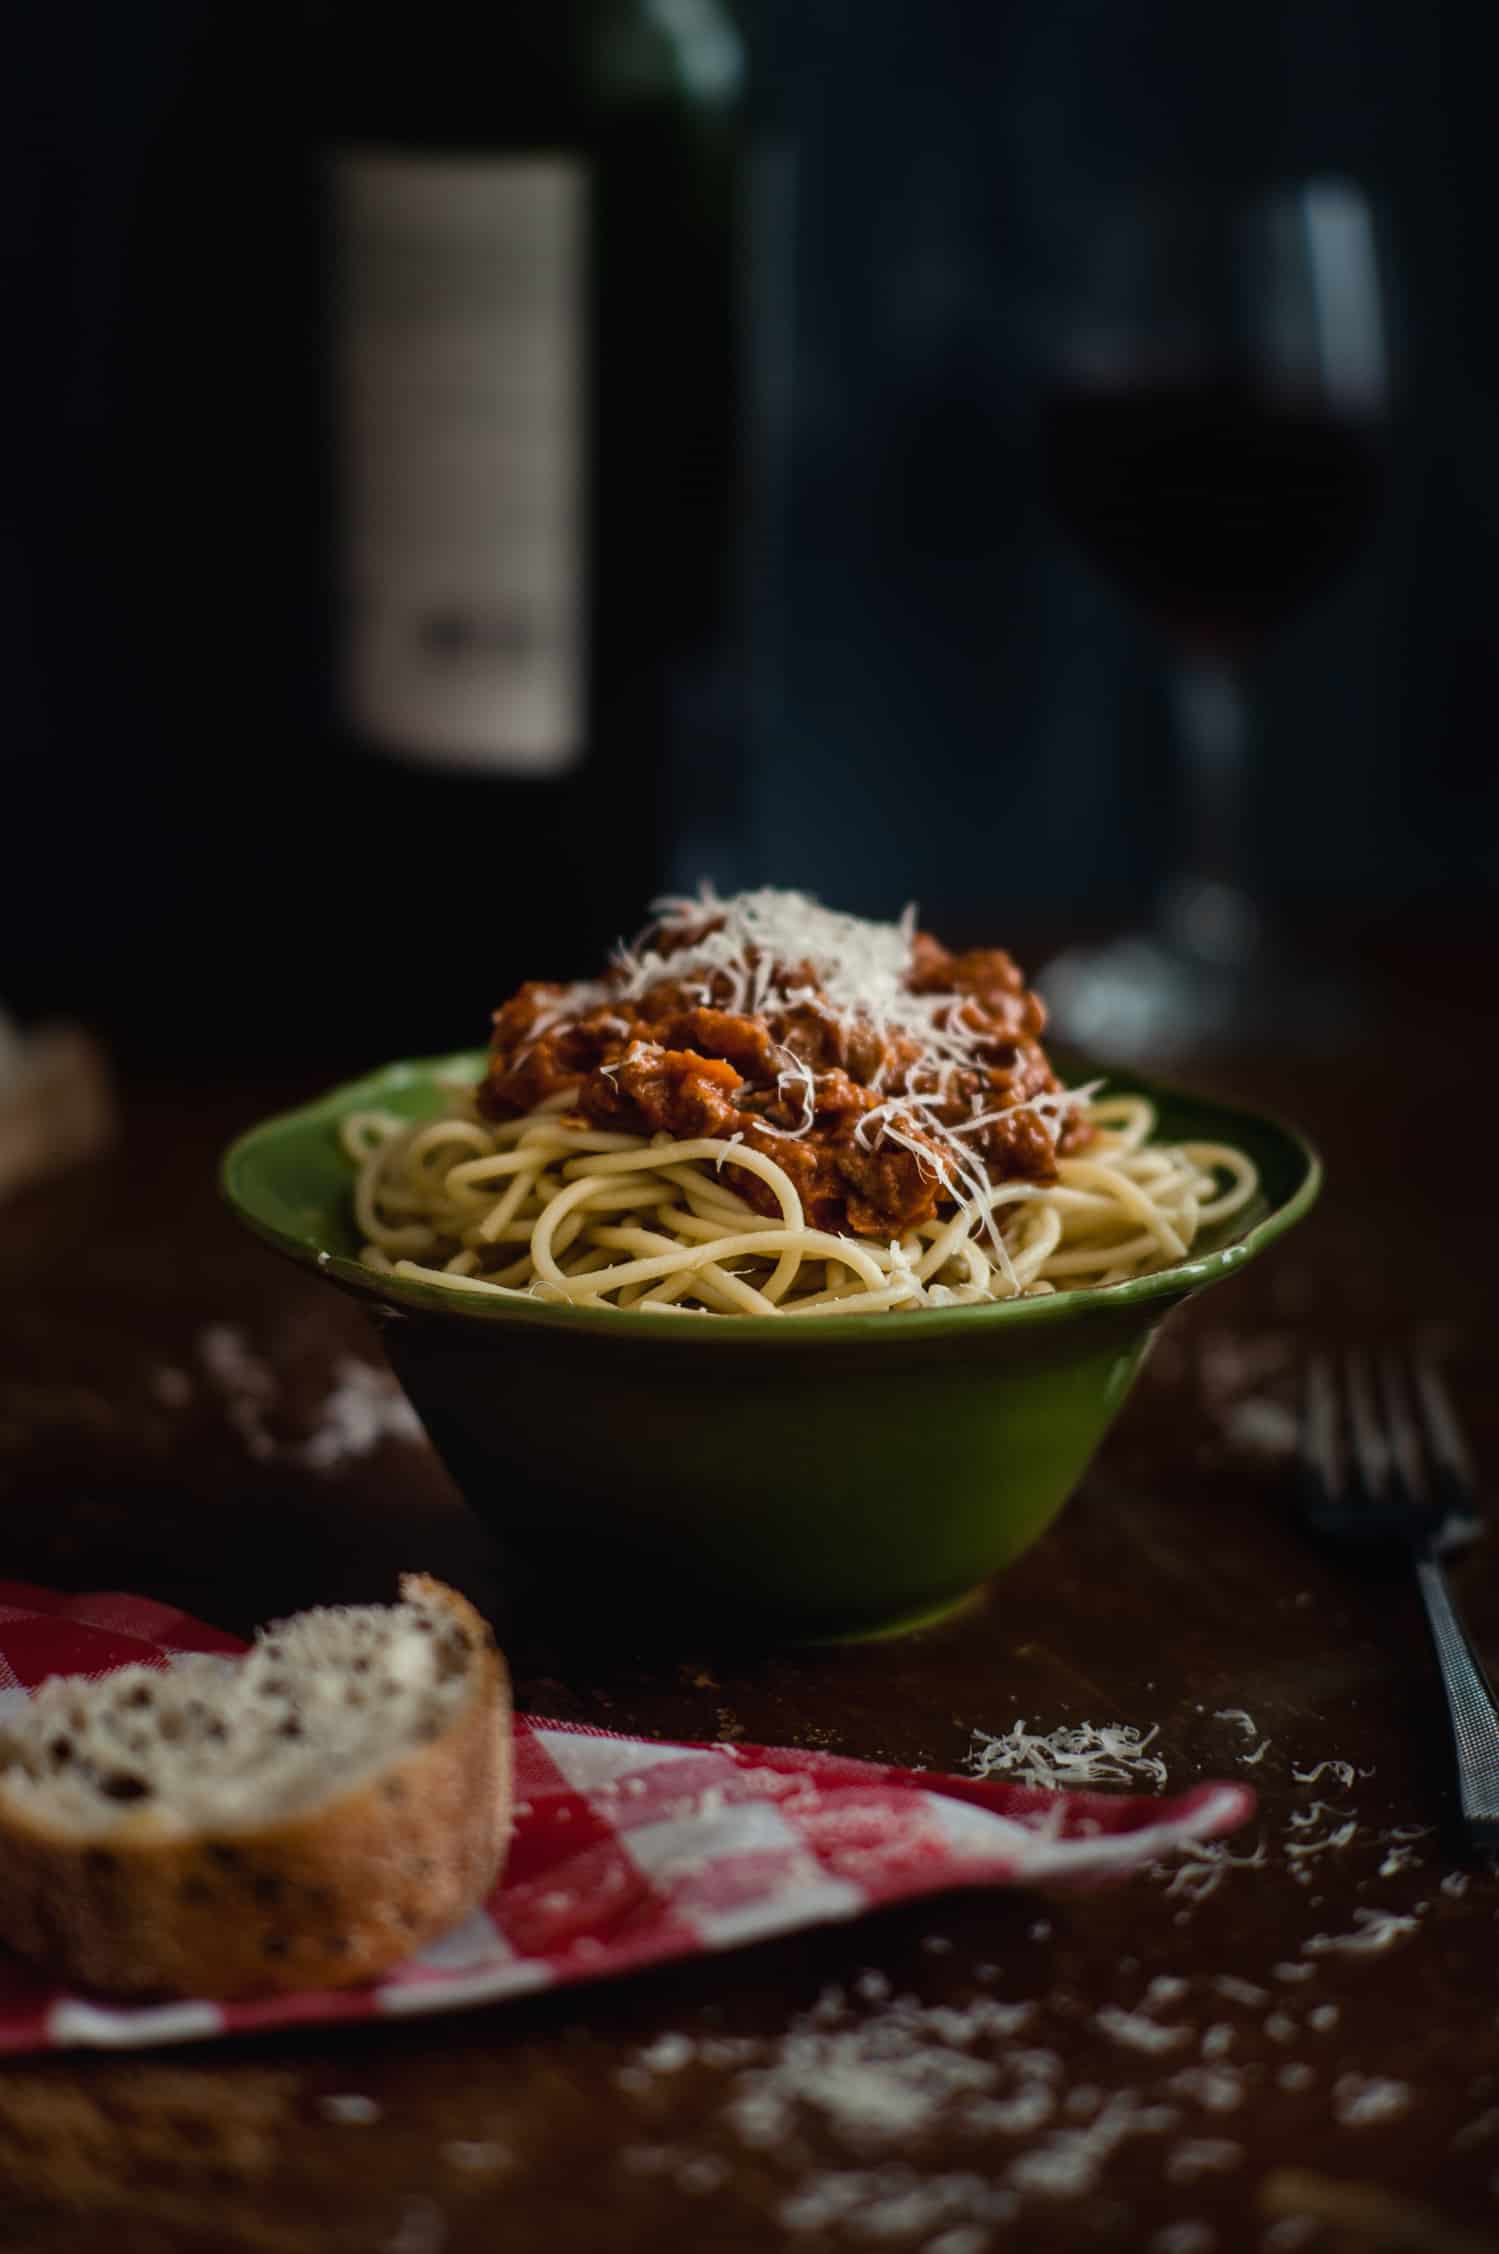
Pastas/rice. Again, you have a whole range of options here. Lift the pasta dish by adding sauce, sprinkle grated Parmesan cheese on top and around the dish. I often tend to do this to create a little drama. Other times, I like to eat half my dish and then photograph it! (very quickly, mind you!). Like I did in the above shot of my pearl barley risotto.
Out of time/too tired for any styling. If you just want to cook and quickly photograph your dish without worrying about “styling” I have some some friendly advice for you too. Consider adding “something” (related to the dish...of course!) to the background of your scene to “bulk” it up a little. For eg if you cooked a nice lasagna and you’re serving it up, think about adding a glass of wine or a salad in the background. If you don’t have any of those or choose not to serve those then perhaps you could place the tray (the one you cooked it in) in the background. Have fun and experiment a little. You never know. You may just choose to cross over to the dark side of food styling! LOL!
PROP STYLING
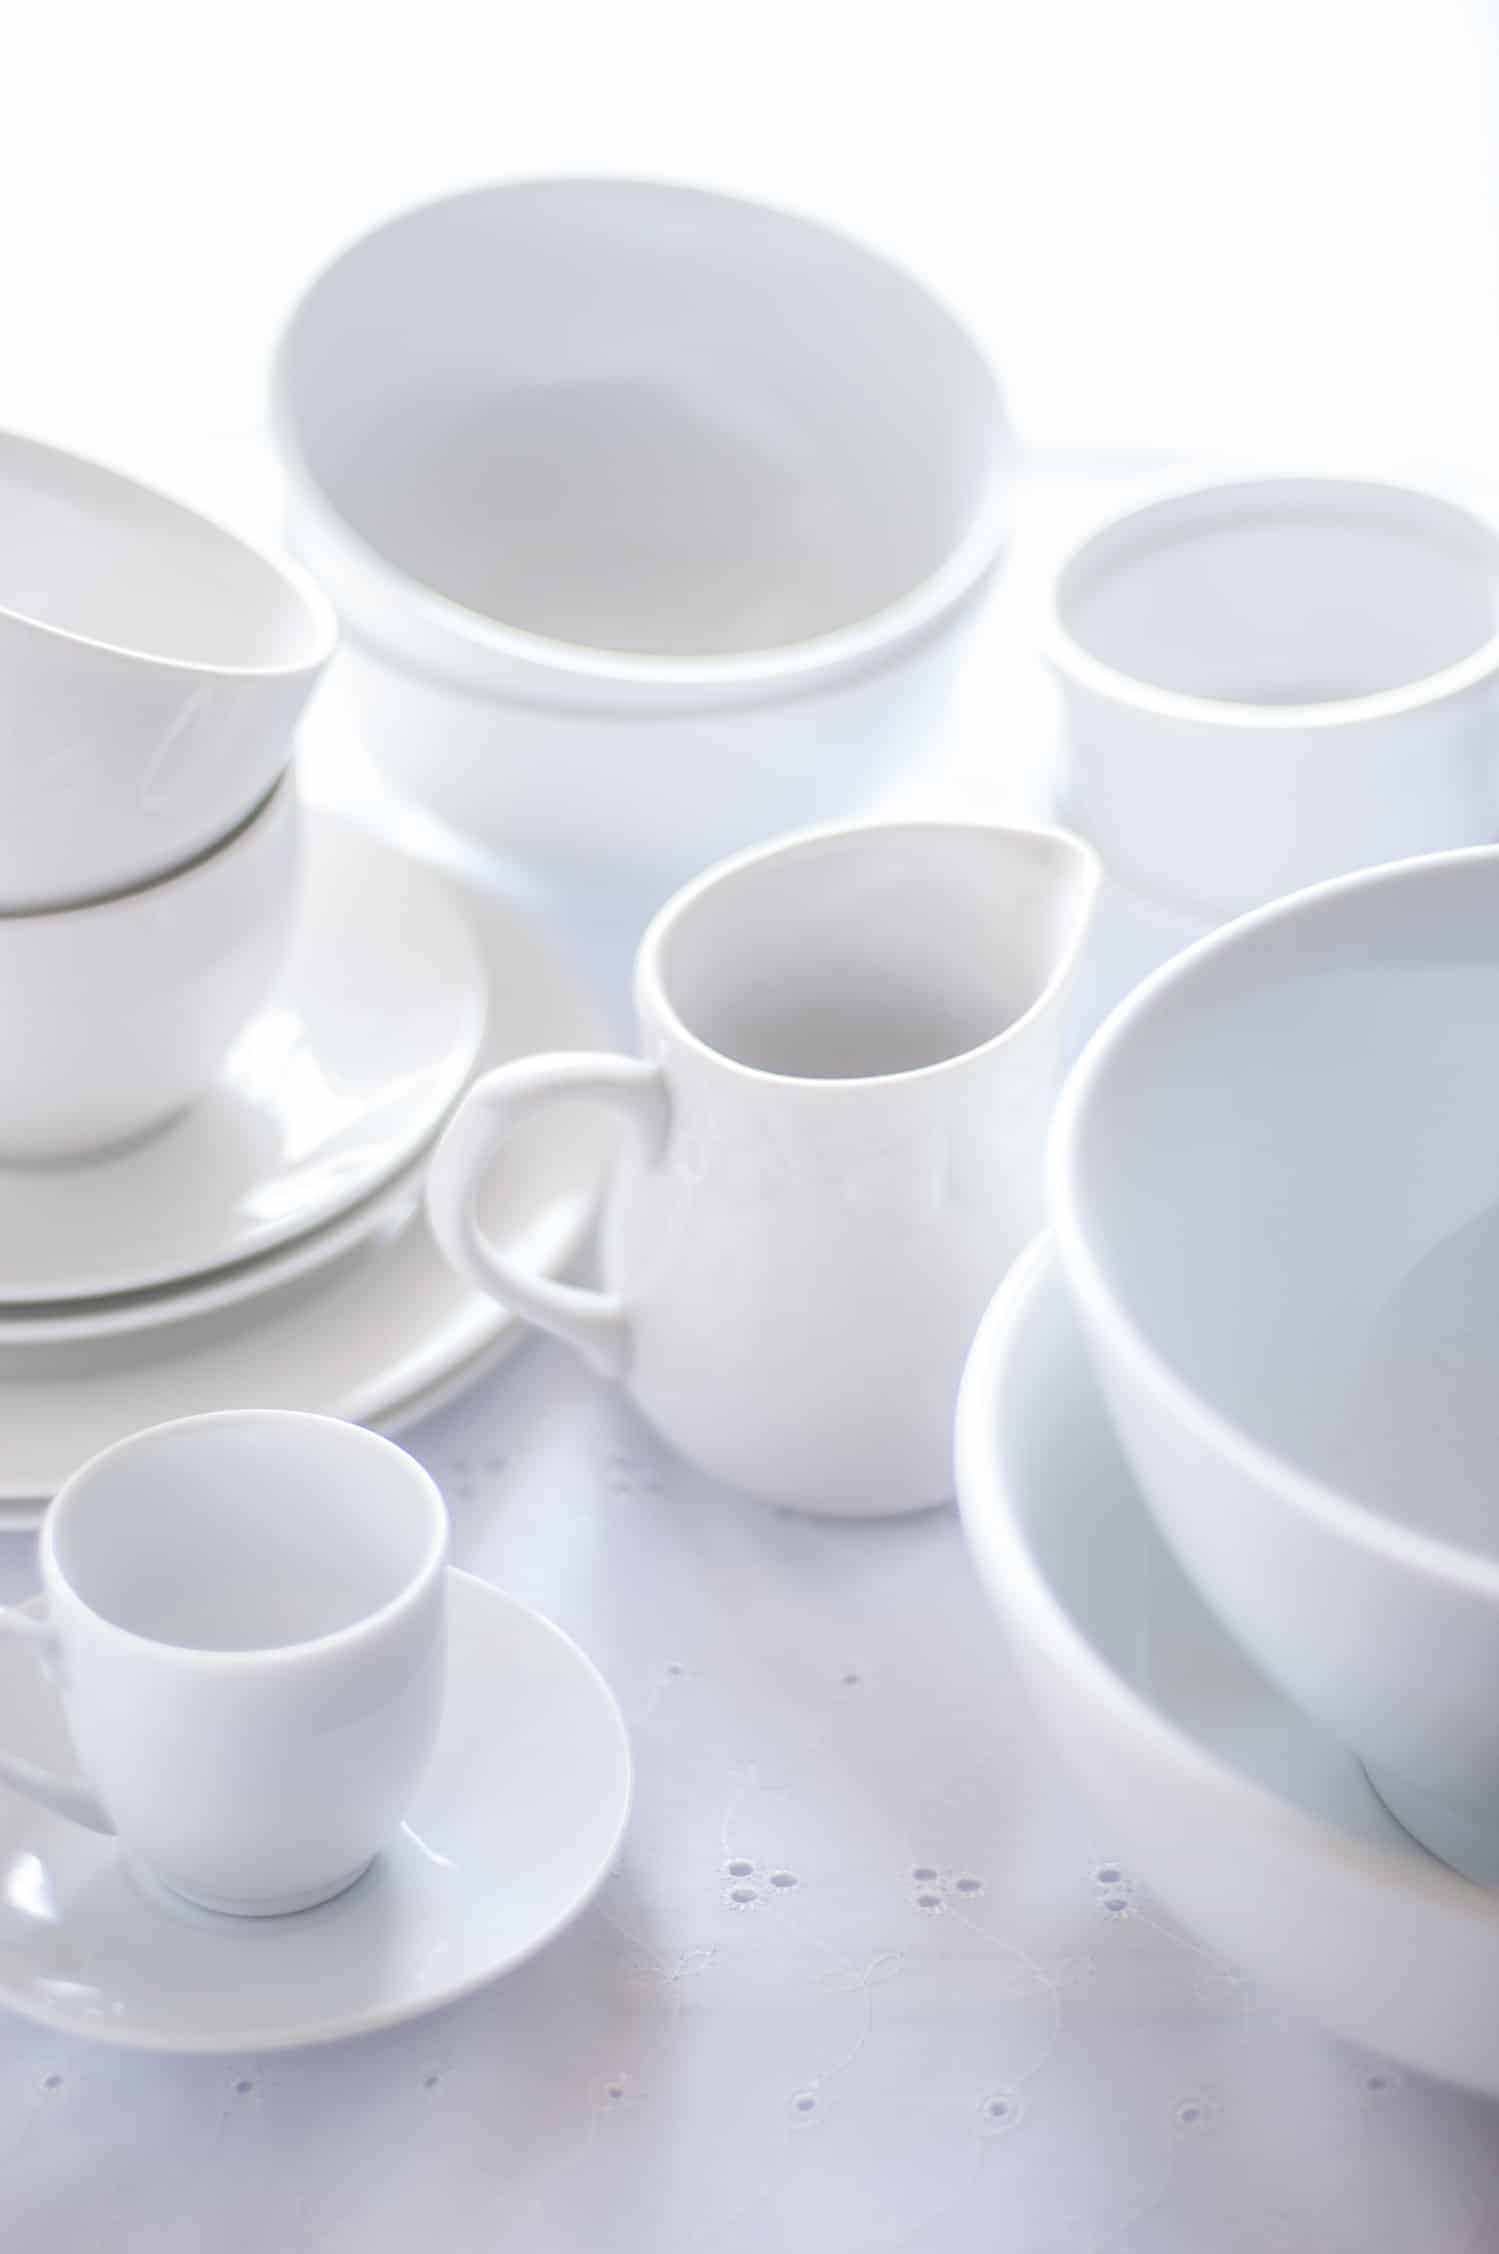
Part of my white collection!
My best advice here would be to say “be wary”. Prop styling can be addictive. In the early stages I couldn't walk past a homewares shop without stepping in to “have a look”. Before I knew it I had walked away with a single one of everything!!! These days I'm a lot more reserved, plus I already have a huge amount of props.
Apart from the modern stuff, I'm always on the lookout for vintage inspired gear. Flea markets, garage sales and opportunity/goodwill shops are great places for adding that “last one piece” to the collection. I even stop by and “help myself” when people are clearing rubbish from their houses. I'm definitely a believer of the old saying that “one mans trash is another mans treasure”. And remember you don't have to purchase whole sets of anything. Most items I own are single pieces from larger collections.
Loads of linen. You can never have enough!
Recently I took to painting old beaten up boards to give them a “lived in look”. Personally, I found this experiment a little frustrating because I don't have the painting skills of a decorator. Also, I found the paint to be quite expensive! To sum it up, I just like to mix and match my props from a variety of sources. I'm often combining modern pieces with vintage and depending on the scene I might include a cloth.
Again, these single cloths are single purchases I've made of napkins, kitchen towels or fabric off cuts from op shops. If you want to build a collection I advise you to take baby steps. Start small and add slowly. This will also prevent you from making impulse purchases like I used to do!
I hope you've enjoyed my casual guide to food and prop styling for food bloggers. Like I said to the participants of the class, play around and experiment. The more you practice, the better you will be at creating that perfect scene in your head come to life. And most importantly, have fun. I'm all for serious learning but sometimes in this crazy, mad world it's good to take a step back and have a little giggle.
Thanks for reading!
Peter G
Thank you everyone!