

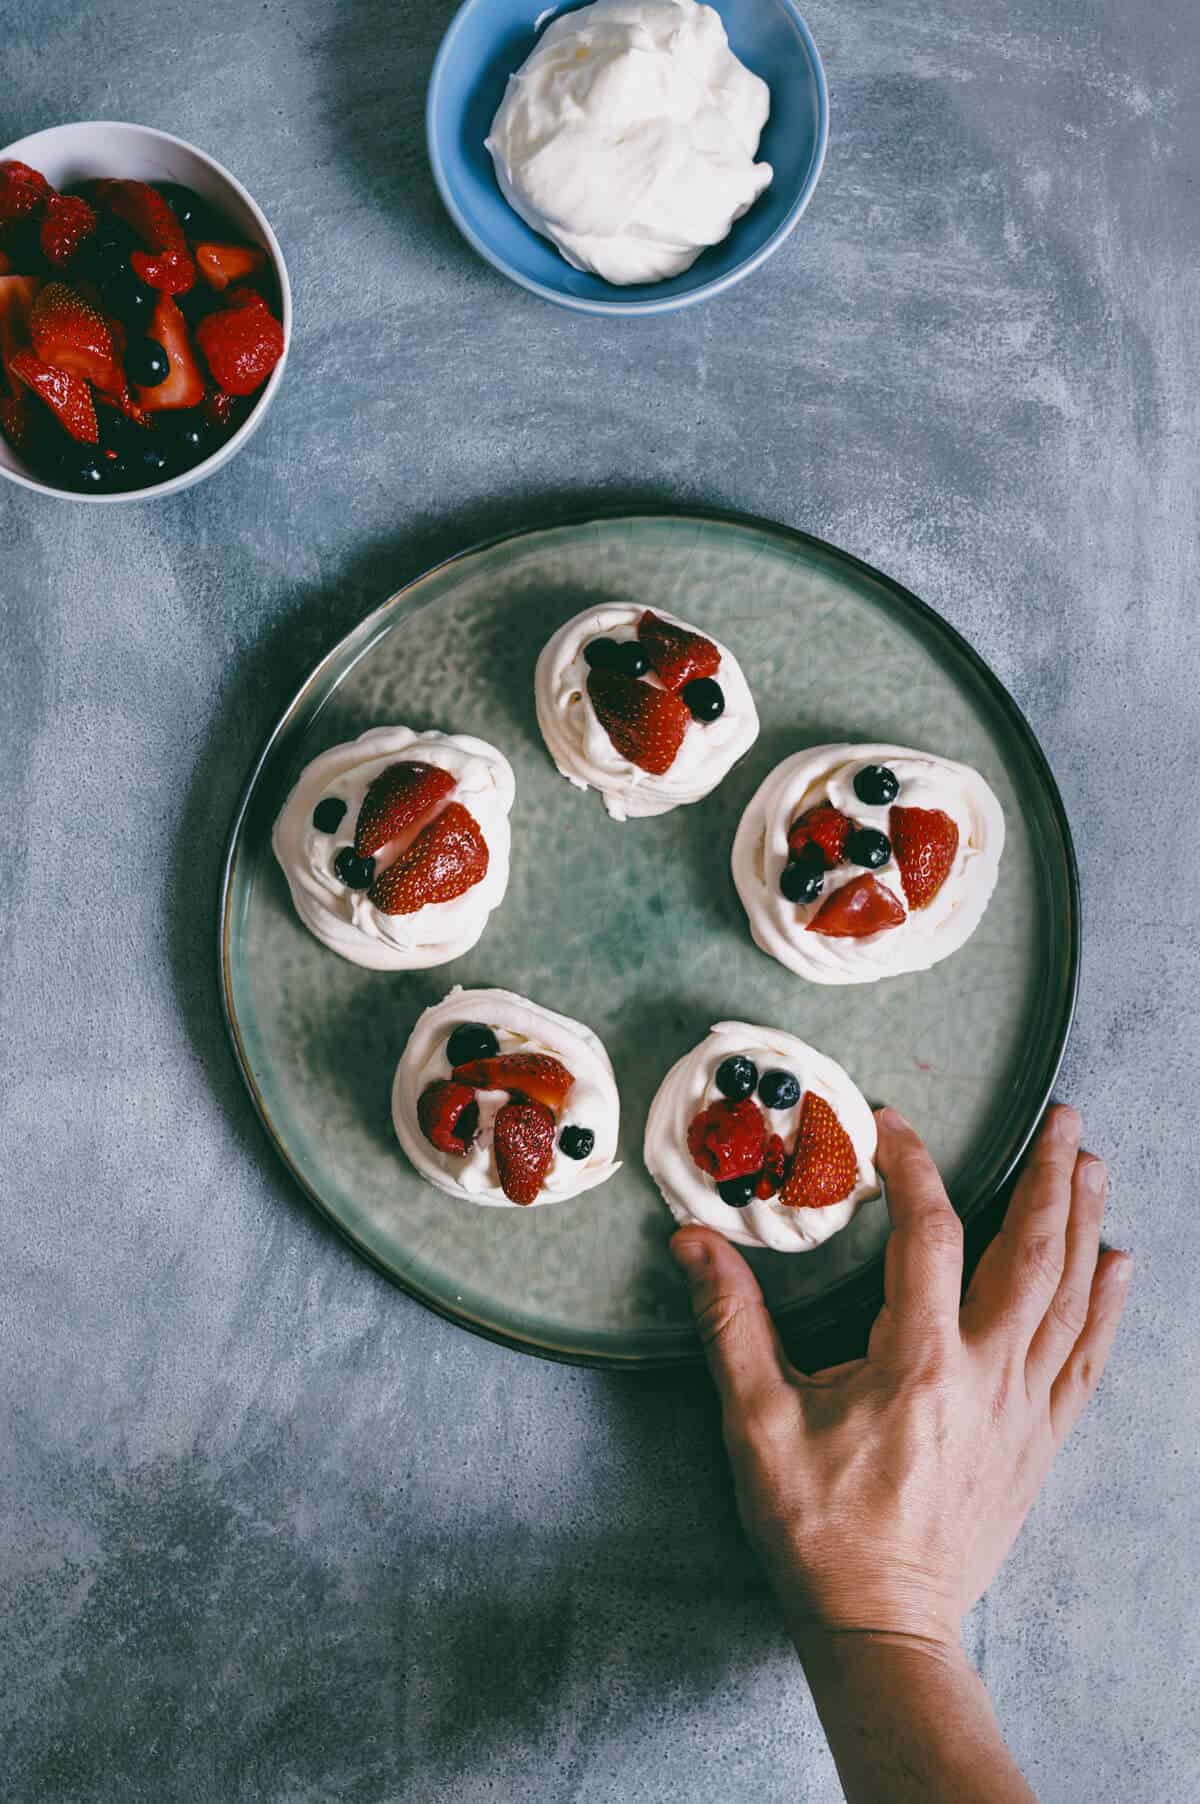
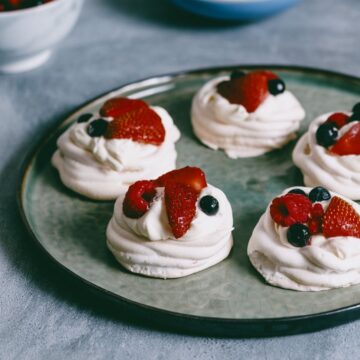
Filled with whipped cream and topped with fresh fruit - these mini pavlova nests will be a hit at your next summer gathering.
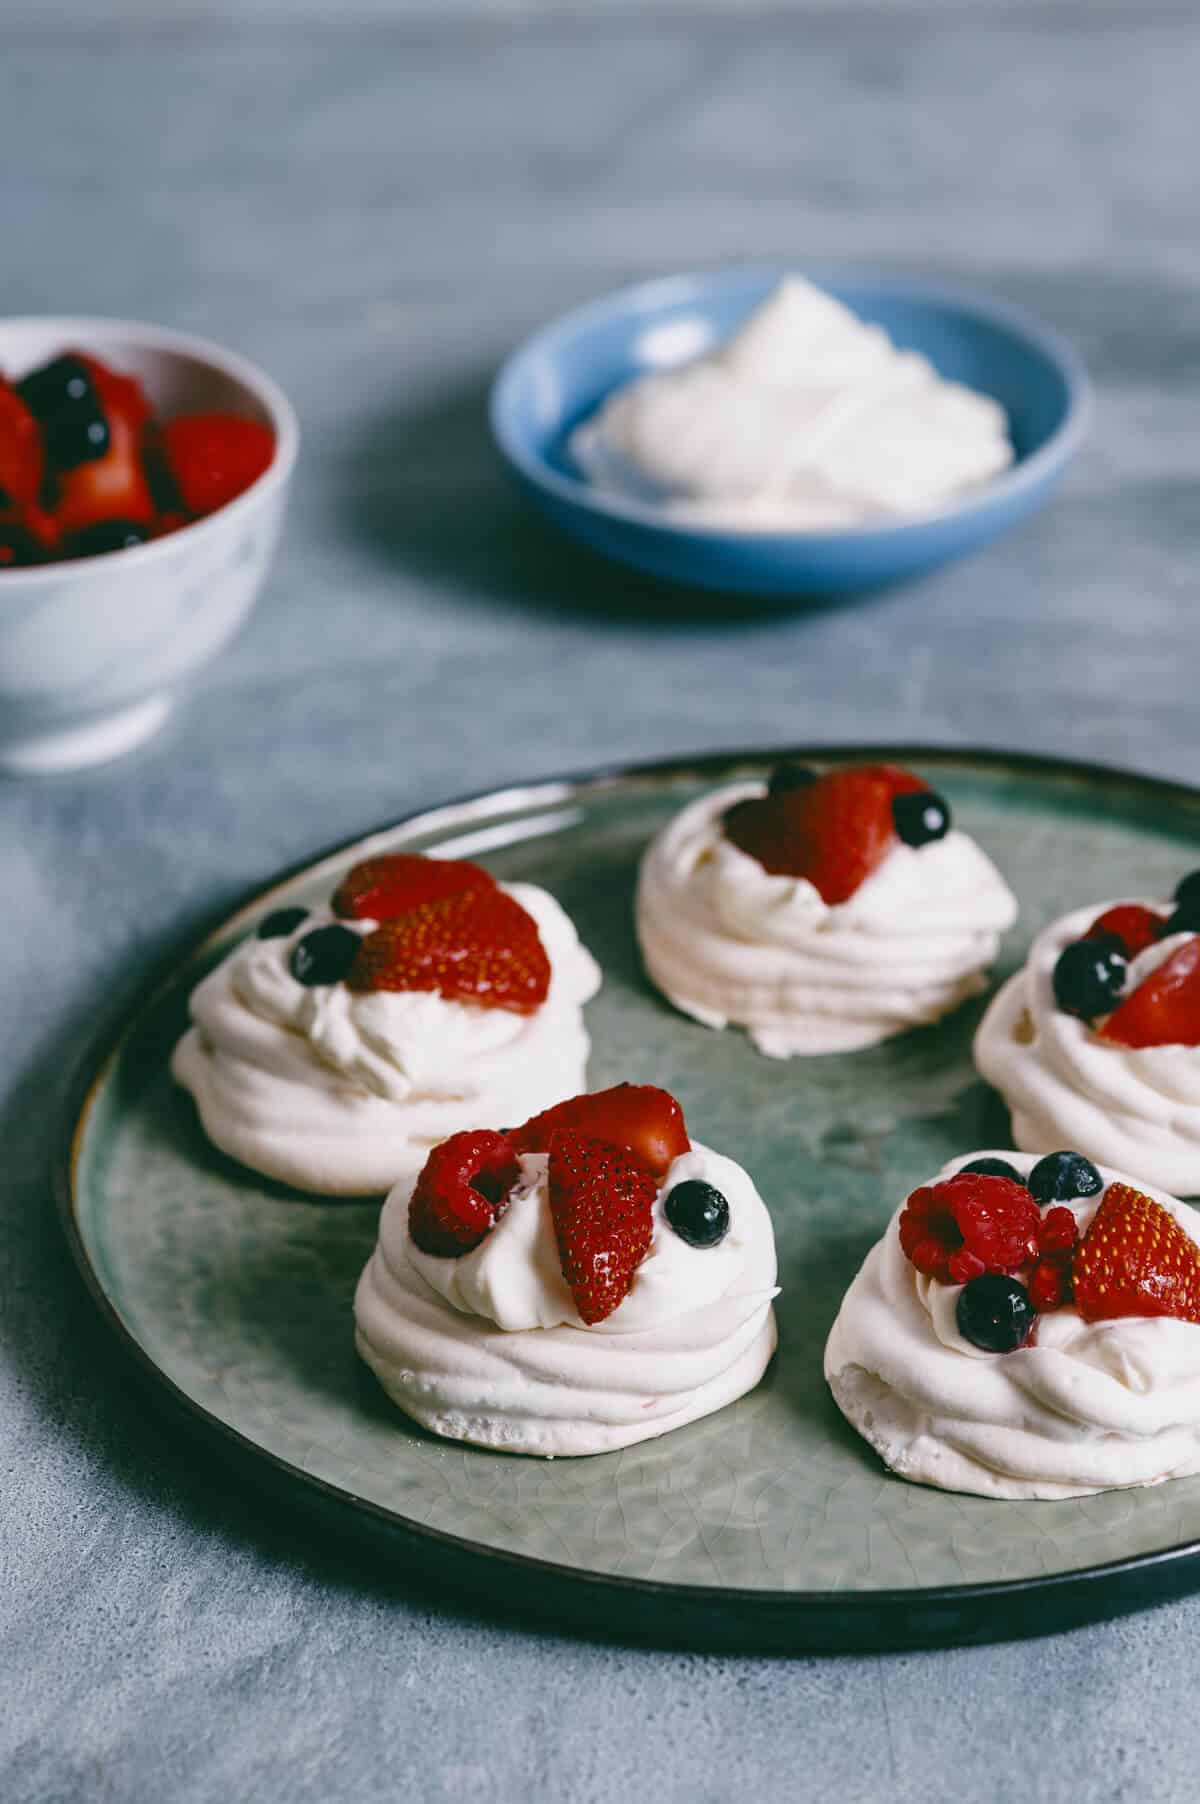
Table of Contents
What is a Pavlova?
A pavlova is a dessert made from meringue, which contains stiffly beaten egg whites with sugar baked in an oven until they form a crisp shell. The meringue is then filled with custard or other sweet fillings and served as a dessert.
Is Pavlova Gluten Free?
Yes. Pavlovas are naturally gluten-free. If you add the cornstarch ensure it's 100 % pure cornstarch.
Why I love this recipe
- It's flexible. You can use any flavour of custard/cream filling and toppings you like. My favourite topping is fresh berries and fresh whipped cream.
- These mini pavlova nests look adorable on a plate (c'mon! - who can say no to mini pavlovas? 😉)
- They're perfect for parties because you can bake them ahead of time and serve them when needed.
- They're individual. Unlike a large pavlova that gets shared, each person gets to a mini pavlova to themselves!
Related: Love Australian desserts? See my gluten free lamingtons for further inspiration (they're better than the original!). Or try my Anzac biscuits.
What you need to make this recipe
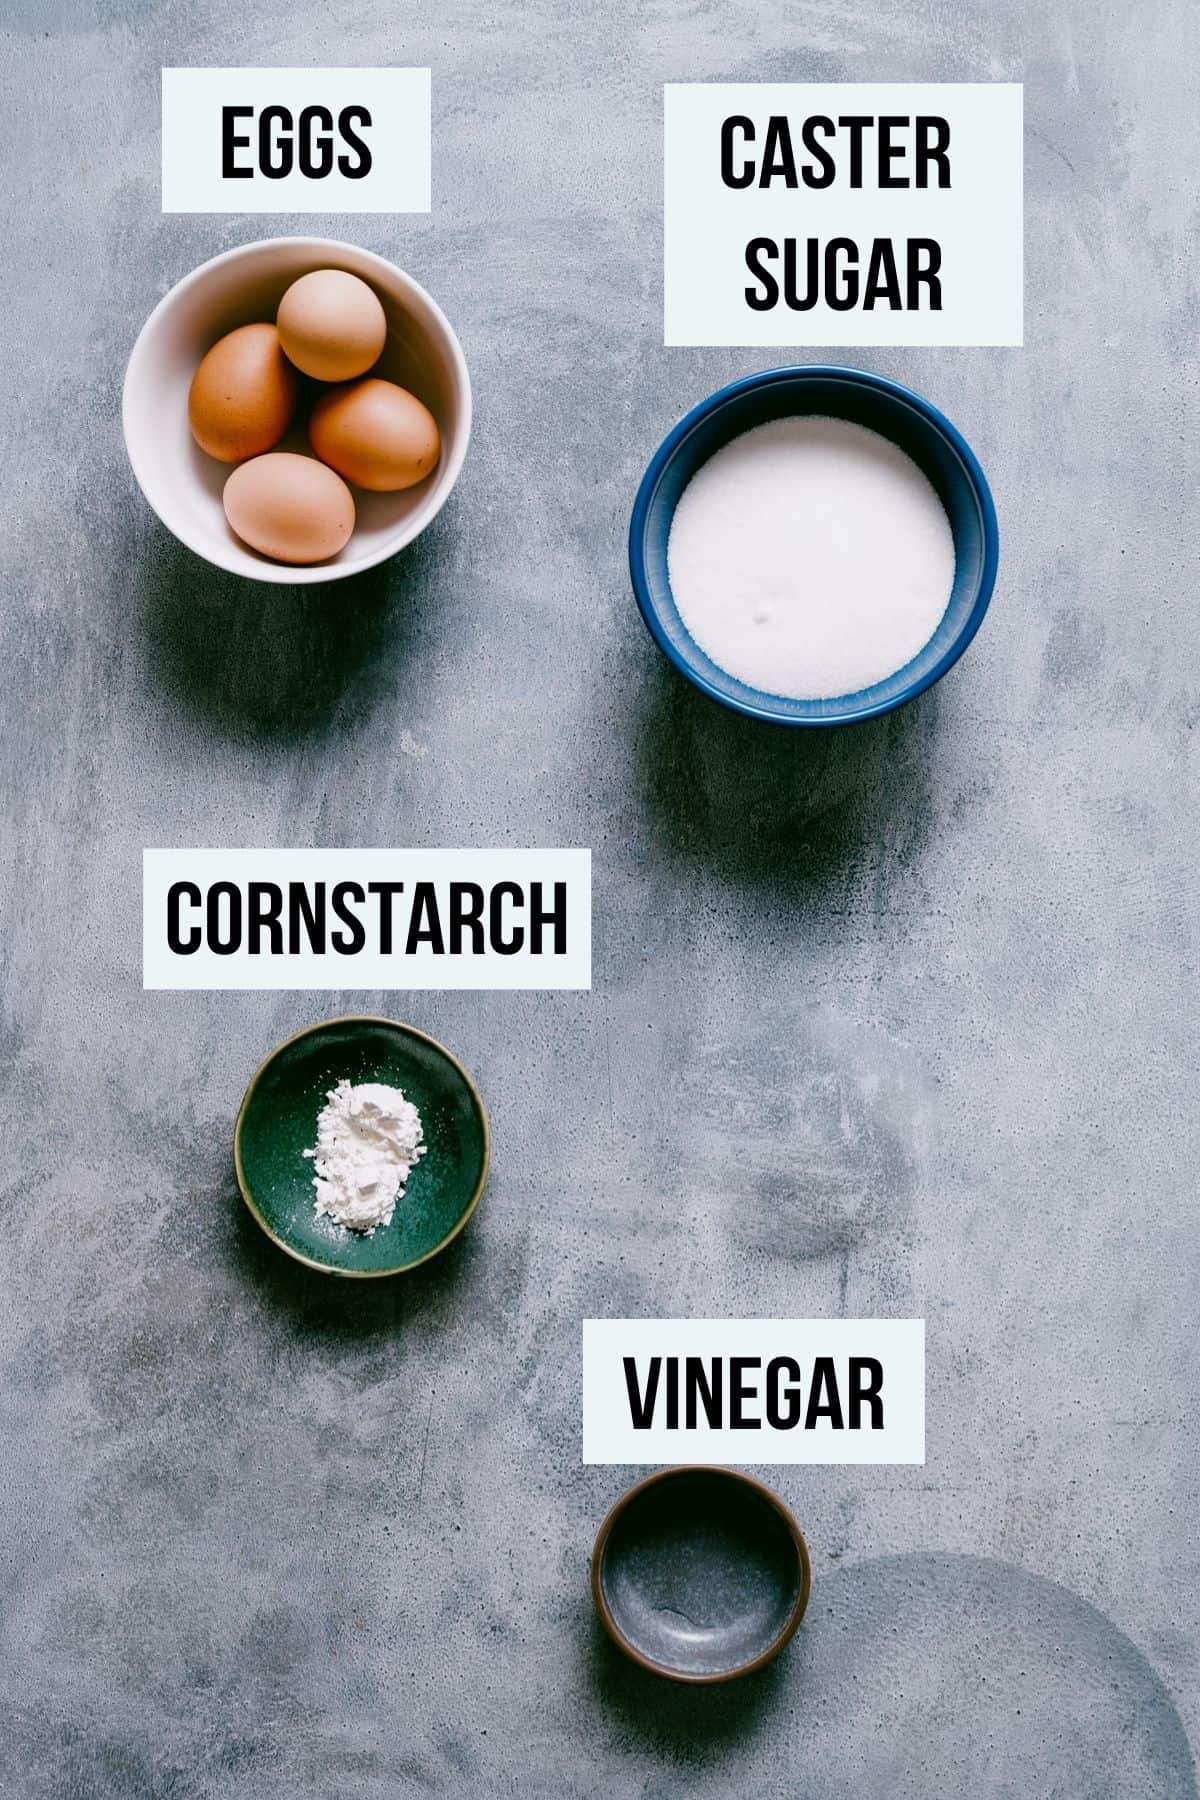
- Egg Whites - Your egg whites MUST be at room temperature. Colder eggs don't whip as quickly.
- Sugar - Caster or superfine sugar is a MUST. It has a more delicate texture and dissolves easier in egg whites.
- Vinegar - I've used regular white vinegar. The vinegar helps with stabilising the egg whites.
- Cornstarch - Along with the vinegar, it helps to add stability to the egg whites.
Ingredient notes and substitutions
- A version of vegan egg-free pavlova exists made from the liquid of cooked chickpeas - known as aquafaba. However, the instructions vary slightly - and not something I can cover in this post.
- In the past, I have swapped out the caster sugar for powdered sugar. However, it must be pure powdered sugar and NOT confectioners sugar, which has added cornstarch. If you only have granulated sugar on hand, process it in a blender or food processor to give it the desired texture.
- You can also use red wine vinegar or white wine vinegar. Do not use balsamic.
- Vanilla extract is another nice additional flavour. Some people claim it helps to mask the egg smell. I sometimes add a teaspoon; however, be wary that it might discolour the mini pavlovas when they bake and give them a slight "brown" tinge.
How to make this recipe
Email This Recipe
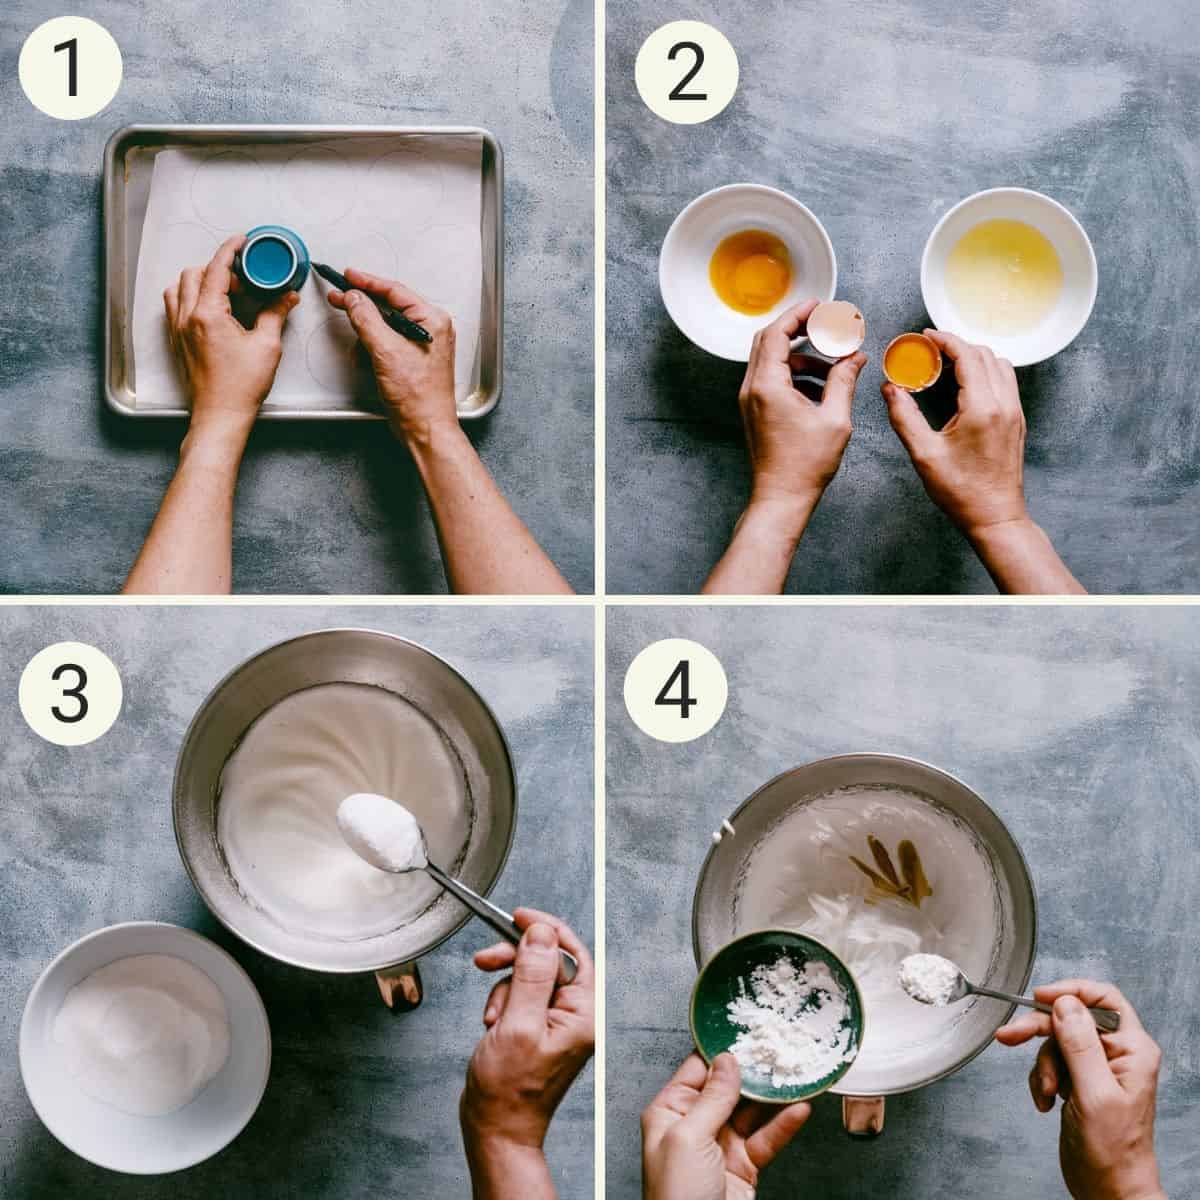
- Step 1: Preheat your oven to 110 deg C (225 F). Line a baking sheet with parchment paper and draw circles (to outline) using an espresso cup as your guide. (mine measured 6 cm or 2 ¼ inches). Turn the sheet over and set it aside.
- Step 2: Separate your egg whites over two bowls. (Freeze the egg yolks to use in another recipe). Next, add the egg whites to the bowl of your stand mixer.
- Step 3: Beat the egg whites on a low speed (no more than three on the dial) until soft peaks form. Slowly, add the sugar one tablespoon at a time. Ensure that the sugar is dissolved before adding the next tablespoon. (This can take anywhere between 10-15 minutes - have patience!).
- Step 4: Combine the vinegar and cornstarch to make a slurry and add it to the meringue. Raise your speed to number 5 or 6 and beat for another 45 seconds.
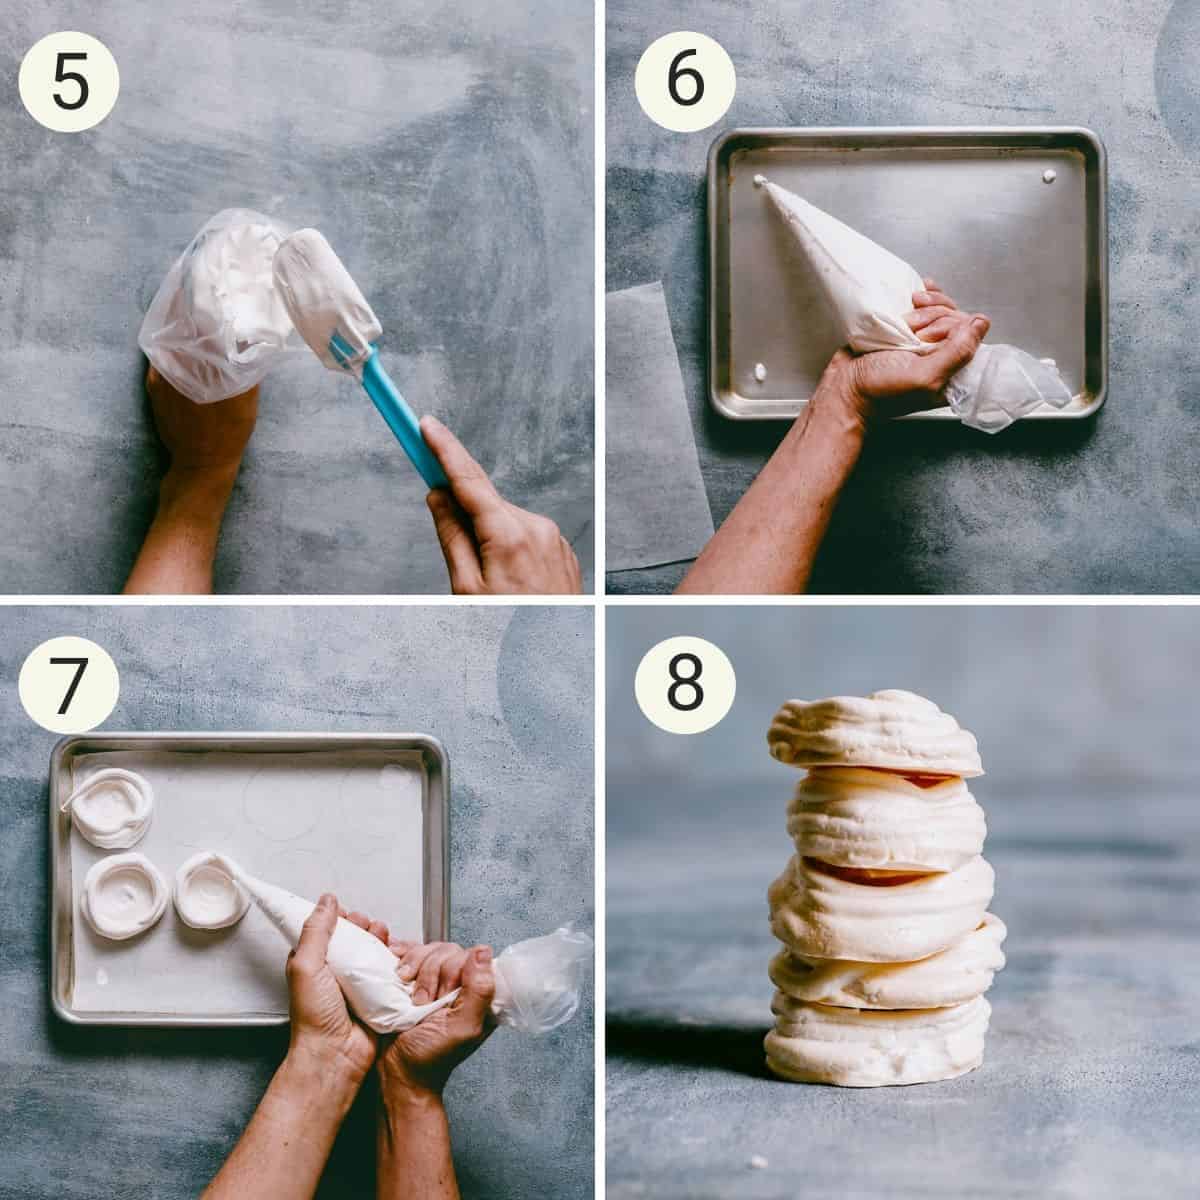
- Step 5: Place the pavlova meringue into a piping bag.
👨🍳 Cooks Tip: Use a tall glass to hold the piping bag to add the meringue. It makes the task a lot easier!
- Step 6: Pipe little circles on the corners of your baking tray. (This will prevent the parchment paper from slipping or moving).
- Step 7: Starting in the centre of your outlined circle, pipe the meringue to form the base. Then, to create the pavlova nests, pipe three layers on the circle's edge (this creates a "pocket" that we can fill up).
- Step 8: Bake in the oven for 45 minutes. Turn the oven off and allow the pavlova nests to cool in the oven before serving.
Serving Suggestions
- Whipped cream and fresh fruit is a classic combination. Also, consider adding some kiwi fruit to make it "Australian".
- Custard and fruit
- Lemon curd and fruit.
Expert tips
- Make sure your eggs are at room temperature. It helps when whipping the egg whites and makes this recipe easier.
- Use a stand mixer rather than hand whisking the egg whites. It's much easier to do this, trust me!
- Don't overbeat the egg white mixture. When beating the egg whites, keep going until they become thick and glossy.
- Ensure all your equipment and bowls are dry before starting.
- Use egg whites from real eggs - not from a carton.
- Keep the oven temperature low when baking the mini pavlova nests - and DO NOT open it when baking (as tempting it is to take a "peek').
- Add the sugar in 1 tablespoon increments. Do not dump it all in at once. (This allows the sugar crystals to dissolve).
- Test a little of the pavlova mixture by rubbing it between your fingers. If you can still feel the sugar, it still needs beating.
FAQ's
Yes, you can use frozen egg whites. They should still work fine. Ensure they are defrosted entirely before using.
If your egg whites aren't stiff, then it means that you did not beat them long enough.
The meringues will last up to 3 days in an airtight container.
The oven temperature was too high.
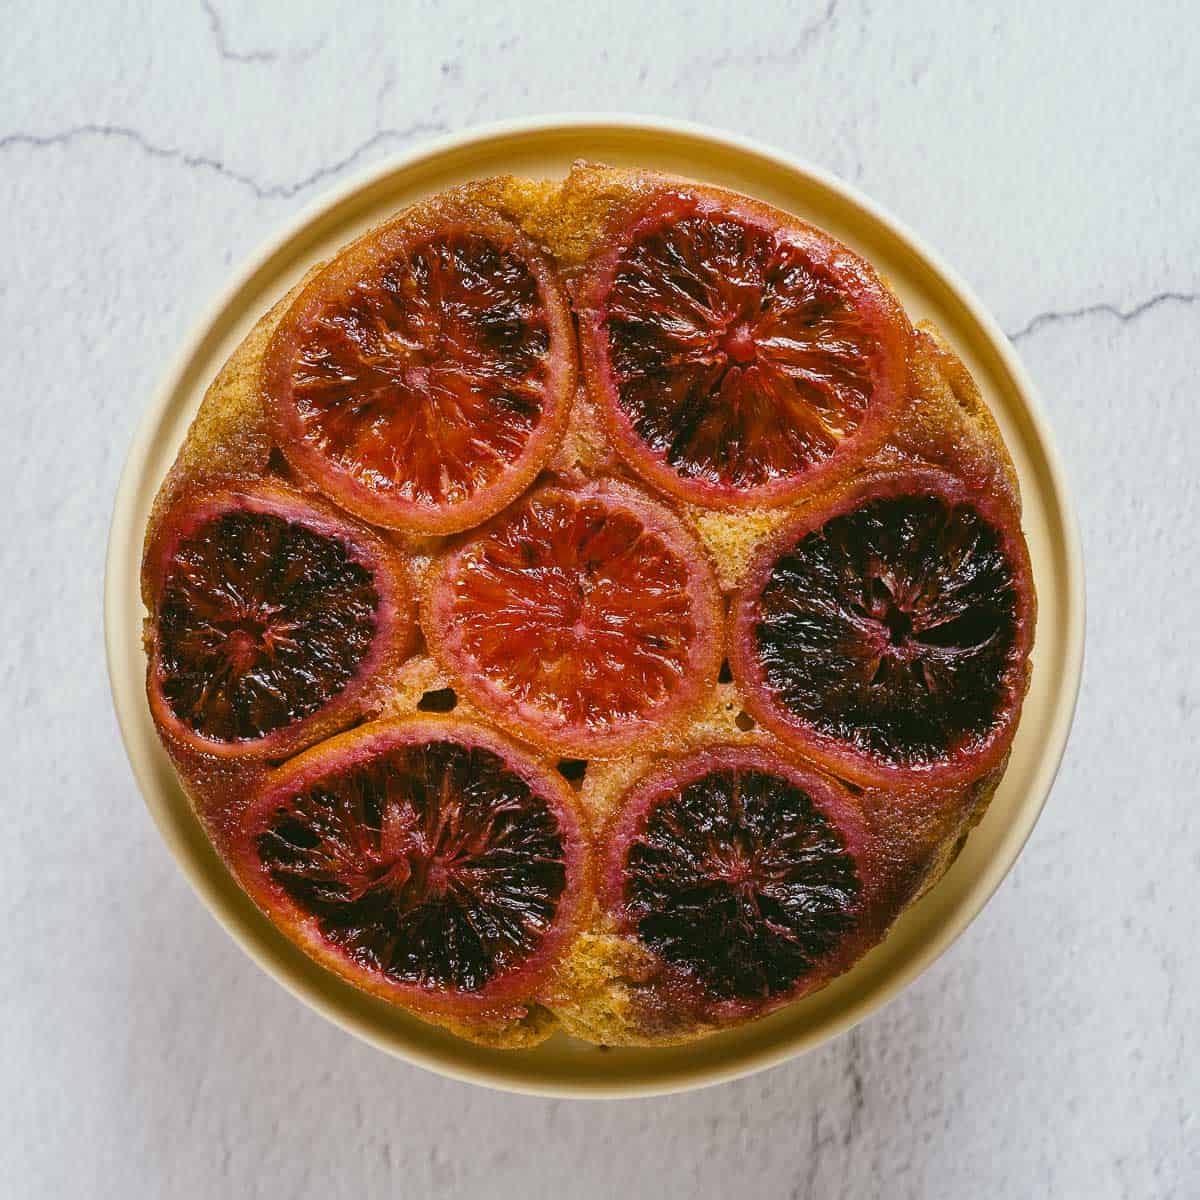
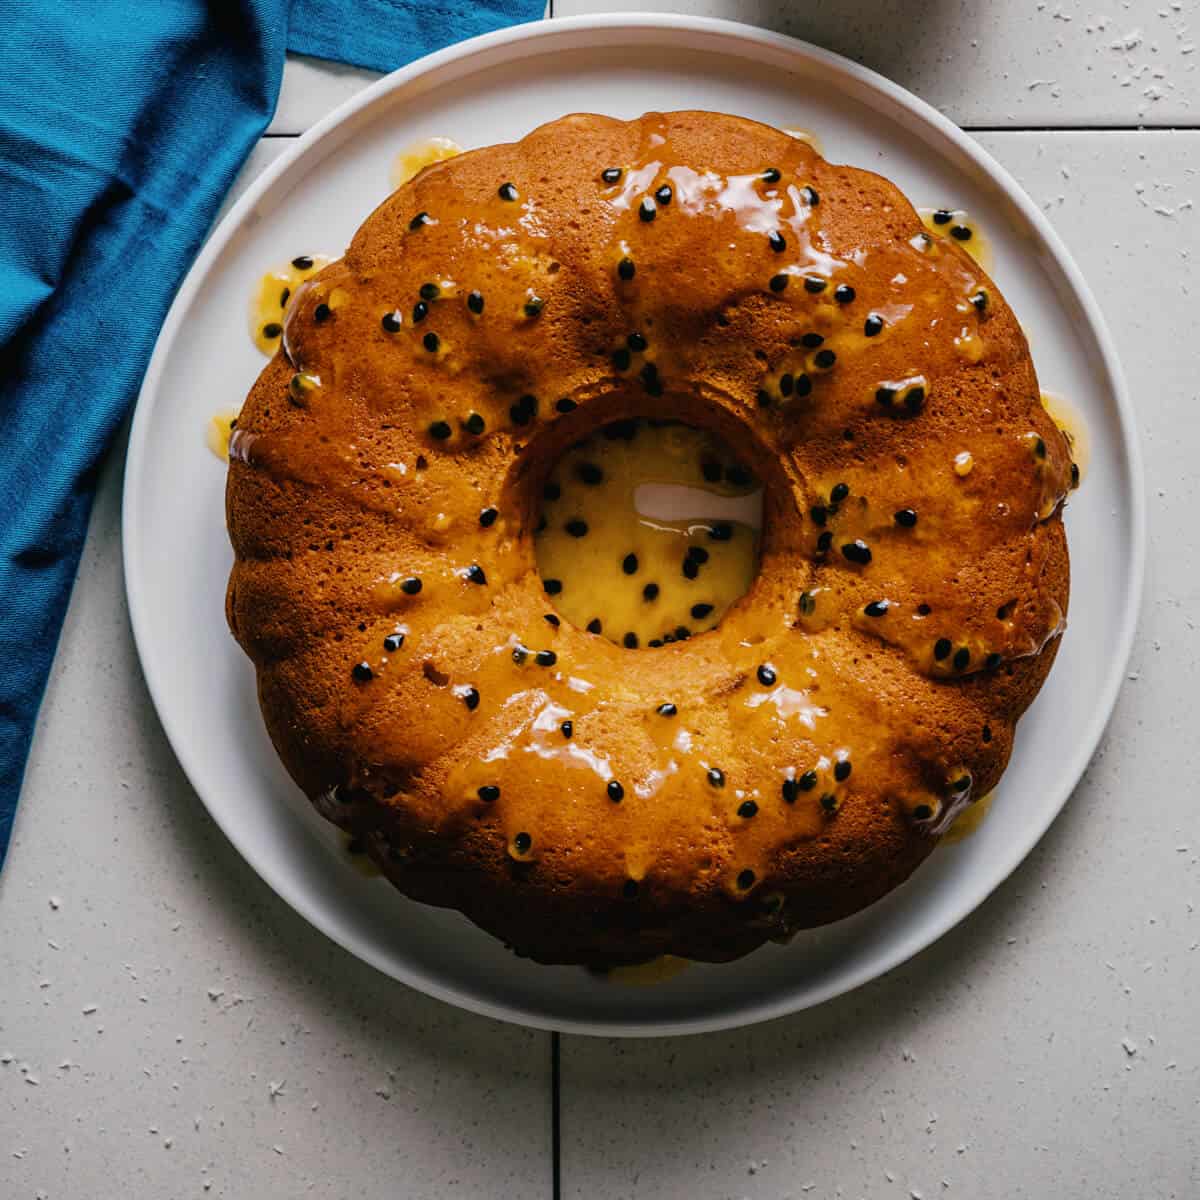
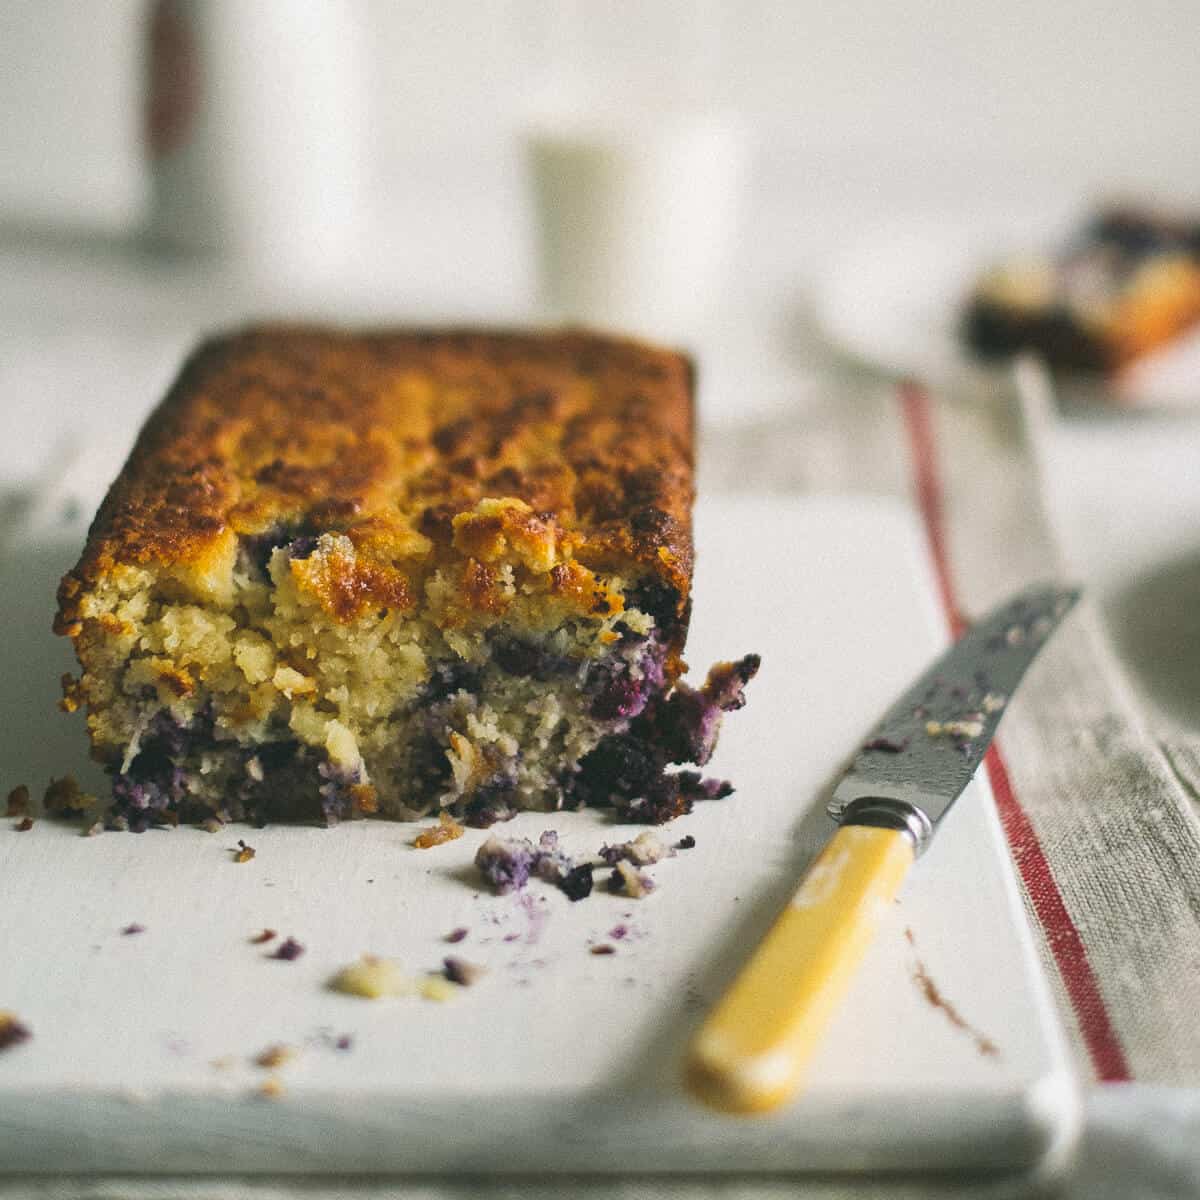
Related recipes

Enjoyed this recipe? Sign up to the Newsletter and follow along on Facebook, Instagram and Pinterest
📖 Recipe
Mini Pavlova Nests
Conversions
Ingredients
- 2 egg whites, at room temperature
- 110 grams sugar, caster or superfine
- 1 tablespoon corn flour
- 1 teaspoon vinegar
Instructions
- Preheat your oven to 110 deg C (225 F). Line a baking sheet with parchment paper and draw circles (to outline) using an espresso cup as your guide. (mine measured 6 cm or 2 ¼ inches). Turn the sheet over and set it aside.
- Separate your egg whites over two bowls. (Freeze the egg yolks to use in another recipe). Next, add the egg whites to the bowl of your stand mixer.
- Beat the egg whites on a low speed (no more than three on the dial) until soft peaks form. Slowly, add the sugar one tablespoon at a time. Ensure that the sugar is dissolved before adding the next tablespoon. (This can take anywhere between 10-15 minutes - have patience!).
- Combine the vinegar and cornstarch to make a slurry and add it to the meringue. Raise your speed to number 5 or 6 and beat for another 45 seconds.
- Place the pavlova meringue into a piping bag.
- Pipe little circles on the corners of your baking tray. (This will prevent the parchment paper from slipping or moving).
- Starting in the centre of your outlined circle, pipe the meringue to form the base. Then, to create the pavlova nests, pipe three layers on the circle's edge (this creates a "pocket" that we can fill up).
- Bake in the oven for 45 minutes. Turn the oven off and allow the pavlova nests to cool in the oven before serving.
SAVE THIS RECIPE
Peter's Tips
- Make sure your eggs are at room temperature. It helps when whipping the egg whites and makes this recipe easier.
- Use a stand mixer rather than hand whisking the egg whites. It's much easier to do this, trust me!
- Don't overbeat the egg white mixture. When beating the egg whites, keep going until they become thick and glossy.
- Ensure all your equipment and bowls are dry before starting.
- Use egg whites from real eggs - not from a carton.
- Keep the oven temperature low when baking the mini pavlova nests - and DO NOT open it when baking (as tempting it is to take a "peek').
- Add the sugar in 1 tablespoon increments. Do not dump it all in at once. (This allows the sugar crystals to dissolve).
- Test a little of the pavlova mixture by rubbing it between your fingers. If you can still feel the sugar, it still needs beating.
Serving Suggestions
- Whipped cream and fresh fruit is a classic combination. Also, consider adding some kiwi fruit to make it "Australian".
- Custard and fruit
- Lemon curd and fruit.
Nutrition
This website provides approximate nutrition information for convenience and as a courtesy only. Nutrition data is gathered primarily from the USDA Food Composition Database, whenever available, or otherwise other online calculators.
© Souvlaki For the Soul
Made this recipe?
Rate and Comment below!This post was originally published in December 2011 but was republished with a new recipe, information and pics in January 2022.


Leave a Reply